On a day of record-breaking temperatures here in UK, three intrepid souls chose to test their fortitude by rolling dice for three hours in Wolvercote Village Hall.
I have wargamed nearly all the major battles of the American Civil War. On this occasion we filled one of the gaps: Fredericksburg (1862). I've been there and admired the stone wall, but to say I knew about the battle would be stretching it. Thankfully, Matt had done the reading for me and created a draft scenario for us to try. The background in brief: after Antietam, McClellan was removed from command of the Union army and replaced by the reluctant Burnside. Burnside devised a good plan: to change strategic direction, move southeast down the Rappahannock, and attempt to surprise Lee by crossing around Fredericksburg. This was stymied by the late arrival of the pontoon bridges, so although Burnside managed to secure a bridgehead in Fredericksburg, by the time he did so Lee's army was entrenched on the heights above the town. The battle therefore became a frontal assault against prepared positions. The Union left, south of Fredericksburg, made good ground but was ultimately repelled by Confederate counterattacks. Meanwhile, the attack out of the town itself, intended only as a pinning diversion, failed bloodily. Burnside retreated and was relieved of command a month later.

I am not generally a fan of frontal assault scenarios as the options tend to be limited and the games consequently dull. Not so this time, at least for me as Lee and for Dave W commanding the Union left. (John on the Union right might care to differ, though he did say it was very entertaining.) In terms of options, both sides have lateral roads they can take advantage of to shift reserves left and right and change the focus of their efforts or counter enemy success. For the first two turns, fog limits visibility and hampers command and coordination. The Union can use this just to cover forming up and preparing for an assault, or actually exploit it to assault immediately but with risk of going in piecemeal. In the south, on Prospect Hill, it is a more open and mobile game. The rebels need to advance and then fight a delaying action against greatly superior numbers.
In our game, Prospect Hill was where the game was won; or you might say, Marye's Heights was where it was lost. It took the US a long time to get enough troops across into Fredericksburg to be confident of attacking. Then, the Passive penalty for poor command and the Difficult Terrain penalty for a town meant that only a few units emerged initially. These were easily repulsed and shattered. After that, John was understandably wary of repeating the exercise. Fighting on that front degenerated into an inconclusive firefight.
That left one Confederate brigade free to head south from there to Prospect Hill, where on Turn 9 (out of 10) Dave's boys in blue had expelled all mine from the objective. However, thanks in part to the reinforcement from Marye's Heights, I was able to get back in on the last turn. As the objective was contested, the US had failed to claim the single objective they needed to earn a draw. Yeehar!
Reflections
The game did capture the feel of a massive, ponderous Union army having to bang its head against a stone wall. We also got a sense of why (at least on the Marye's Heights sector) an attack out of Fredericksburg against the rebel defences was both necessary and doomed - or at least, doomed to heavy casualties.
Just a little variety in troops can provide plenty of tactical nuance. We had a mix of veteran, trained and (on the US side) raw units; a small number were also rated Aggressive; each side had one cavalry brigade. This was enough to make for richer tactical decisions in the Prospect Hill fight.
Larger area objectives can work well. Usually, in my scenarios anyway, victory revolves around holding a few small or point objectives: villages, hilltops, bridges etc. Matt opted for three rather larger area objectives, a foot or more across, which the Union had to clear entirely of CSA troops to capture. This meant there were several ways I could try to defend each of them, perhaps more so than for a point objective.
Thank and well done to Matt on a very good scenario. For what was supposedly a draft, it produced a well balanced and exciting game and we thought needed minimal changes.
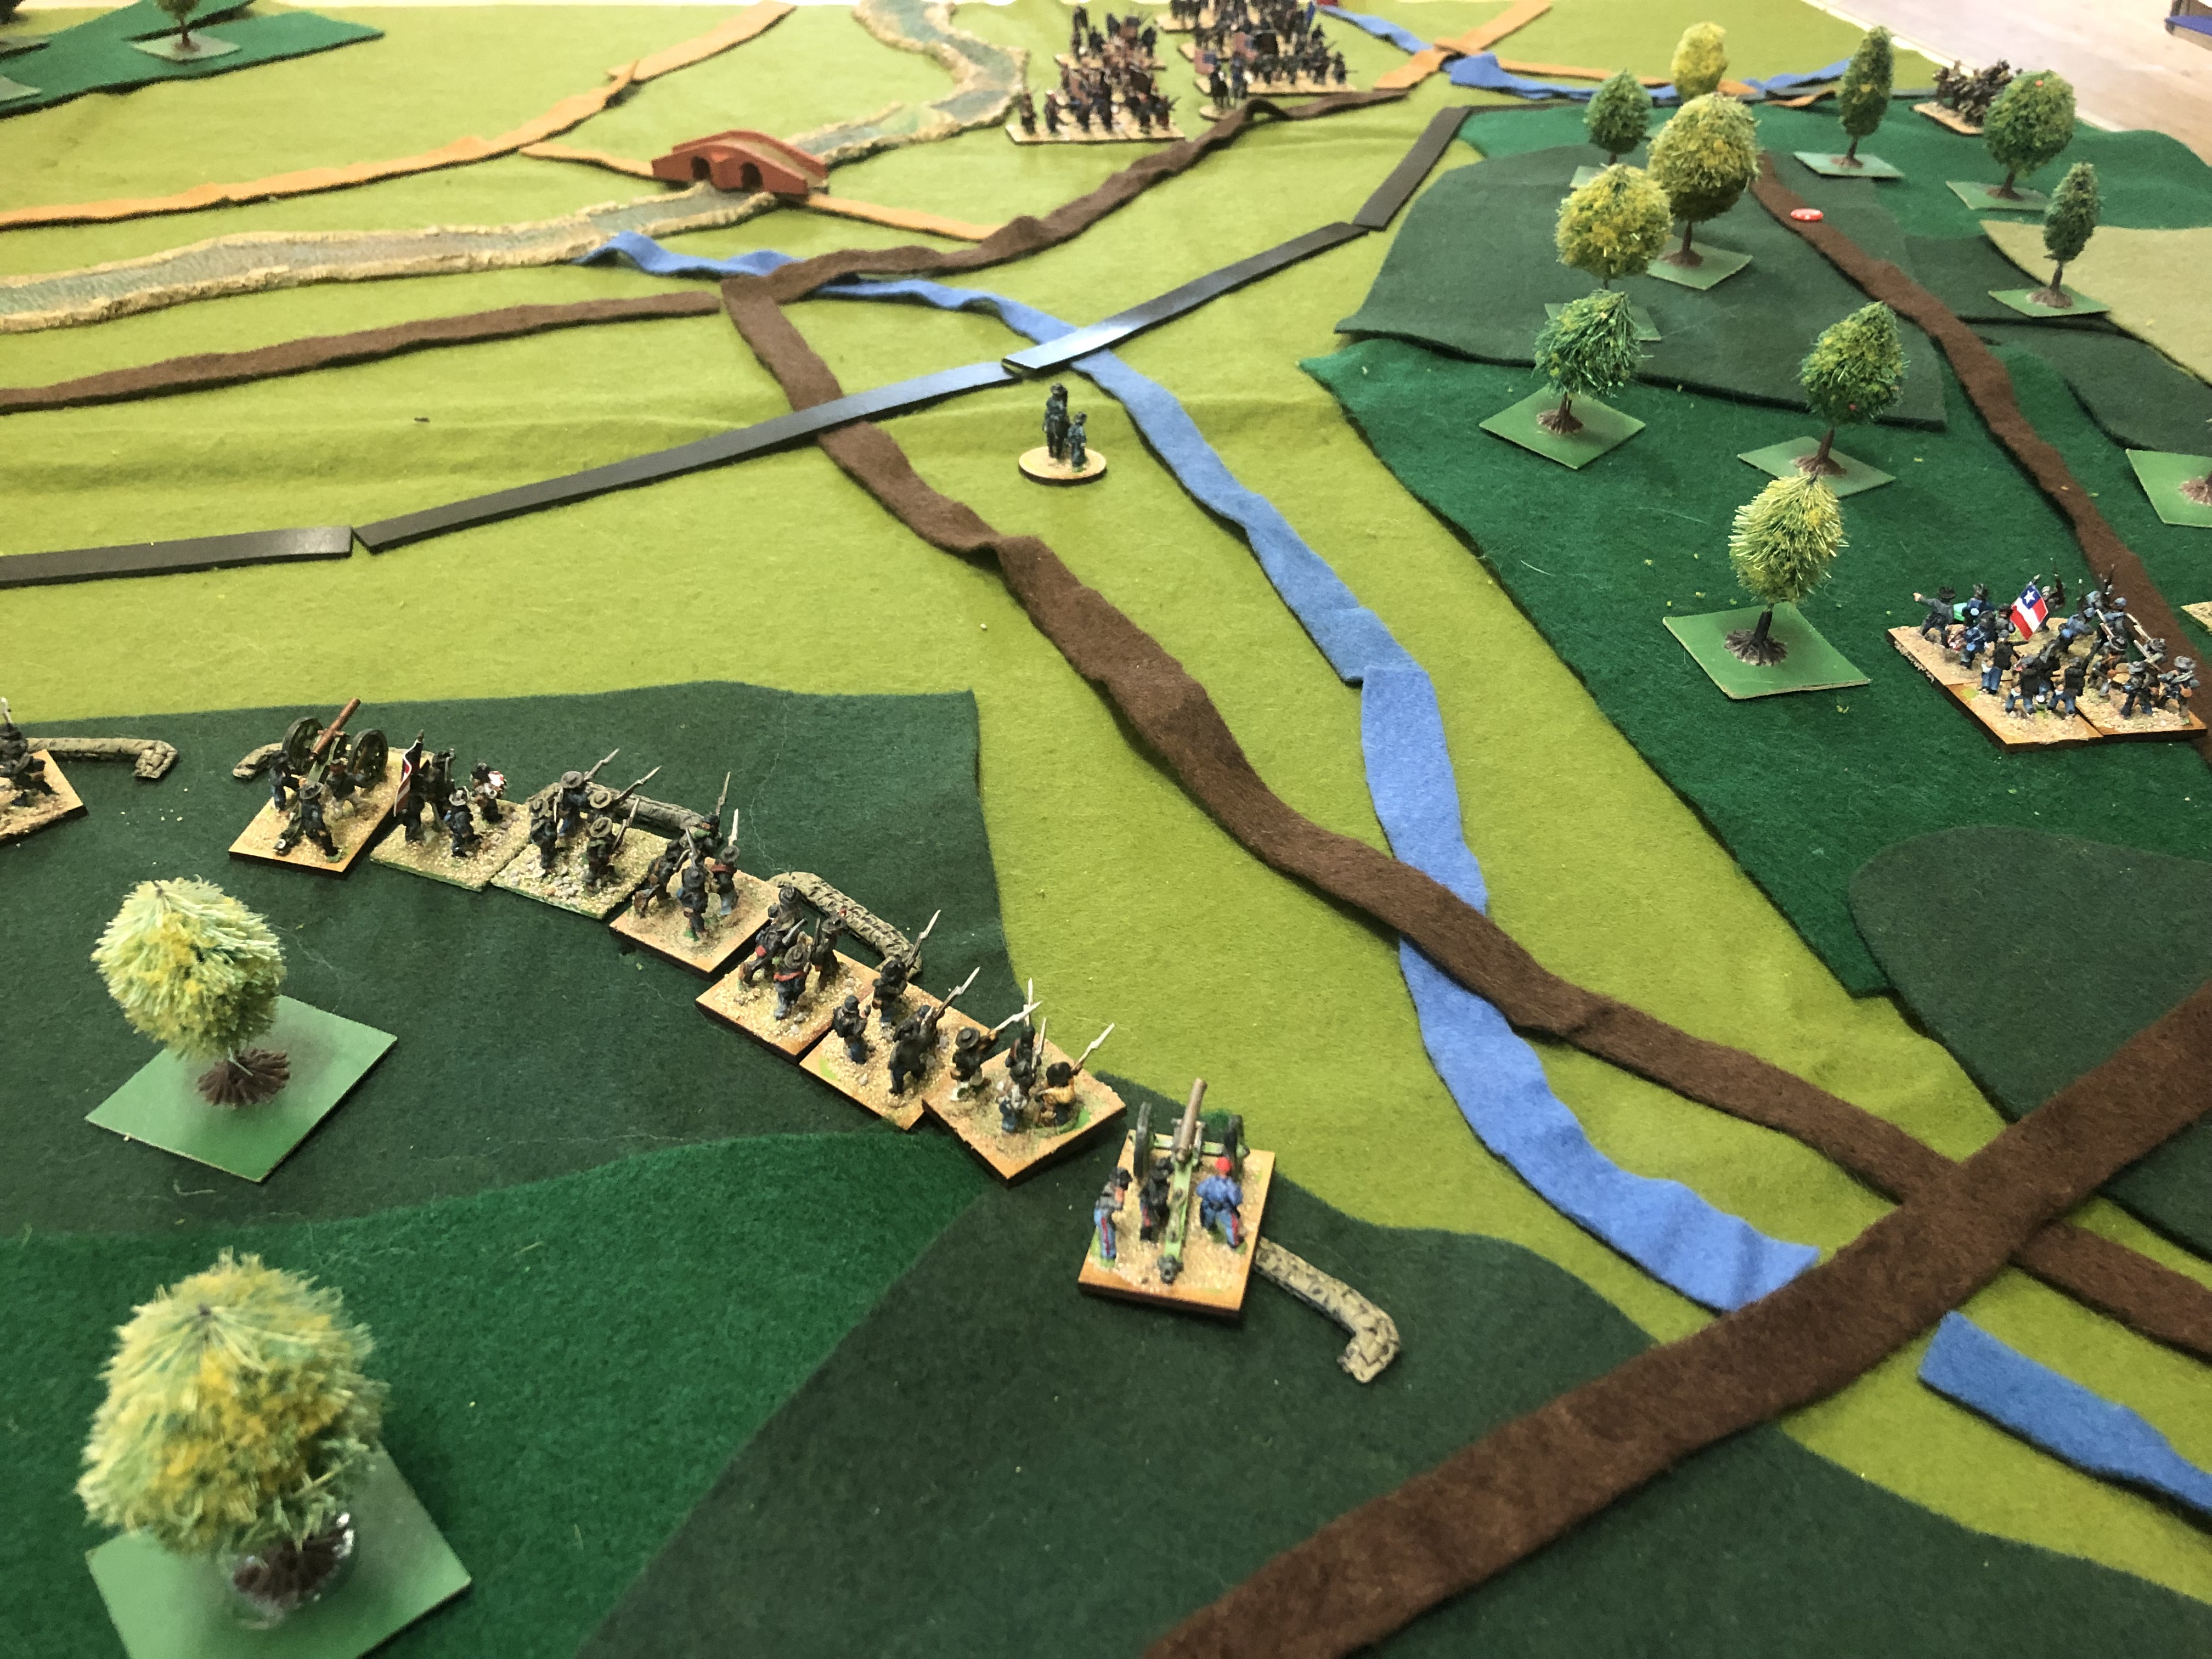
I need more terrain! I've got quite a lot of green felt for woods, but it still wasn't enough to entirely cover the wooded hills in this game. Likewise I've a fair amount of brown and blue felt strips for roads and rivers, but this isn't the first time I've had to leave out some of the less crucial sections marked on the map. Time to upgrade!


Not the most interesting battle if you are in charge of the Union right, as you say, but another one of those scenarios that helps you understand the why the battle turned out the way it did.
ReplyDeleteAs for terrain, we always seem to need more...
The Union right still has important choices to make, particularly over where to establish its gun lines. And there are different ways to debouch from Fredericksburg - certainly several wrong ways, possibly one or two right ones - we'll have to try it again to find out!
DeleteChris, howdy from Elko Navada. If you want to try a truly miserable assault on entrenched positions try Kennesaw (here is my video from the visit)
ReplyDeletehttps://youtu.be/6SuuIwFPgeY?list=PL7qM1ZYRwV_C3QfLB1C64yJmNvQSEGB-b
Cool, thanks for the video, Konstantinos! Yes, that mountain looks no fun to climb when people are shooting down at you from on top of it. Also I note there were abattis, an obstacle I don't see enough on wargame tables.
Delete