Showing posts with label Boer War. Show all posts

Monday, 13 October 2025

Boer War: polishing a rough Diamond (Hill)

This is a tale of defeat turned into victory - not so much on the tabletop (though we did have a see-saw game), but in terms of scenario design.

Irregular Miniatures 6mm British colonial troops from Mark's collection, planting a nice blue flag on an Objective.

Three years ago, we playtested the first draft of Anton's scenario for the battle of Diamond Hill. This was one of the last set-piece battles of the Boer War, which festered on for another couple of years but was essentially a guerrilla war from then on. As my report from 2022 shows, that first attempt was rather abortive. The main reason was simple - it turned out that there had been a miscalculation of the figure ratios, resulting in there being more than twice as many Boers on the table as there should have been. No wonder the poor Brits got mown down in heaps.

The psychological pain of this debacle was such that Anton couldn't bear to return to Diamond Hill until I finally prompted him into action this month. Apart from correcting the order of battle, we also rejigged the map, framing it so that it was no longer a simple frontal assault but allowed the appropriate manoeuvre room on both flanks and beyond the Boers' front line. This made all the difference and produced a far more interesting game, a far more even contest, and a far more satisfactory scenario all round.

Before plunging into the photos and reflections, I'll repeat the scene-setting paragraph from 2022:

"The situation is that the war is approaching its end; Pretoria has been taken; Louis Botha's Boers are being pressed back eastwards towards Portuguese East Africa (now Mozambique) and have established a long defensive position on a line of hills. The imperial forces are aiming to breach this line and press on eastward down the road towards Middelburg."

View of the whole battlefield, looking east as the imperial forces arrive from Pretoria. French's Cavalry Division is about to enter along the road at bottom left corner; Pole-Carew's 11th Division with a substantial artillery force arrives astride the railway (by the Eerste Fabriek station halt, left foreground); Hamilton with a mixed force on the imperial right wing (right foreground). Red counters denote small half-strength artillery units. Green counters mark Raw locally raised mounted infantry. Green pipe-cleaners mark the steep slopes of the Magaliesberg (left foreground) and along the front of the Boer position.

In the top half of the pic is the Boers' thin shabby brown line. Diamond Hill itself is that central bastion to the right of the railway with two Boer batteries flanking a 2-base Boer commando. (Boers are Irregular Miniatures 6mm from Anton's collection, sitting on my veteran card sabot bases.) They are outnumbered 3:1 in this battle. However, they do enjoy the benefit of Entrenchments, Skirmishers, Smokeless Powder, Camouflage, and some imperial Tactical Ineptitude, so it's an even fight.

White counters indicate Objectives: a ring of hills covering the Boers' line of retreat; the Elandsfontein station on their line of retreat; and the Kameels Poort road exit (top left) that offers French's cavalry a route to get round and cut off the retreat. The Boers also earn an Objective if they can exit two units off that east edge on the final turn; they lose one if the Brits move two units off it by Turn 6 (out of 8).

Imperial left wing moves out on Turn 1. I commanded this, while Mark had the imperial right. Anton commanded the Boers. Three of us was a good number for this game (we could maybe have accommodated one more).

Hamilton (Mark) moves out on our right. Our plan was pretty simple, largely dictated by the fact that a frontal assault seemed suicidal. Instead, as we had so many cavalry, we took advantage of their mobility to push round both flanks and try to roll up the Boer line from each end. Meanwhile, we tried to set up a massive gun line to pummel the Boer positions from beyond Mauser range. (This last proved not to be easy, as the harassing fire from the Boer guns kept driving our batteries back. We only really got it set up for the last couple of turns.)

A view from the Boer side. The big empty space in front of that strong Boer position on Diamond Hill betrays our cunning plan.

By Turn 3, French's cavalry are mostly across the minor stream and have dismounted (brown counters) and shaken out into a firing line to take on the right-flank Boer commando at the kind of odds that give us a chance of success. Pole-Carew's infantry have pushed up to lend support on French's right (the two 4-base units in upper centre of pic).

On our right, Hamilton's infantry guards a tidy gun line while his cavalry races round the Boer left flank. All going according to plan so far.

Turn 4 plan view. Hamilton's cavalry assaults the lefthand Boer position (top right). On our left, slow going against the righthand one. (For BBB players: the Boers enjoy four left shifts against imperial rifle fire (five against artillery) and benefit from a right shift or two when they fire back.)

Alert readers will notice more troops for both sides have appeared on the top left (NE) part of the pitch. The Boers get to deploy an ambushing unit there on Turn 4 and one on the opposite flank on Turn 5; the imperials then get more cavalry entering on the N and S (left and right) edges after the ambushes. This reflects how the cavalry moves on each flank found themselves ambushed in the actual battle, as the Boers had a thin screen that stretched miles beyond the ~15 miles by 10 represented by the table.

The ambushers are ambushed: Anton's right-flank ambushing unit pinned down my units in the foreground but was then outflanked by the arrival of my reinforcements.

The setting winter sun casts long shadows across the Diamond Hill battlefield as the imperials try to close for the assault. Here the Boer right flank is under attack from my imperial left wing force. I have driven the ambushers out of their rifle pits (lower left). Pole-Carew's infantry are trying to cross the stream but are pinned down and taking casualties from withering Boer fire. (White puffs indicate Disruption.)

Even tougher going for Mark on our right. His first assault took a Boer gun position but cost him a cavalry brigade. Boer fire had taken out others. The ambushers on this flank have been driven back to Elandsfontein (right edge) but obviously these will slow him down. Nevertheless, his latest assault has dispersed a Boer commando. Can he now overrun that isolated Boer battery? (Left foreground.)

Turn 7, I think. The Boers are running out of troops, but the imperials are running out of time: the Boers only need to retain 1 Objective to draw and 2 to win (if they can exit units off the board on Turn 8). Here we see my troops rolling up the Boer right, but the hills we're taking are worthless except as stepping stones to the ones that matter.

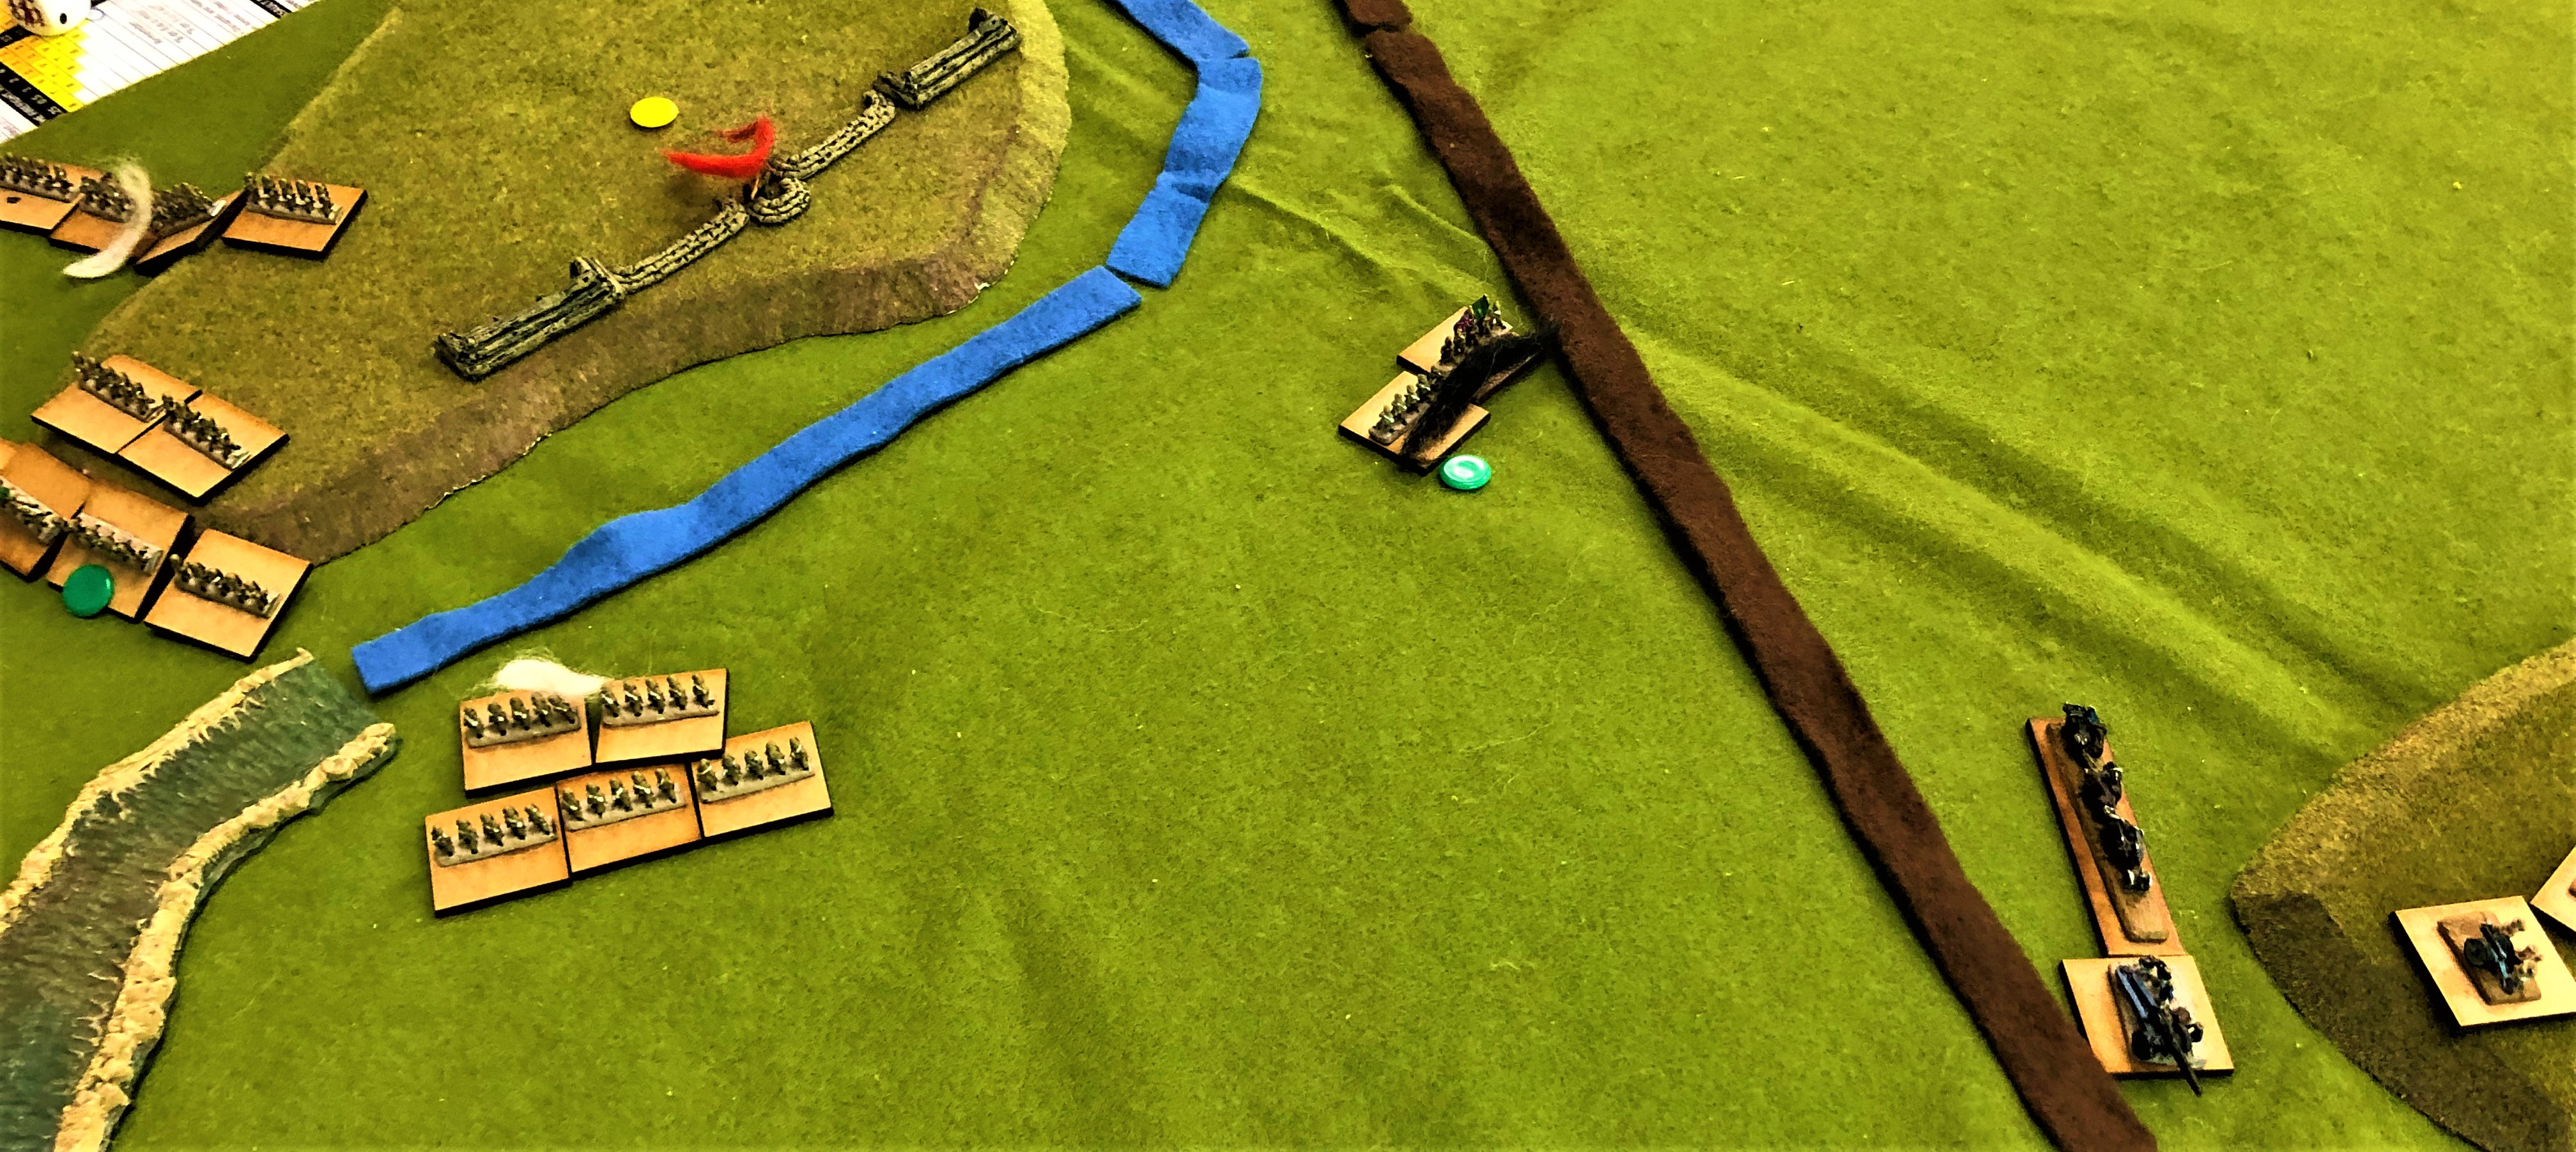
Plan view to explain the endgame better. The blue counters on the road exit (top left), Elandsfontein and the L2 hilltop (top right) are the Objectives we've taken. The Boers still hold four white counters, and we only have one turn to clear them off. At least we are in range to attack them all, but are there enough of us and will the dice be kind?

Our assaults go in on the final turn. In the centre, Mark has got two units onto Diamond Hill in rear of its garrisoning commando (whose artillery has finally been stripped away by our counter-battery fire). Across the railway from Diamond Hill, my infantry are assaulting the last unit of Koos de la Rey's Ermelo Kommando. On the right, Mark has launched a desperate charge into the teeth of the ZARP's rifle fire and is counting on his guns blasting away the last Boer battery. How did these go?

On Diamond Hill itself: success! Although we didn't close with the bayonet, evidently being fired on from all directions was enough for Botha's men to call it a day. Diamond Hill is ours.

To the north of it: here we actually did have to go in with the bayonet. Fortunately, the Boers were low on ammo and unable to fend us off or to resist the assault.

All depended on Hamilton on our right. Sadly (but not unexpectedly), he could not drive the Boers off their remaining Objective. Thus, although they had only been able to exit one unit rather than the two for an Objective, they still clung on for a draw.


Reflections

Ups and Downs. I like a game to tell a story. This one did, with a proper dramatic emotional rollercoaster for the protagonists. At first it was toilsome for the imperials, inevitably so, as they tried to manoeuvre into position while being fired on by an intact Boer line. Then, hooray! We started to make inroads on the flanks. But then, dismay! As ambushes were revealed and took their toll in casualties and delay. Hooray again! As our numbers and outflanking finally told, the Boer line was diminished and in disarray and objectives began falling to us. High drama! As multiple assaults went in on the last turn. Will they/won't they? Yes and no - a classic BBB down-to-the-wire draw.

Cavalry Doing What Cavalry Should Do. The imperial force was horse-heavy, over two thirds of it being cavalry (or, really, mounted infantry - though they did actually execute a proper charge or two on the day). As Anton observed, with the revised scenario offering space to manoeuvre, the cavalry was able to do its thing properly as it should and did: using expansive mounted manoeuvre prior to contact, threatening flanks and rears and taking objectives without a fight if possible, but dismounting for an infantry fight where necessary.

The Ambushes Worked. As a game mechanism, I mean. BBB scenarios almost never use hidden movement or deployment. However, for this particular scenario, it seemed appropriate. It did indeed work well, seeming to produce the right game effect and without being overly complicated.

Withdrawing vs Pursuing. Granting an Objective for exiting units on the last turn is a device Anton has used successfully in some of his other scenarios. The twist in this one is that the pursuers can also negate one Boer objective by exiting troops off the enemy edge. (Hardly a unique innovation - plenty of other scenario designers have used some version of this, I'm sure - but that's not the point.) The pursuers don't have to do so - it's a choice - but including that choice adds an extra dimension to the game to make the scenario distinctive.

Playtesting - The Pleasure and the Pain. Although Anton has a great record of writing near-perfect scenarios, his first draft of Diamond Hill was a rare exception. Three years ago it gave us a game that really didn't work: it bore little resemblance to the history, it was frustrating and not very entertaining for the players, and therefore disappointing and discouraging for Anton. So much for the pain. The next part of the process was reflection and rethinking by Anton and me: we worked out where it went wrong, did the necessary major revision, re-drew the map entirely, and played it through all over again. This time, the game was great. It played out as it should, it fitted with the history, all the players had enough choices to make and our share of moments of glory or despair, and it had the perfect climactic finish. The pleasure was made all the sweeter by the preceding pain. I hope this helps readers to appreciate just how much we labour and suffer to bring you elegantly designed, nicely balanced scenarios.

Bloody Big Battles in AFRICA! This game was significant beyond the one scenario. Diamond Hill completes Anton's set of Boer War scenarios. That is important because we intend these to form the core of a BBB scenario book, Bloody Big Battles in AFRICA!, on the same model as the Bloody Big Battles in INDIA! volume. There are a few playtests and revisions of the other scenarios still to do (eg, Mark wants to rewrite his Adua scenario), but the main roadblock is out of the way now and enthusiasm for the project is high again. I think we may be able to publish this before the end of 2026. No promises, mind - but you might want to start painting up your Boers and Brits now (not to mention Fuzzy Wuzzies, Italian colonials, Zulus ...)


Thursday, 18 August 2022

Boer War guinea pigs at Diamond Hill

A rare visit from my mate Anton was the occasion for an even rarer event - me attending OWS on a Sunday (weekends mostly being too few and precious to spend wargaming). For several years, Anton has been gradually compiling a fine set of scenarios for the Second Boer War (1899-1902). He has done a great job of capturing the nature of the very different opposing forces and the distinctive character of the warfare. The resulting games have been excellent. (See for instance these reports of ColensoMagersfontein, Spion Kop and Modder Spruit/Ladysmith.) This time he had us guinea pigs playtesting the penultimate scenario in his collection: Diamond Hill (1900).

The situation is that the war is approaching its end; Pretoria has been taken; Louis Botha's Boers are being pressed back eastwards towards Portuguese East Africa (now Mozambique) and have established a long defensive position on a line of hills. The imperial forces are aiming to breach this line and press on eastward down the road towards Middelburg.

We were able to play this twice in the day, with some substitutions at half-time (Matt leaving to be replaced by Luke and Ben for the second game). We managed to fit in a pub lunch, a couple of post-battle drinks and then a curry, so it was a good day all round.

But what of the game itself? (I hear you ask.) Ah.

All Anton's previous scenarios had been virtually perfectly calibrated straight out of the box. For Diamond Hill we had all the familiar features: Tactical Ineptitude on the imperial side; Skirmishy but Fragile Boers with the advantages of Smokeless Powder and Camouflage (Anton's Boer War special rules) and Entrenchments, cover worth two column shifts on the combat table. All tried and tested, so we expected a balanced game that would be a reasonable recreation of the historical action. Also, we had the New Zealand contingent on table as part of the imperial force; the All Blacks beat the Springboks the previous day, so I took that as a good omen and was confident of imperial victory.

But no! In Game 1 I was on the British side, knew what to expect, and had some idea of the necessary tactics against concealed dug-in Mausers. Yet despite all our best efforts to take on individual Boer positions methodically, bringing up well-orchestrated gun lines to carefully chosen locations ... we were mown down in heaps for little reward. The last surviving unit of my command (I was Hamilton, on the British right) managed to take one objective hill briefly before being counterattacked and wiped out, leaving my artillery isolated and vulnerable and useless. The other two thirds of our army had put in a weighted attack against the Boer right, likewise took a single hill but could progress no further. We were a long way from the 3 objectives for a draw plus exiting two units off the east edge for victory.

We discussed this over a lunchtime pint. It was suggested that allowing the Boers free deployment while constraining the Brits to historical arrival areas was the problem. Anton rejigged it, we reset, Luke and Ben arrived and volunteered to try their luck as the imperials (alongside Mike, who had been on the Boer left against me in Game 1).

Game 2: different imperial deployment, different attack plan, but much the same result. Mike as Hamilton could not even get onto one hill. Ben (as General French) on the British left advanced cautiously, managed to keep his force largely intact, but did not reach an objective. Luke in the centre did take a central hill but at grievous cost. Interestingly, when we Boers reacted by trying to counterattack, that revealed just how vulnerable the Boers were once they left their trenches. Moving across the front of a British gun line, even at long range, a couple of commandos were blown away and the counterattack never happened. But again, the imperial side fell far short of even a draw.

Clearly something wasn't right, so we chewed it over further. Various tweaks were debated: should we get rid of the imperials' Tactical Ineptitude on the basis that this late in the war they had improved? Should we reduce the Boer 2-shift Entrenchments to 1-shift Rifle Pits? Change the victory target to make it easier for the Brits?

The next day I read about the battle and found that there might be a better answer. We are going back to the sources to check that the troop numbers being represented are correct, as the Boers appear to be too resilient. If Anton rewrites it with fewer Boers than we faced on Sunday, that should make it an even fight next playtest ...


People have been asking for photos of Anton's Boers, so here are a few pics of the action. If those don't excite you, scroll past and you'll find the usual few pearls of sage reflection at the end.

Boer riflemen, artillery and generals. 6mm figures by Irregular Miniatures. Painted by Irregular's painting service which unfortunately they no longer provide.

Mounted Boers. Sorry about the fuzzy photo  - camera couldn't decide which rank to focus on.

What the Boers are up against: ox-drawn naval gun and bluejackets. 
(Imperial force provided by Mark; Irregular Miniatures again.)

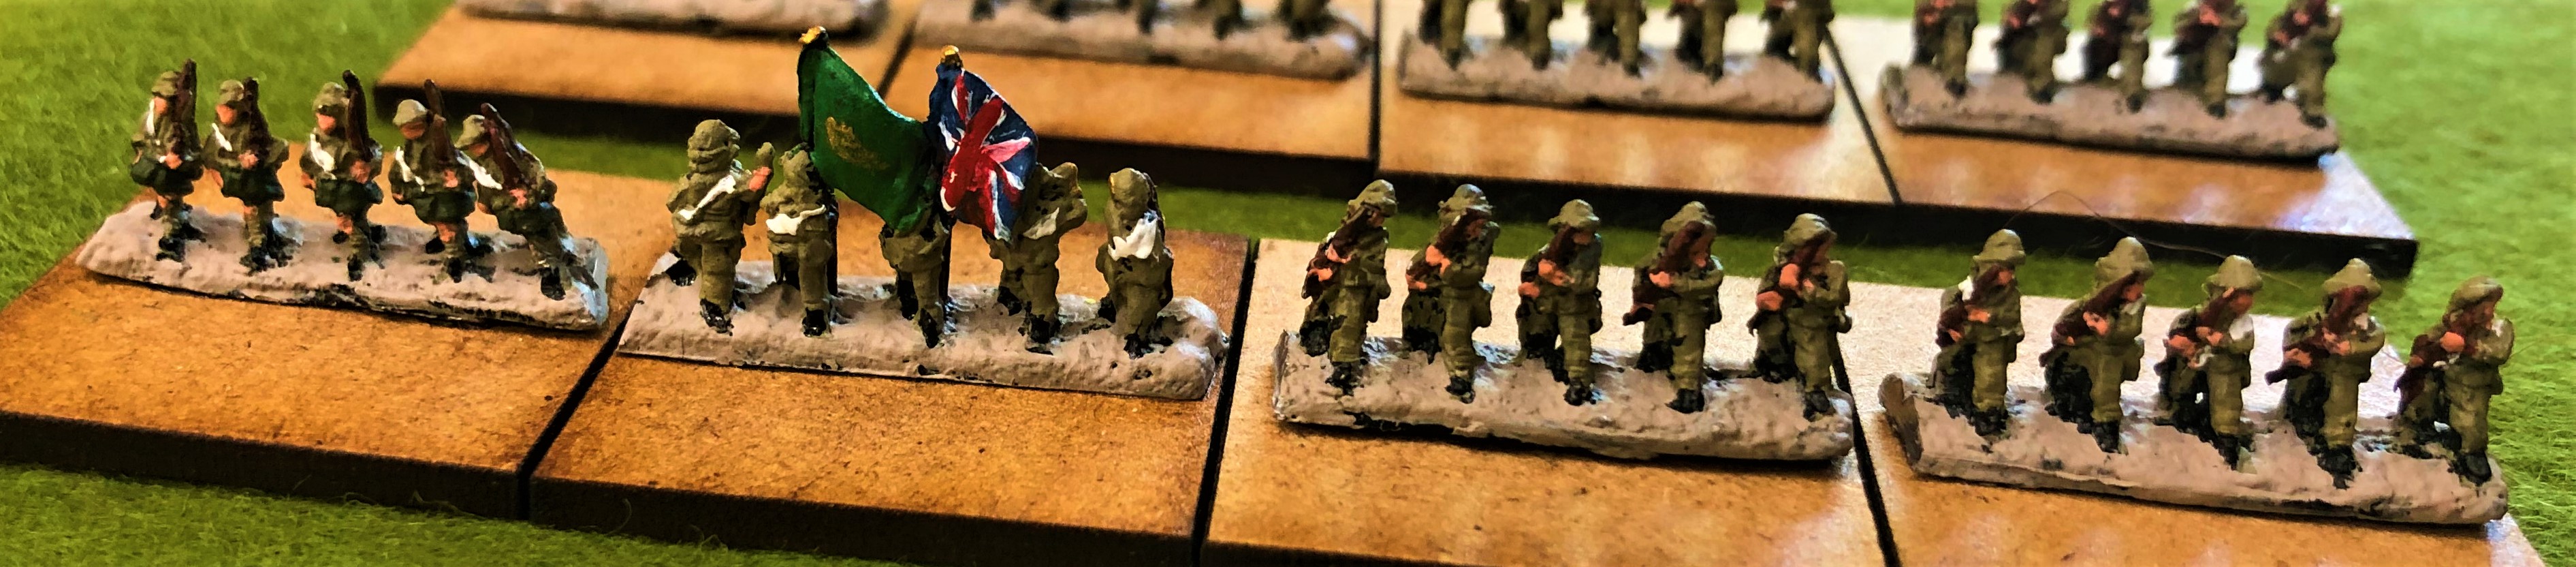
Imperial infantry. The colour party appears to be retreating - premature, or just prudent?

Imperial cavalry. I think Canadians, Australians and New Zealanders were all present at Diamond Hill.

Imperial artillery and infantry including kilted jocks.

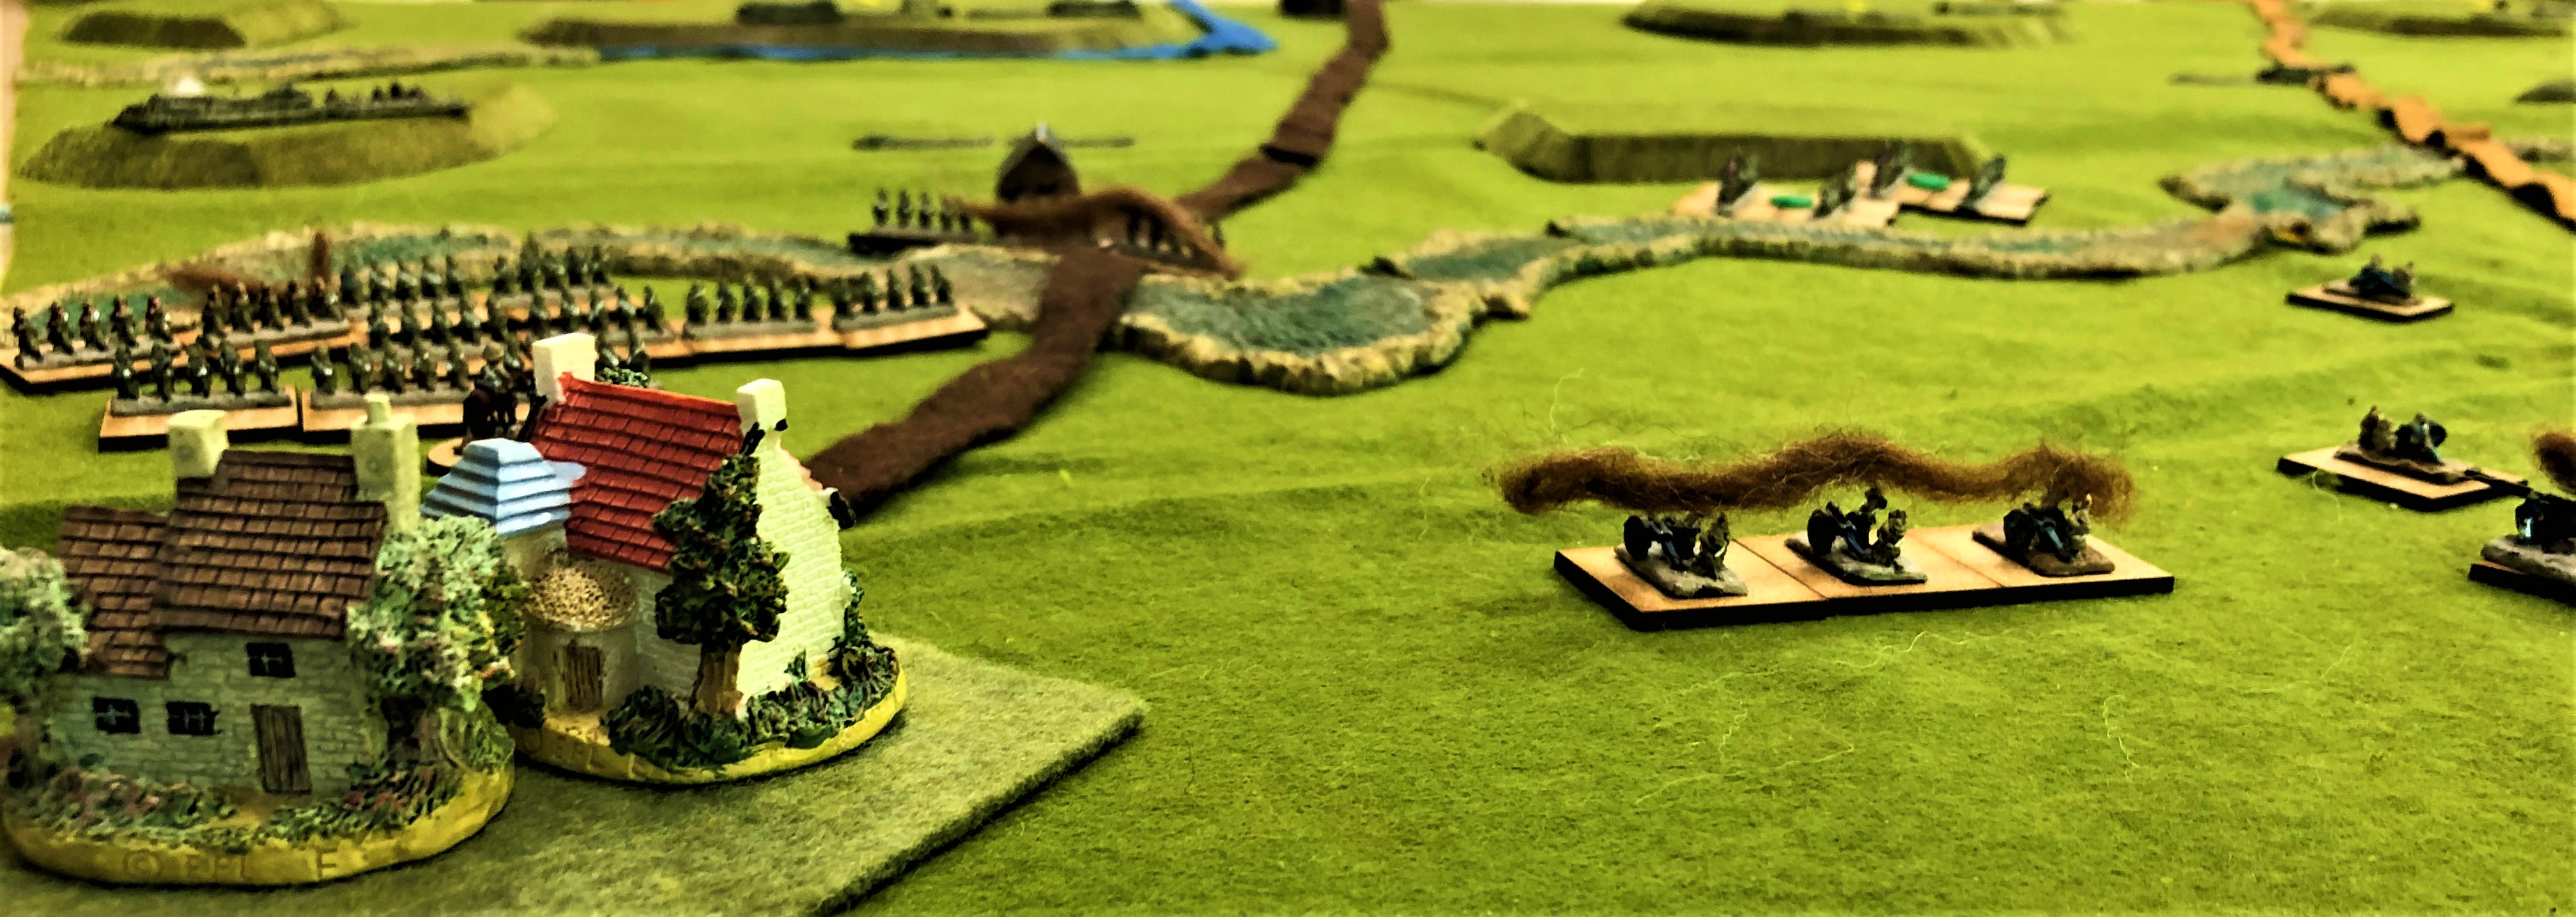
Not so much 'high veldt' as 'green felt': the Diamond Hill battlefield. Brits approach from bottom of pic. Boer entrenchments behind the river protect the hilltop objectives (yellow counters) defending the road to Middelburg. Dark strip is the railway. No Boers visible yet: Boer units start hidden and only deploy when Brits come within 12". Some entrenchments are dummies.

On the British right, Hamilton (later of Gallipoli fame) surveys the empty battlefield. It will soon be empty of Hamilton's troops as well.

French advances on the British left. For the imperials, it's all about the gun line.

Boer's-eye view of Hamilton's advance. Those Irregular Miniatures entrenchments have done good service down the years. Black fluff on British unit indicates spent from heavy casualties. Brown fluff on Boers = low on ammo. Could they by any chance be related?

Hamilton's last unit has evaporated, leaving him to face the Boer counterattack alone in front of his imperilled guns. Red counter denotes temporarily British-held objective, about to fall to the Boers again.

High water mark on the British left, where a lone Boer gun is about to be overrun now that its riflemen have melted away.

Reflections

If there's no room for manoeuvre, there can still be interesting tactical decisions. The Brits faced a continuous line of entrenched Boers, so there weren't any flanks to try to work around. Instead, it became a game of carefully phased and coordinated approach: pick one potential Boer position, move close enough to detect it without getting in range of too many others, move as much firepower up at once as possible, preferably with the guns deployed (but outside rifle range) first. Mastering that art of getting local superiority without dying too quickly was an intriguing challenge.

Likewise for the defender, there were unusual decisions to be made. The Boers are able to fight in their entrenchments as infantry but evade as cavalry. On more than one occasion in the game, the Boer players decided discretion was the better part of valour and had units evade and vacate entrenchments, either to dodge a British charge or simply to avoid being shot at by whatever massed fire the Brits had just moved up. Deciding when to scoot rather than shoot was also an intriguing challenge.

I was a bit disappointed the game turned out so one-sided, particularly for Luke and Ben's sake, as it was quite punishing having to march into the teeth of such deadly fire with so little chance of success. At least they had the consolation of finally dishing out some damage at the end, and they professed themselves happy, so that's OK. If nothing else, they - in fact, all of us - got a healthy reminder of just how much deadlier firepower had become in the half-century between this and the 1866 game they'd fought last week. 

The contrast between this Boer War scenario and last week's Kissingen 1866 battle did illustrate the virtue of a system like BBB (other brands are available!) which covers the whole of the nineteenth century and more, enabling us to play a different war every week and have very different games but without having to learn a whole new ruleset. Though you definitely have to adapt your tactics!

And on that note, we will be leaping two centuries back in time to fight Ramillies next - may have to adapt my tactics a little for that too!

===

And a PS: followed this up with a very different game the following night. My Hungarian friend and co-translator, Dr Péter Bayer, plays a lot of strategy games etc, mostly on PC, but had never tried miniature wargames. I offered to run a remote game for him and Prof Nick Murray in the US. I chose Pákozd, the first scenario in my Hungary 1848 collection, partly because it is smallish and manageable, but mainly because it is full of colourful semi-random (actual historical) events and is a riot to play. So it proved, with the usual medley of Croat Landwehr hiding in the wine cellars, parleys aborting assaults, escaped sheep disrupting proceedings, etc. In classic BBB fashion it all came down to the last few dice on the last turn for an exciting finish. Péter said he loved the layout, the rules and the game. We will do this again. [Update 30 Aug 2022: Péter has done his own very witty write-up here - well worth a read!]

PPS We will be running Pákozd as a display/participation game at the Colours wargames show in Newbury UK on 10 September 2022. Come and see us!

Hungarian right wing at start of Pákozd. National guards in colourful blue or green frock coats backed up by regular troops - former Hungarian line battalions of the Austrian army, still in their white coats.

And the Hungarian left wing: newly formed honvéd battalions and guns among the vineyards, barring the way to Budapest.


Monday, 23 July 2018

More Boer War: Modder Spruit (Ladysmith)

It's been almost a year since Anton and I last got together for a game. Our last one was Magersfontein The planets aligned recently, miraculously we both had a free Sunday, as did a couple more of the guys, and we finally got to try the next in his series of Boer War scenarios: Modder Spruit. This sees Sir George White undertake a reconnaissance in force from Ladysmith against Boers on the hills surrounding the town, which they have been shelling with an annoying Long Tom gun. Historically the British suffered a bloody repulse. Could we change history?

The Battle of Modder Spruit and Tchrengula
You've played the game, now read the book: 
available from Casemate Publishing

Anton's scenarios are clean and quick, and the four of us managed to play this twice in five leisurely hours. He may only write one scenario a year, but my word they are good ones! We Brits tried two quite different plans, first an ahistorical left hook, then a more historical advance with our main weight on the right. Both produced the traditional BBB last-turn nailbiter.

In game 1, thanks in part to an early fortunate success against the Boers' forward unit on Surprise Hill, we were able to steamroller pretty solidly onto our first objective, Tchrengula. From there we had no fewer than three units attempt a last-turn surge to claim Pepworth Hill, and with it victory - but all were repelled by Boer fire, making it a draw.

The second game went less well for us. An aggressive Boer raid in the centre disrupted our gun line as it was deploying, and obliged us to divert some troops there. This weakened our right hook enough that, although we cleared the Boers off the steep Lombard's Kop objective, we got enveloped by advancing Boers and whittled down by their deadly fire. A thrust towards Long Hill ended in the destruction of the Rifle Brigade. Had the last dice of the game been 9+ rather than 7, our last unit on Lombard's Kop would have been wiped out and left the Boers victorious. As it was, we hung on by the skin of our teeth for another draw.

Anton's Boer War games have been excellent without exception. His scenarios really bring out the very different characters of the opposing forces. The radical asymmetry between the two sides makes for fascinating tactical match-ups and invariably interesting games. I can't wait for his next one - roll on 2019!

Anton's scenario is available from the BBB Yahoo group files as usual.

Sunday, 9 July 2017

Magersfontein 1899 - a Boer War AAR

I never used to be very excited by the wargaming potential of the Second Boer War. I suppose I had a superficial image of Boer super-snipers mowing down blundering Brits in a series of dull frontal assaults of limited interest for either player.

Of course the truth is rather different, and I am fortunate to have had my negative illusions pleasantly dispelled by the series of Boer War BBB scenarios crafted by Anton van Dellen. He only writes one every couple of years, but the three so far have all been terrific games: Colenso, Spion Kop, and now Magersfontein.


Opening moves at Magersfontein. British artillery bombards the Boer centre, 
while Methuen shifts the Guards Brigade from his right flank to send in a left hook attack.

We fought Magersfontein twice in an afternoon, each game taking about 2 hours. In the first one we forgot that the whole battlefield was supposed to be Difficult Terrain, so the British romped rather easily round the Boer right flank for an emphatic win. Game 2 went rather differently, the Brits trying a right flanking attack and being stymied both by the soft sand and rocks, and by aggressive Boer counter-moves.

It's an interesting game because the Boers can't afford to sit passively and rely on just defeating the British with defensive fire. If they do, the attackers will eventually be able to concentrate and overwhelm a targeted sector of the Boer cordon defense. Consequently both sides have to manoeuvre, which is generally a key ingredient for a good game, and so it proved here. The extreme contrast between the two armies also makes for nice tactical challenges and  bags of flavour: the Boers really feel like Boers, agile but fragile, and the British army feels like the heavy blunt instrument it was.

Anton wrote an AAR of Game 1 which I reproduce below. A fuller version with more photos is in the files of the BBB Yahoo group.

Apparently Anton is feeling inspired and motivated and further Boer War scenarios should be on their way soon. Let's hope so!

Update: he's already sent me a draft scenario for Modder Spruit (Ladysmith)!

===


Magersfontein
11 December 1899


The morning of 11 December dawns.  The British artillery bombardment in the late afternoon of 10 December 1899 appears to have been ineffectual.  The British right flank straddles the Modder River, with the road to Kimberley heading towards the North-West, to the East of Magersfontein Hill.  On the far right, South of the Modder River is situated the Jacobsdaal Commando.  Immediately North of it is situated the Zoutpansberg Commando.  Both Commandos are supported by Pom Pom guns. North of those units to the East of the road is the Potchefstroom, Wolmaranstad and Lichtenberg Commandos in rifle pits.  All Boers east of the road are commanded by General Koos de la Rey.  In rifle pits immediately south of Magersfontein Kop are the Hoopstad, Kroonstad, Boshof, Bloemhof, Ladybrand and Fauresmith Commandos, also in rifle pits and supported by Pom Pom guns.  The Boers' Transvaal State Artillery Long Tom is placed on the hill North of Magersfontein Kop.  A barbed wire fence runs across the battled field, transecting the road.  The railway line runs North on the West of the battlefield.  Facing the British left flank West of the railway line are part of the Potchefstroom commando and the Klerksdrop Commando in rifle pits south of Langeberg Farm.  The British artillery is deployed on Headquarters Hill.  The Highland Brigade is deployed behind Headquarters Hill, with the 12th Lancers South of the Modder River.

Turn1
The British are pushing up towards the left flank to the West of the railway line, with one half of the Highland Brigade advancing on the left flank being suppressed by accurate Boer rifle and artillery fire.  The British Ninth Brigade is also advancing in support of half of the Highland Brigade with the Guards Brigade advancing behind the Ninth Brigade immediately to the West of the railway line. The British artillery on Headquarters Hill are suppressing the Boers at the foot of Magersfontein Hill.  The Boers are responding to the British advance in the West by coming out of their rifle pits to the East of the Road and crossing the road towards Magersfontein Kop.

Turn 2
The Boers are now advancing across the full breadth of the British right flank.  The Jacobsdaal Commando are advancing south of the Modder River and threatening to outflank the British right flank.  The Boers have also advanced across the Hill to the South East of Magersfontein Kop towards the barbed wire, whilst the Boer unit that cross the road has now crested Magersfontein Kop to counter the British advance to the West of the railway line.

Turn 3
On the British left flank, the other half of the Highland Brigade has been suppressed, with the Ninth Brigade immediately behind it and angling towards the Boers to the South of Magersfontein Kop.  Half of the Guards Brigade has also been suppressed, advancing on the left flank in support of the Ninth Brigade.

Turn 4
The Boer advance continues on the British right flank, with British mounted troops shielding half of the Highland Brigade being driven off.  The Jacbosdaal Command is continuing to advance South of the Modder River, whilst further Boer troops have exited their rifle pits and advanced to the barbed wire.  However the Boers at the foot of Magersfontein Kop have taken heavy casulaties, with British troops advancing across the railway line towards Magersfontein Kop.  The Boers on Magersfontein Kop are also suppressed after taking heavy fire.

Turn 5
The Boer right flank has begun to collapse, with British troops sweeping through the Boer rifle pits on the Boer extreme right flank.  British troops are about to enter Lange Berg Farm.  The Boer Pom Poms have retreated North West of Magersfontein Kop and the British are about to start rolling up the Boer right flank.

Turn 6
The British right flank remains under pressure, with the Jacobsdaal Commando trying to turn it from the South of the Modder River.  The Boers have now crossed the barbed wire fence.  But it is too late, as the British are continuing to roll up the Boer right flank with another British unit about to ascend the hill North West of Magersfontein Kop from which it can make a push on to Magersfontein Kop, supported by the British artillery on Headquarters Hill.

Turn 7
The Boer right flank has completely collapsed, with three British infantry units outflanking Magersfontein Kop and the hill to the North of it, with a mounted unit in support.  The British artillery continues to pour fire on to Magersfontein Kop.
A decisive British win.

AAR by Anton van Dellen. Game played 2 July 2017.