Showing posts with label WWII. Show all posts

Wednesday, 25 March 2026

Eritrean escapade: Keren (1941)

Alongside the 19th century, WWII is my other favourite period to wargame. This is because, for reasons to do with technology and geometry, they generate more (and more interesting) tabletop decisions than other periods. I was therefore perfectly happy when, as a change from our usual C19 games, Crispin brought out his game of the battle of Keren.

In 1941, Keren was the scene of the decisive action in the British campaign to conquer the Italian colonial province of Eritrea. Keren was a formidable position on a mountain ridge, barring the pass that led to the port of Massawa. There were really two battles. The first lasted from 3-12 February 1941 and saw two brigades of 4th Indian Division fail to break through in the face of tough Italian defence and vigorous counterattacks. After a pause, 5th Indian Division was brought up as well. The new assault lasted from 15-27 March. After further hard fighting, the Italian line cracked. The Italians retreated to Massawa but lost many taken prisoner. Massawa held out for another week or so before surrendering.

This scenario only covers the first battle. No doubt Crispin will give us the second in due course. The rules we used are Crispin's own adaptation of BBB for WWII. We had a previous go with these when we fought the prequel to Keren, Gallabat-Metemma (see brief report here). I'll save my thoughts on rules for the Reflections at the end of this post. Meanwhile, here's the story in 15 photos.

This shows most of the battlefield from behind the British left. Those daunting mountains were custom carved by Crispin. They extend a little further left and right of pic. Blue and white lines are the road and river running through the pass. Pinkish line is the first contour level of the mountains. That's right, they're four levels high.

Troops in the foreground are three battalions of 11th Brigade, 4th Indian Division. Each base is 100 men. Figures are Baccus 6mm from Crispin's collection.

Italians defend the mountains, top of pic. White counters mark Objectives. Figures are Irregular 6mm from Crispin's collection.

The Italian defences are a tough nut to crack. Luckily, the British brought lots of 25 lb hammers. This is just half of our eventual 8-model gun line.

Italian askaris in their red fezzes defend Fort Dologorodoc, commanding the pass.

Outside the dusty town of Keren, the Italian mobile reserve waits for Dave W to give it orders to move. The CV3/33 tankette evidently expects to retreat when the cavalry advance.

Matt took command of 11th Bde. I provided fire support while I waited for my command to arrive on table. Matt's troops struggled up the steep hills in the teeth of deadly fire from Crispin's Italians. Not much progress was made on the first 'day'. (The scenario represents this 10-day battle in 9 game turns, with two 'Night Intervals' after turns 4 and 7.) Here you can see Matt's initial three battalions clinging to the lower slopes of the mountain, with a fourth in the foreground that has arrived overnight.

Day 2: the Indian right wing, my 5th Brigade, deploys in the foreground to try and seize those two Objectives top centre and right. Dave T brings more Italians marching onto the mountaintops to oppose me. 

Having learned from Matt's painful experience on our left, our right wing starts to scale the mountainside, trying to avoid massed enemy fire.

Back on our left, one battalion from Matt's 11th Brigade has reached the summit on the enemy's right flank (left edge of pic). Two others are still pushing up the hillside to join it. The Italians wait in their green-chalked trenches. Note the small 3-base column with the blue counter at the base of the hill: that was Matt's lead battalion, 2nd Cameron Highlanders, that had 4 bases blown away when it crested the narrow ridge in front of the Italian position. But it will rally and do great things later.

Mirroring Matt's outlanking move on our left, here my 5th Bde is doing the same on our right. My men have taken one Objective (lower right) and are eyeing the next (centre of pic). The 25-pounders have started to take their toll on the Askaris (yellow and blue counters show one unit Disrupted and Spent).

The Italians respond to Matt's left-flanking move by pulling back to refuse their flank. Their fire is pinning down the Rajputs.

Things are getting harder on our right as well. Italian reinforcements are being rushed up, including a couple of battalions of Savoia Grenadiers (the larger 5-base units in upper half of pic). My Indians are taking casualties and bogging down.

Desperate fighting on Matt's side. He has taken the Objective top left, but his Rajputs are now Disrupted, Spent, Low on Ammo, and heavily outnumbered (more Italians rushed up here too.) On the plus side, his Camerons have recovered some of their strength overnight and are getting ready to return to the fray (lower right).

Back to my end of the table. All Italian attention here has been drawn off towards the intense firefight at the righthand end, where we have taken a second Objective (the peak upper centre). Our final reinforcement therefore arrives at the perfect time: 5th Mahratta LI (lower left) sneaks up on Fort Dolgorodoc.

With fire support from the 25-lbers (now massing 80 guns), the Mahrattas' advance causes the Askaris to desert the Fort. The Italians have no reserves close enough to reoccupy it. The only question is whether the Mahrattas can get a good enough movement roll to capture it on the last turn ...

... and they do! The hapless tankettes can do nothing about it. Our right wing has therefore taken 3 Objectives.

Punjabis bolster the Rajputs. This Objective remains contested at nightfall. Out of shot to the right, the Camerons managed to seize another vacant ridge Objective (the one on the opposite side of the pass to Fort Dolgorodoc). That made a total of 4 Objectives, enough for the Indians to claim victory, somewhat to my surprise given how hard it was for us initially.

Reflections

A Different Vibe. As soon as I saw the arid, dusty-brown table with its towering mountains (by 6mm standards), I was already transported elsewhere. Eritrea? Askaris? Rajputs and Mahrattas? All very exotic and unusual (to me, anyway). Add in Crispin's rule tweaks to accommodate WWII weaponry and tactics, and I was definitely in a different place from my usual Monday night. Great stuff.

Eternal Verities. For all its exotic and esoteric and different features, the underlying principles remained: use cover, seek flanks, concentrate firepower, maintain a reserve ... and so too did the underlying BBB rule mechanisms that help to embody those principles on the tabletop.

Speaking of Rules. I admit I was a little sceptical about adapting BBB for WWII. I've seen several different approaches (including one of my own) and I'm not 100% sold on any of them. But I think for this scenario at least, Crispin's subtle tweaks produced the right effect: while it was hard for our Indians to attack up a mountain against automatic weapons, it was not impossible once we brought artillery and the right tactics to bear; and by the end the Indian troops' superior quality was starting to tell, as the fragile Italian numbers crumbled away. Well done, ref!


Crispin's scenario is available from the files of the BBB io group here (you have to join the group to get access).

Tuesday, 13 January 2026

Italians in Russia, 1942

Fancied a change from the 19th century so I dug out my WWII collection and revisited a scenario we last played a decade ago: "l'ultima carica", the last cavalry charge, carried out by the Italians in Russia in 1942. The charge was by a regiment, but the game covers the larger action by roughly one Italian composite division vs three smaller Soviet rifle divisions and a tank brigade. I'll get straight into the action with photos: a few scene-setters, then two or three each for the first and second phases, and a climactic one.

The mighty Italian armour! On this sector the Italians had a battalion of Semovente 47/32 and a few L6/40 light tanks, backed up by Bersaglieri motorcyclists. Tanks are Heroics & Ros from my collection. Bersaglieri by Dave W.

It's a big battlefield, 36km x 24km, and the game covers several days of action. It's pretty flat country. The hills are gentle rises. The green patches are balkas: steep-sided ravines with woods and villages in them. Soviets have crossed the Don at north table edge and are exploiting south. Italians are a mix of remnants from the river defence, plus reinforcements rushed up, and are trying to counterattack and shore up the line. White counters indicate Objectives: the line of hills across the centre of the table, and the two main villages in the balkas in the foreground.

Soviets have three rifle divisions: 197th top left, 203rd top centre, 14th Guards top right backed up by 652nd Tank Brigade. Against these four formations, the Italians have three: "Yagodniy Group" around the lefthand village, "Chebotarevskiy Group" around the right, and a Bersaglieri battlegroup moving up to plug the gap in the centre.

View from the Italian left, where the Semoventes are approaching to support Yagodniy. The 197th (top centre) is ignoring the solid Italian line on the hill in front of Yagodniy and has shifted across to help the 203rd (top right) contest the central hills against the Bersaglieri.

Lots of bloody and confused action in the central sector, including an overrun attack by the fearsome L6/40s. 100mm howitzers add beef.

Chebotarevskiy sector was quiet initially while the Soviets focused on tidying up the remnants of the CCNN "Tagliamento" Legion on the hill top left. These were dug in so they resisted the Soviet armour for a surprisingly long time.

The valiant CCNN blackshirts being assailed by mixed battalions of T34s, T26s, and Lend-Lease American tanks. 14th Guards divisional artillery trotting up in the background.

Mid-game: Soviets have finally cleared the blackshirts off their hill. The tanks and the Guards Rifles can now combine to attack the tough Italian position around Chebotarevskiy.

In the central sector, 197th and 203rd Rifle Divs have driven back the Bersaglieri with loss.

My Soviet infantry are from Irregular Miniatures. (I think this range is currently out of production but hopefully back soon.) I do like my command stands keeping the red flag flying.

The Italian Yagodniy group HQ musters its reserves to head off and try to help the Bersaglieri. The unit in the foreground is XV Guastatori assault engineers. Their flamethrowers and the Semoventes will wreck the 197th, which has already taken losses against the Bersaglieri.

The climactic assault: tanks and SMG shock troops converge on the Savoia dragoons in Chebotarevskiy. If the Soviets can take this, they will have enough Objectives for victory.

The weight of Soviet numbers and fire would have been too much for the Italian cavalry, except that Mark had a wild card up his sleeve (each side got dealt an event card each turn, to use as and when they wished). This let him re-roll their saving roll, needing 3 or less on D10, and they squeaked it.

Reflections.

Brain Pain. The luxury of playing BBB roughly every other week for 15 years is that we all know the rules backwards and can concentrate on strategy and tactics. We forget how hard it can be to wrestle with unfamiliar rules. My brain hurts!

Rediscovering WWII. But the brain pain was worth it. WWII is up there with the late 19th Century as my two favourite wargaming periods. In both, the trinity of infantry-cavalry/armour-artillery is in reasonable balance and the battles can offer a lot of maneuver, which is what generates decisions and makes games interesting. We all enjoyed the game enough to persevere with the rules. I expect I'll knock up a better QR sheet, refurbish some old scenarios and work up some new ones, and get more WWII on the table occasionally from now on.

Tatty Old Troops. In this and a couple of other recent games, I've had to improvise by putting figures on my old card sabots. If this WWII ruleset sticks (and it looks like it will), at some point I ought to get round to actually basing the tanks and troops properly for it. Likewise the ACW collection I inherited from a friend. Decent bases make a difference both aesthetically and functionally.


Sunday, 26 October 2025

A double dose of Dorking

What a magnificent and memorable occasion! I am recently returned from a four-day wargaming extravaganza at our friend Phil's large and lovely holiday home in France. Eight of us convened there on Thursday evening and had fun fighting and feasting until our Tuesday morning departure.


The hardcore wargaming was leavened by non-military-related card and board games. The full list of games played was this, I think:

Gettysburg (BBB) - the iconic American Civil War battle, with custom terrain

Gravelotte (BBB) - the epic Franco-Prussian War battle, with custom terrain

France 1940 (O Group)

WWII naval Pacific (Nimitz)

WWII naval North Atlantic (Nimitz)

Startups (card game)

High Society (card game)

Junta (board game) - the classic game designed by Vincent Tsao, friend of BBB and quartermaster of the Corlears Hook Fencibles

Decrypto (party game)

Dorking 1875 (BBB)

Dorking 1940 (O Group)

I will focus on these last two because it was such a delightful conceit on Phil's part to run them both. Many wargamers will know of the book by George Tomkyns Chesney, The Battle of Dorking: Reminiscences of a Volunteerpublished in 1871, about a fictional future German invasion of England in 1875. Some readers may even have wargamed the Battle of Dorking, as I am sure I have seen it done as a convention game a couple of times. Anyway, this time it was our turn, as Phil had decided he wanted to do it. In fact, he was so keen that he cut out custom hills for the terrain and was still frantically painting the last guardsmen when we arrived. We duly fought the 1875 battle and enjoyed it so much that it seemed a good idea to fight a 1940 version as well.

Some 17 annotated photos tell you how our two games went. A few reflections follow.

The Dorking gap, looking south. Germans will arrive from the south edge (top of pic). The large building on a square is the town of Dorking. Roads and rail lines run N-S and E-W. The River Mole runs through the gap. The major ridge on the left is Box Hill. The nearer building in the centre is Westhumble Station; the one lower right is Polesden Lacey; lower left, I think the King William IV inn. On the small ridge top left is where Graham used to live, above the railway tunnel. All of these were objectives, as was the major ridge on the right as well.

In addition, this party of Royal Engineers was a timed objective. The Germans had to overrun them by Turn 2, otherwise they would demolish a strategic section of railway line. Surprisingly, the German players didn't even try - too intent on their right-hook plan (and too wary of British covering fire).

I commanded the British right, a brigade of one regular battalion (one seen here) and three of rifle volunteers. My mission was to hold the righthand ridge. This is Turn 1: the Hun has occupied Dorking and is sweeping towards Box Hill, ignoring me initially and letting the RE do their vital work. White counters mark objectives. (Figures are Pendraken 10mm from Phil's collection. Forgive his unflocked bases - he was painting them right to the last minute. I think the guards deployed while they were still wet!)

Front view of my position, showing some RVs in the line. A second RV bn is left of pic. The union jack marker is my third RV bn in reserve. (We also had a couple of dummy unit markers.) The Polesden Lacey manor house is just visible top of pic, subsequent home of the famed beauty, Lady Greville.

The German right, commanded by Crispin, collides with our left, commanded by Phil, on Box Hill.

A Phil's-eye view of the repeated assaults on Box Hill. The Germans soon set up a Grossbatterie (out of shot top of pic) that did great execution. The blue counter shows the British regulars are now Spent.

A couple of turns later, another corps arrived on the German left, commanded by Dave. My thin line of Rifle Volunteers in the foreground did not keep Dave's Germans off the high ground for long.

My first RV bn having been swiftly routed, I was obliged to wheel my remaining three bns to the right to face Dave's onslaught. A brigade of Germans promptly sortied from Dorking to scale the heights and mow down my regulars from behind. Blue and yellow counters show the effects of the German fire. Fortunately, a battalion of guards had de-trained at Westhumble. Phil sent these up the hill (lower left) to take the Germans in flank and contest control of the ridge.

Box Hill has fallen to the Germans, who swarm across it towards the inn (left foreground), held only by a few Yeomanry cavalry, and Westhumble Station, which is more stoutly garrisoned.

Nevertheless, at game end, both these objectives fall to the Hun. However, a couple of rolls on the random events table have helped us. Top of pic, outraged citizens have armed themselves and, with their rallying cry of "Take Back Control", seized Dorking. Out of pic to the right, the East Surrey Hunt has mustered to protect Lady Greville's honour and distracted a German brigade or two enough to preserve Polesden Lacey and retain the western ridge. The victory conditions were somewhat provisional (Mark and Phil only finalised the scenario at 2am the night before) but I believe it ended in an honourable draw.

For our O Group battle of Dorking set 65 years later, we had to zoom in somewhat. Essentially we were fighting over one shoulder of the gap. This is the battlefield seen from the south, the edge where the Germans arrive. The righthand half of the table is the end of Box Hill, with a substantial concrete bunker and some trenches. The River Mole divides it from the road and rail routes through the gap and Westhumble station (upper left, next to the railway, obviously).

I commanded the British left. Our mortar FOO had a splendid view from Box Hill.

Whereas the 1875 game was a properly designed scenario, the 1940 one was a much more ad hoc exercise in getting the toys on the table, as Phil doesn't often get a chance to use his 1940 collection. We British defenders therefore had nearly as many troops as the Germans and both sides kept bringing on more, which made it hard for the attackers to break through. Here we see Crispin's Pz Is and Kradschützen advancing past a couple of burning Pz IIs.

Of course, one way to help an attacker to break through is to have Stukas smash holes in the defence. This German airstrike destroyed both our A9s and seriously discouraged a Mk VI troop. (Though Mark, the other German commander, did later reflect that he'd have done better to pummel the infantry defending the station.)

The Stuka also destroyed our 25-pdr. Our infantry and their Boyes AT rifle hunker down to defend the vital bridge.

Climax of the game was a double assault on the station, first by a motorcycle platoon, then by a Panzergrenadier platoon. Both were repelled by the tightest of margins - it came down to the company commander's Webley to swing it.

What else would you put under the cloth to make hills for a 1940 game?

Reflections

The value of what-ifs. I wrote a "Reflections on Wargaming" essay on this a couple of years ago. Both our Dorking games were extreme what-ifs, gaming battles as part of invasions that never happened. Nevertheless, they were thought-provoking and generated much discussion about both putative invasions. Essentially this boiled down to the conclusion that the existence of the Royal Navy ruled them both out, barring some Wunderwaffe of the kind hinted at but not properly described by Chesney. As for the battles themselves, the 1875 one went pretty much the way Chesney has it - given another turn or two, the thin red line would have collapsed under the weight of German numbers; the 1940 one was instructive in how difficult it was for the Germans to make progress until the Stukas blew a hole in the defenders.

The value of custom terrain. The terrain shapes the battle. For historical refights to have the right shape, it is therefore important to represent the terrain reasonably accurately. Hills are a particular challenge in this respect (see my essay on that too). For the Dorking game (and Gettysburg and Gravelotte), Phil had gone to great trouble to carve custom hills of exactly the right shape. These undoubtedly made the games more realistic, not to mention looking great. It's not worth the effort for every battle, but for major ones like these that are likely to be played again and again it surely is.

Rationalizing the dice. BBB's use of 2D6 for unit activation, firing and assaults means that, while 'average' results will predominate, there is always a small chance of something rather less likely happening. When that occurs - the devastating fire being brushed off, the overwhelming assault repulsed, the vital brigade next to the commander-in-chief failing to move at the critical time - it is important to be able to tell ourselves a plausible story about what must have happened to produce that result. A nice case in point arose in the 1875 game. Dave's corps was poised to swarm my few defenders on my ridge. The random event for that turn was that the East Surrey Hunt appeared at Polesden Lacey. Three of Dave's brigades promptly failed their movement rolls and sat paralysed for an hour. Our rationalisation? Clearly, they had heard the Hunt's hunting horns and assumed a large force had arrived on their flank!

Getting the toys on the table. While a lovingly crafted, perfectly balanced scenario that generates a close contest and a nailbiting climax is always welcome, there is also considerable pleasure to be had from much less tightly scripted affairs. Our 1940 game was the sketchiest of scenarios - after all, it was entirely fictional anyway - Phil just gave both sides whatever he liked, reinforcing the Germans as they bogged down and reinforcing the British as their defences creaked. The ultimate meta-victory conditions were achieved - he got his toys on the table and we all enjoyed a good-looking game and a ding-dong scrap.

An army marches on its stomach. The rations during our four days were excellent. It behoves me to pay tribute here to the redoubtable Lisa, who conjured up culinary miracles every day, amazing in both quality and quantity. Fortunately Phil's cellar had sufficient wine and Armagnac to wash these down. Fair to say the troops' morale was high throughout.

The HQGE. Another of my "Reflections" essays was this one on the "High Quality Gaming Experience". It lists six key ingredients: Terrain, Troops, Venue, Rules, Scenario, Company. Our four days in France had all of these in spades. This was an Extremely High Quality Gaming Experience and one I hope will be repeated. A la prochaine!

Wednesday, 19 March 2025

My 2025 gamefest

I had a real treat earlier this month: a 10-day holiday in the US gaming it up with a great group of friends. Such a fantastic time, I'm going to record it briefly here, primarily for my own benefit, to look back on happily in years to come. If you enjoy it too, my gracious reader, all the better.

The trip kicked off with us visiting the Cold Wars wargames convention in Gettysburg:


Pretty busy and well attended, considering the con was planned relatively late. Some nice games on show and a chance to catch up with a few guys I'd not seen in a while.

We followed that up with a couple of hours touring some of the Gettysburg battlefield: Seminary Ridge, Little Round Top, the highwater mark. You can't beat walking the actual ground for understanding a battle.


Then it was back to SkirmishCampaigns HQ for a wonderful week+. Because we had the luxury of time, we paced ourselves sensibly. Most days we just played one high-quality game at a leisurely pace so we could appreciate it to the full. That would be followed by a civilised dinner (including Glenda's famous military history quiz one evening), then a drinks and a movie and more drinks (but not too many).

The roster of games played included:

- WWII: Peleliu. Pacific scenario by Rob, using the Arc of Fire 2 rules that he and Scott have been developing (with some input from me). We fought this twice (one Jap win, one US).

- AWI: Freeman's Farm. Scenario by Scott using his mods for battalion-scale BBB.

- AWI: Lexington & Concord. Scenario by Rob (adapted from CWG) using Scott's mods. We played this twice - both games were tied!

- AWI: Bunker Hill. Scenario by Rob. Fought this one three times, with a different British plan of attack each time and some tweaks along the way. One US victory, one draw, one British win.

- WWII air: "When Pigs Fly". Italians vs Brits over Egypt. Check Your Six! rules. Scenario from CB Stevens's Falcon of the Duce campaign scenario book.

- WWII: The Death of Wittmann. Scenario by Sean, written for Fireball Forward, adapted for AOF2. We played this three times with some tweaks. First time, the Brits sprang their ambush too early and got wiped out. Second time, the Germans walked clumsily into a better-timed ambush and got wiped out. Third time, Germans used sensible reconnaissance and were able to fight through for a win.

- ACW: The Seven Days. My BBB scenario. Initial Confederate attack was devastating, but Nick managed to rally the Union and hold the line.

20 or so photos of the action:

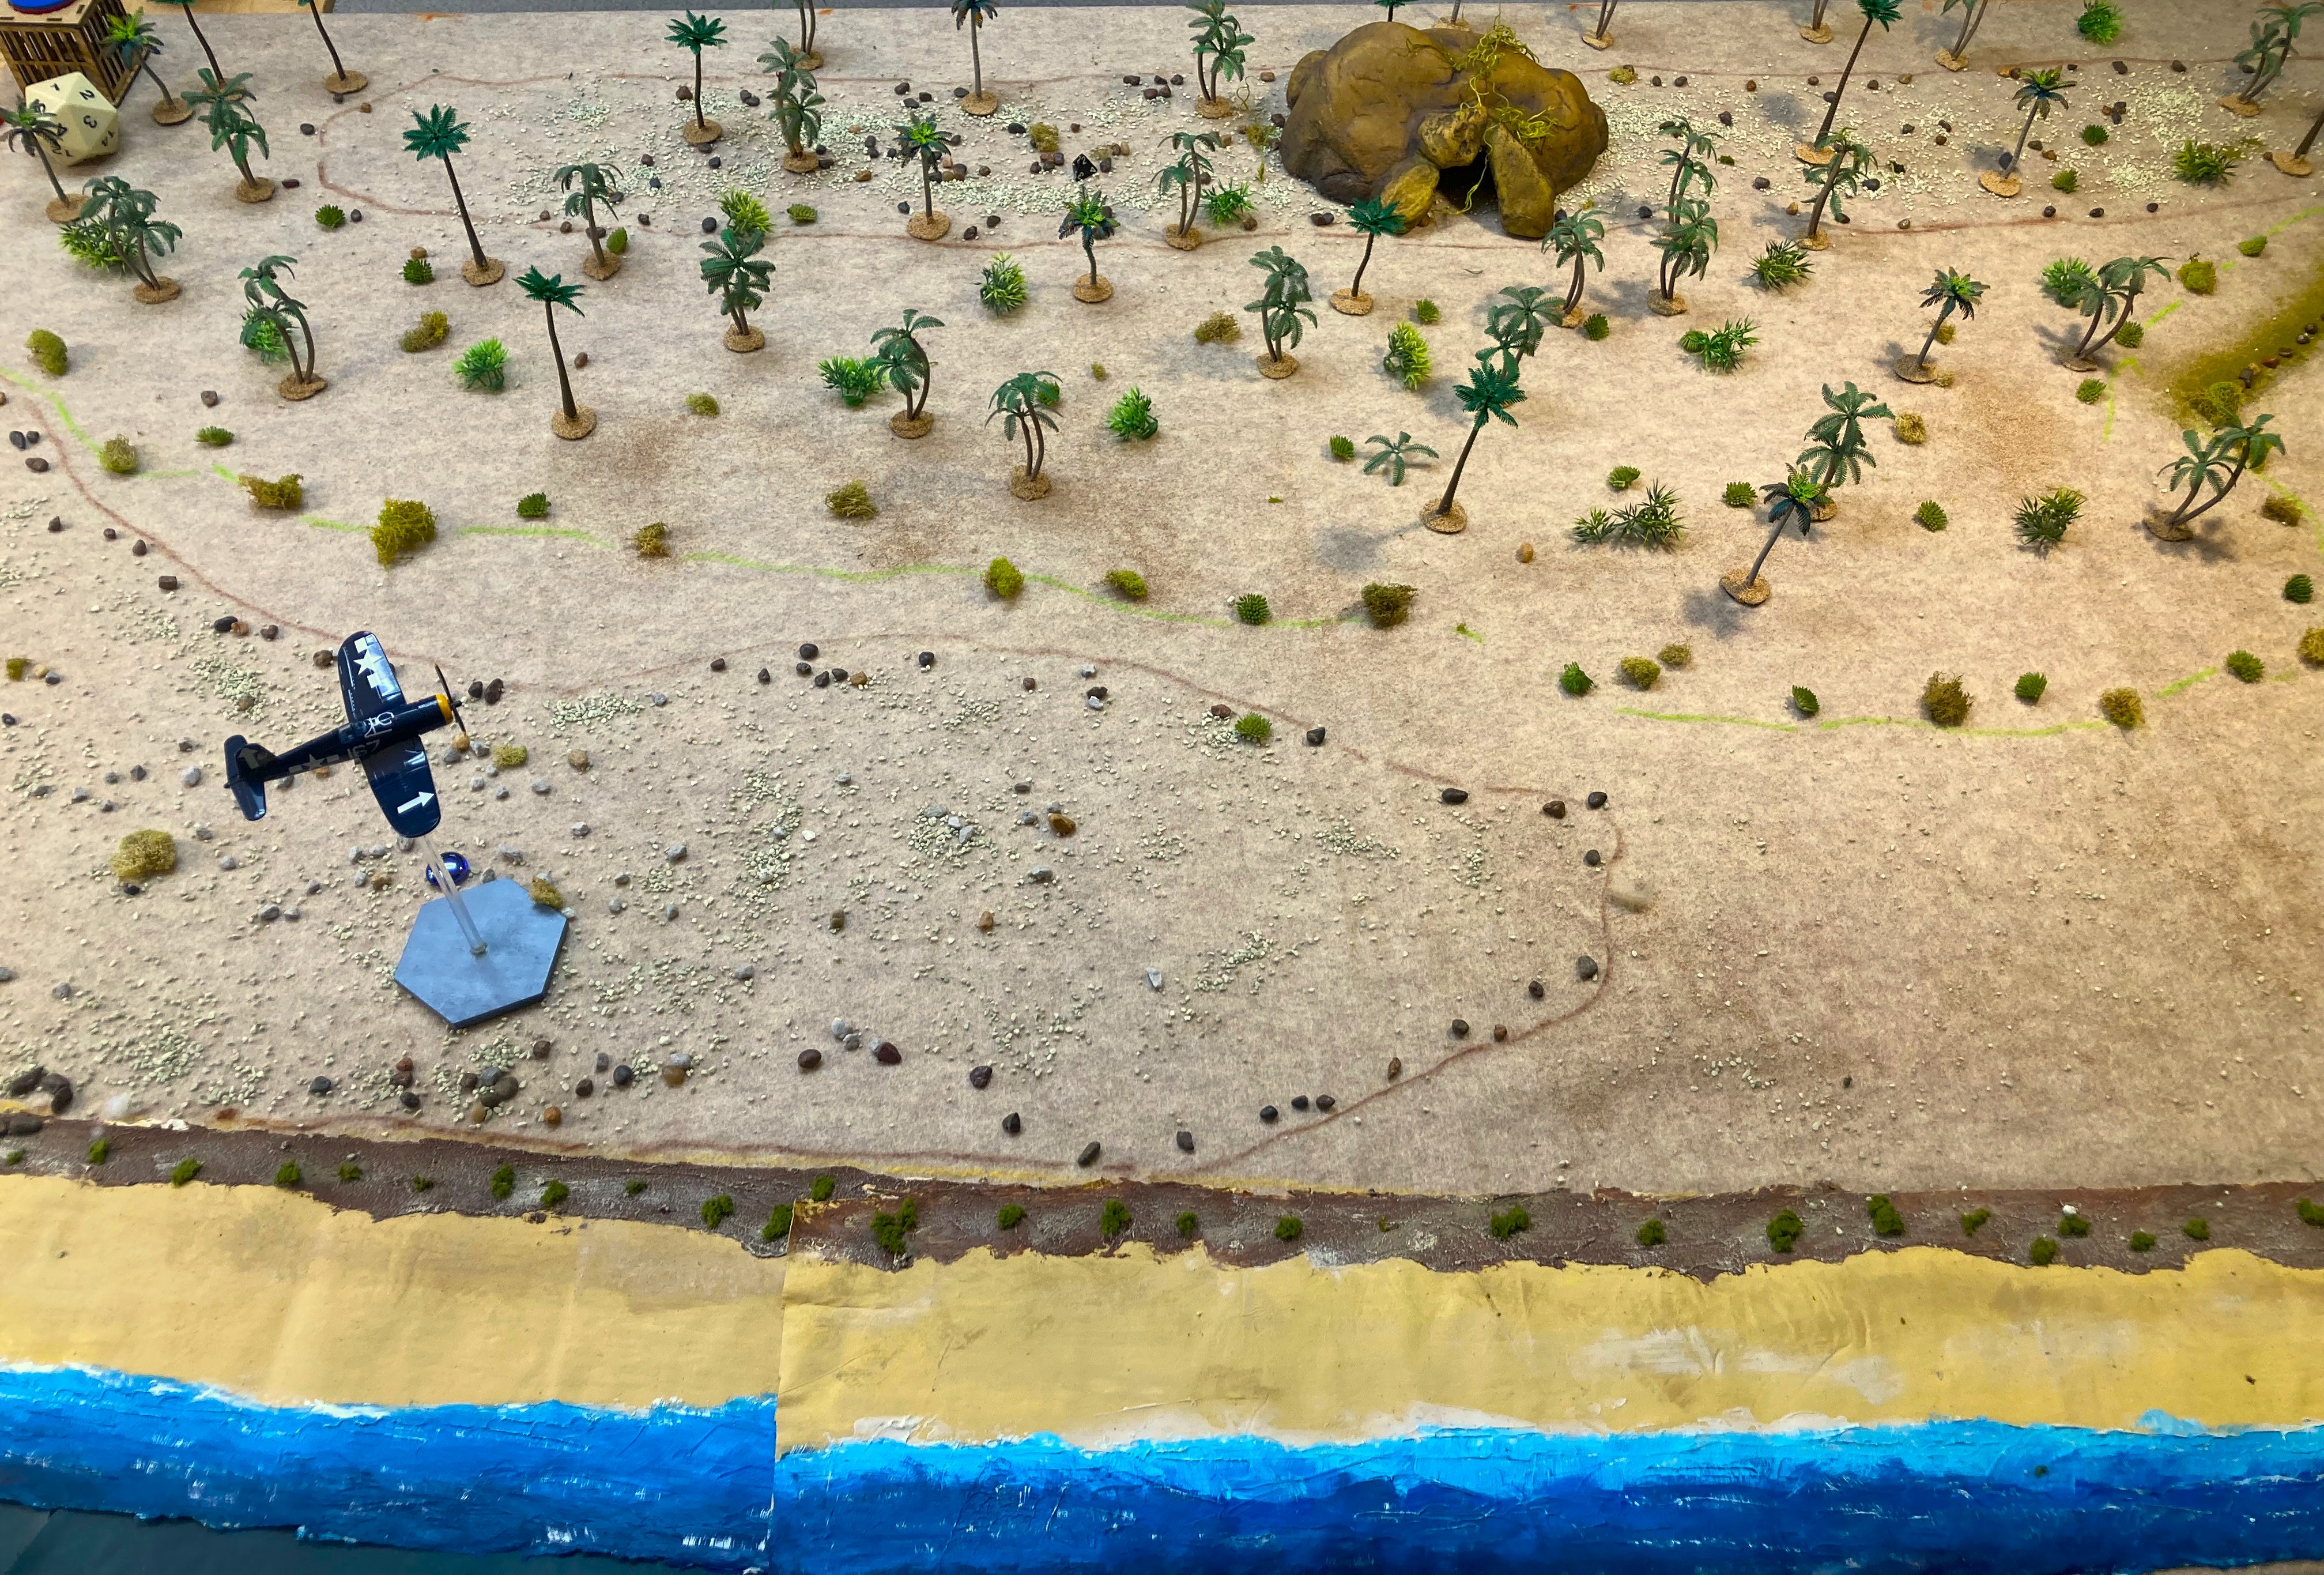
Rob's lovely layout for Peleliu.


Marines hit the beach at Peleliu. 15mm figures painted by Rob.

K Company takes on the Japanese first line of defence.

Magnificent centerpiece: the main Japanese bunker.

Luckily, the USMC has flamethrowers! (Unluckily, mine did virtually no damage all game.)

Amtraks come to grief, easy prey for 47mm.

Morgan's Rifles at Freeman's Farm.

The Freeman's Farm battlefield.

Intense fighting at Freeman's Farm. Scott's 28mm figures.

British grenadiers at Freeman's Farm.

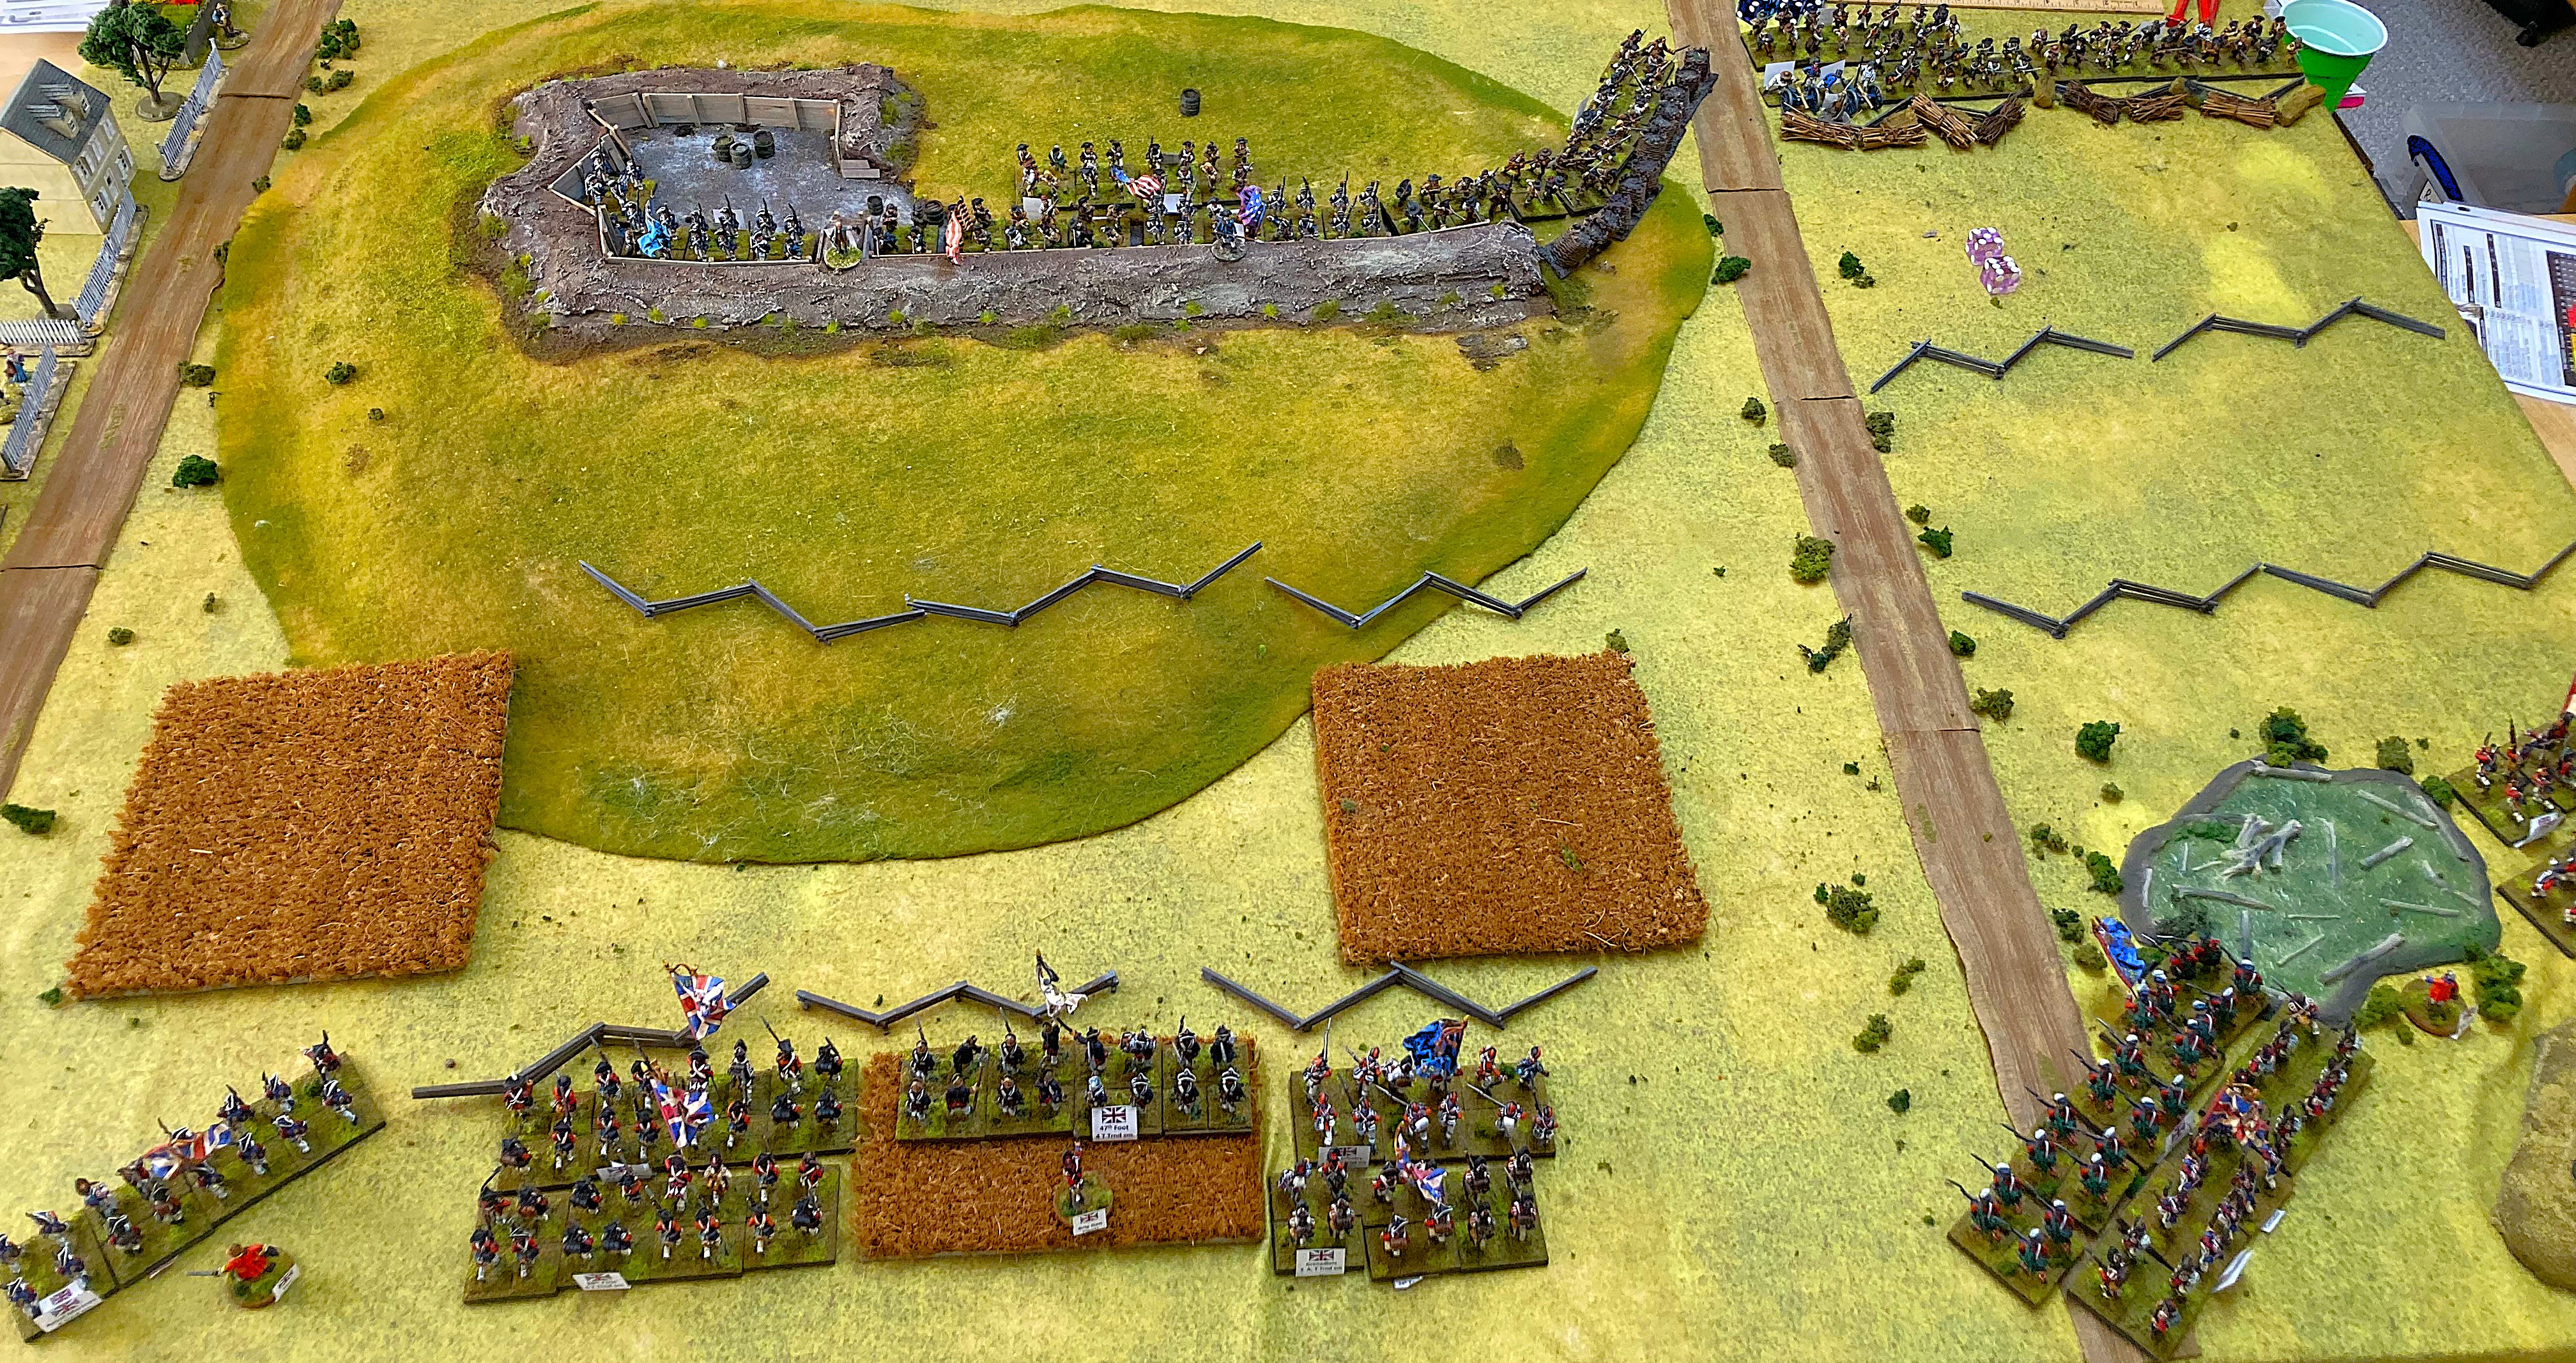
Bunker Hill. Terrain by Rob.

American militia await the British assault. Rob's 28mm figures.

The British are coming!

My layout for the Seven Days. This represents something like 15 miles x 10. Malvern Hill top left corner; Chickahominy river running through the middle. Confederates start from the top edge, with Jackson arriving from the righthand edge.

The Death of Wittmann: successful British ambush.

Not this time! The Panzerkeil escapes off the north board edge. Troops and terrain by Sean.

The Seven Days: Union line behind Beaver Dam Creek, in front of Gaines Mill.

Tough Union line in front of Fair Oaks.

Confederates approach, undaunted. Scott's 15mm figures.

Union right is driven back (top right), so McClellan counterattacks in the center directly towards Richmond (top left).

Game end: The Union holds the line north of White Oak Creek. Artillery protects the Glendale objective.

Impossible for these few words and pictures to convey just what a brilliant trip this was. Must do it again!