Showing posts with label 1809. Show all posts

Tuesday, 16 June 2026

A beer and a fight on a Saturday night: Aspern/Essling

I asked Dave O if he wanted a beer and a fight last Saturday night, so that we could narrow the gap between games from decades down to less than a year. Our last encounter was Gettysburg last September. After ACW, his other great enthusiasm is Napoleonics, so we rolled out Aspern/Essling from the Napoleon's Bloody Big Battles! scenario book.

Ammoed up for Aspern/Essling

Dave's ACW armies are in 6mm but his Napoleonics are 2mm from Irregular Miniatures. These give a really good mass effect for a big battle like this:

Austrian reinforcements that will march on in Turn 2. Coloured base edges are red for Veteran, blue for Trained, green for Raw. Flags on the corners identify which army they're from. Coloured dice identify which corps is which. You could use the dice to track strength points but we didn't do that - too fiddly and too prone to get spilled. Instead, we used the number labels as unit ID to track strength on a roster.

Most of the French army is queuing up to cross the pontoon bridges over the Danube.
Discreet little mdf rectangles indicate a unit has the Skirmisher attribute. 

The large circular bases are the C-inCs. Here is Napoleon;

and Archduke Charles.

Irregular's 2mm terrain paints up nicely. Lovely job by Dave on this village.

I gave a synopsis of the historical battle last time I played it, back in 2020, so shan't repeat myself. Here is the battlefield:

Red stars are Objectives. Austrians need to take 3 to draw or 4+ to win. Essling is treated as a Fort (3 cover); Aspern as a Town (2 cover). The berm between them provides 1 cover. The French have only 3 divisions on the table initially. Each turn, they have 50% chance of getting another division across. It is a 9-turn game. After Turn 3 there is a Night Interval, in which they will get another 4-6 divisions across. All the Austrians are either on table initially or arrive on Turn 2. There's a lot of them! But they are almost all rated Passive, which means it may take a while to get them all into action and can be hard to coordinate assaults.

Austrian Passivity means Hiller on the extreme right makes virtually no move towards the Gemeinde Au. However, Charles manages to put four divisions into an assault on Aspern on Turn 2. The yellow Disruption puffs are because the preceding turn's firefight killed off both sides' Skirmishers - losses the numerous Austrians can absorb better than the French. 

Disaster for the French! Boxcars mean the Austrian offensive fire wipes out the defenders of Aspern. Bellegarde's corps will swarm through and hit the French reserves who have moved up behind the town.

Some revenge for Dave on the Austrian left, where Hohenlohe has recklessly advanced through Gross Entzersdorf in column (indicated by the blank square template behind the Austrian infantry unit) and gets charged by the French heavy cavalry division (rectangular template = In Depth).

Hohenlohe's infantry take casualties and are hurled back to seek refuge behind their cavalry (top left).

But it is the Austrian turn to attack again. Bellegarde debouches from Aspern for another go at the disrupted French. His cavalry charge over the berm, sacrificing themselves to distract the French artillery.

The Austrian cavalry has died but done its job. The infantry assault succeeds, driving back the French infantry and cavalry (top left), then rolling up and driving off the French gun line. 

Blessed relief for the desperate French as night falls. Both armies regroup. Napoleon crosses the Danube. He now has 8 divisions crammed into a pocket around his bridge, with a fresh gun line.

But his heavy cavalry, his only support for his division garrisoning Essling, is somewhat isolated next to Gross-Entzersdorf.

Archduke Charles waits for the French hammer to fall on Aspern. Hiller (right of pic) finally has a toe in the Gemeinde Au woods but there are French tirailleurs in there.

The hammer duly falls. It will take a couple of turns of hard pounding but the French will retake Aspern.

But the Austrians are preparing their own assault on Essling (top right). Apart from the Essling garrison, the artillery and the cavalry next to the Danube are the only French in the picture. They face eight Austrian divisions, including Lindenau's grenadiers (the two units with black dice and green puffs for Aggressive).

The Austrian assault on Essling (top of pic) is being prepared by this substantial gun line. Although it looks formidable, so are Essling's defences, so all it produced was clouds of dust.


Five Austrian divisions storm Essling. The supporting French cavalry and artillery are wiped out by other Austrian units.

Turn 6: Austrians hang on in Aspern; French hang on in the Gemeinde Au. In terms of victory conditions, the game is currently a draw.

The Austrians get their noses in front by taking Essling.

Austrians again repulsed from the Gemeinde Au on their right. Archduke Charles is displeased.

From displeased to dismayed: a 6:1 die roll means the French retake Aspern. The scores are level again!

Triumphant French now occupy Aspern. Blue puff shows their defeated opponents are Spent.

However, the French right is about to collapse. The Austrians pour onward from Essling in overwhelming force to rout the division they had expelled from there.

They then exploit the breach to overrun the French guns covering the Lobau bridgehead. Napoleon himself is next to the bridge and about to make expeditious use of it. There was a turn or two left, but Dave conceded at this point.

These five French divisions - including the Imperial Guard - never made it across the bridge. Never mind, they can provide the core of Napoleon's new army for his next campaign.

French casualties: three divisions and two artillery units wiped out.
(The Austrians lost one destroyed and one Spent.)


Reflections

Small figures, big battles. As a devotee of big battles, I am a fan of the small scales that make them feasible. My own collection is nearly all 6mm from various manufacturers (apart from a couple of 2mm armies); I also like the 10mm armies some of our group use. As this game shows, 2mm is also very good - perhaps the best of the three - for making battles look like battles rather than skirmishes.

Exponential effects of early luck. I was fortunate early on with a couple of lucky dice rolls that resulted in one precious French unit being destroyed and Aspern falling on Day 1. Although the luck evened out (eg Dave's 6:1 roll to retake Aspern), the French were always on the back foot after suffering that early blow, as its ramifications made themselves felt in terms of gaps in the line, etc. Napoleon said, "Give me generals who are lucky". We might amend that to "Give me generals who are lucky on Turn 1". 

Never surrender? When Dave conceded, it was still technically a draw: he held 3 Objectives (Aspern, the Gemeinde Au, and the bridge), so I needed to take one of those to get the 4 I needed for a win. True, I had several units close to the bridge, where Dave had nothing left. But if he had got one Imperial Guard division across next turn, they might well have held the earthworks against my disorganised troops. I might or might not have retaken Aspern and was making no progress in the Gemeinde Au. So although victory was undoubtedly beyond Napoleon's grasp, a draw was still very possible.

Still, Dave drubbed me at Gettysburg, so I'll take the win!

Tuesday, 27 January 2026

Not so one-sided: Uclés (1809)

The impending BBB Peninsular War scenario book will include a lot of battles where the Spanish army fought alone, without its British or Portuguese allies. One of these was the battle of Uclés in 1809.

Before I launch into my report of our game of Uclés, I just want to smuggle in an honourable mention of the Royal Engineers museum in Gillingham. I did a day trip there at the weekend. It is an absolutely splendid place, stuffed full of unique and fascinating artifacts, and with a very decent AFV collection outside. Highly recommended. Two hours wasn't nearly enough to take it all in so I will have to go again. Here's just one pic to remember my visit by.


Now back to Spain. Sir John Moore's incursion had distracted Napoleon's attention and many of his troops to the north, leaving Madrid exposed. The Spanish Army of the Centre advanced on Madrid with Venegas's corps in the lead. Victor concentrated his forces against Venegas, who made a stand at Uclés, where he was enveloped and overwhelmed. He lost half his force; French casualties were negligible.

On the face of it, this looks very one-sided and unpromising as a game. (Though see my Reflections essay on "Wargaming one-sided wars".) However, when Mark examined it, he saw that it had potential. Specifically, the fact that the impassable River Bidija divides the battlefield into two presents both sides with decisions about how many troops to commit to which half - in effect, making it two-sided. And, as so often, of course an inevitable defeat in real-world terms can be turned into a fair contest in game terms by judicious setting of victory conditions.

Here's how it went for us, this time with some lovingly crafted labelled pics as well as the usual annotated photos. Reflections follow at the end.

Bird's-eye view of the battlefield, which is roughly 10km x 7km. This is a small battle by BBB standards: each base represents 300 men; each side has fewer than 50 bases, as they had under 15,000 men a side.

The Bidija bisects the battlefield and can only be crossed at Uclés or the bridge at the righthand (south) edge. Uclés nestles in the gap where the Bidija cuts a steep ridge into two: the Sierra del Pavo and the Cerro de Uclés. The Spanish main line sits on these ridges. An advance guard holds the village of Tribaldos. Venegas himself has his HQ atop the monastery in Uclés. Most of the French army arrives from the SW corner (bottom right of pic). On turns 7 & 8 of this 9-turn game, Ruffin's division will arrive behind the Spanish right flank.

Victory is determined by seven Objectives (white counters): Tribaldos; two for Uclés (one each if it is contested); one for each of the two ridges (held by whoever has most units on it); and one each for the Spanish army's two possible escape routes, either to the NW (near where Ruffin appears) or across the bridge to Rozalen. The French need four of these to draw and five or more to win.

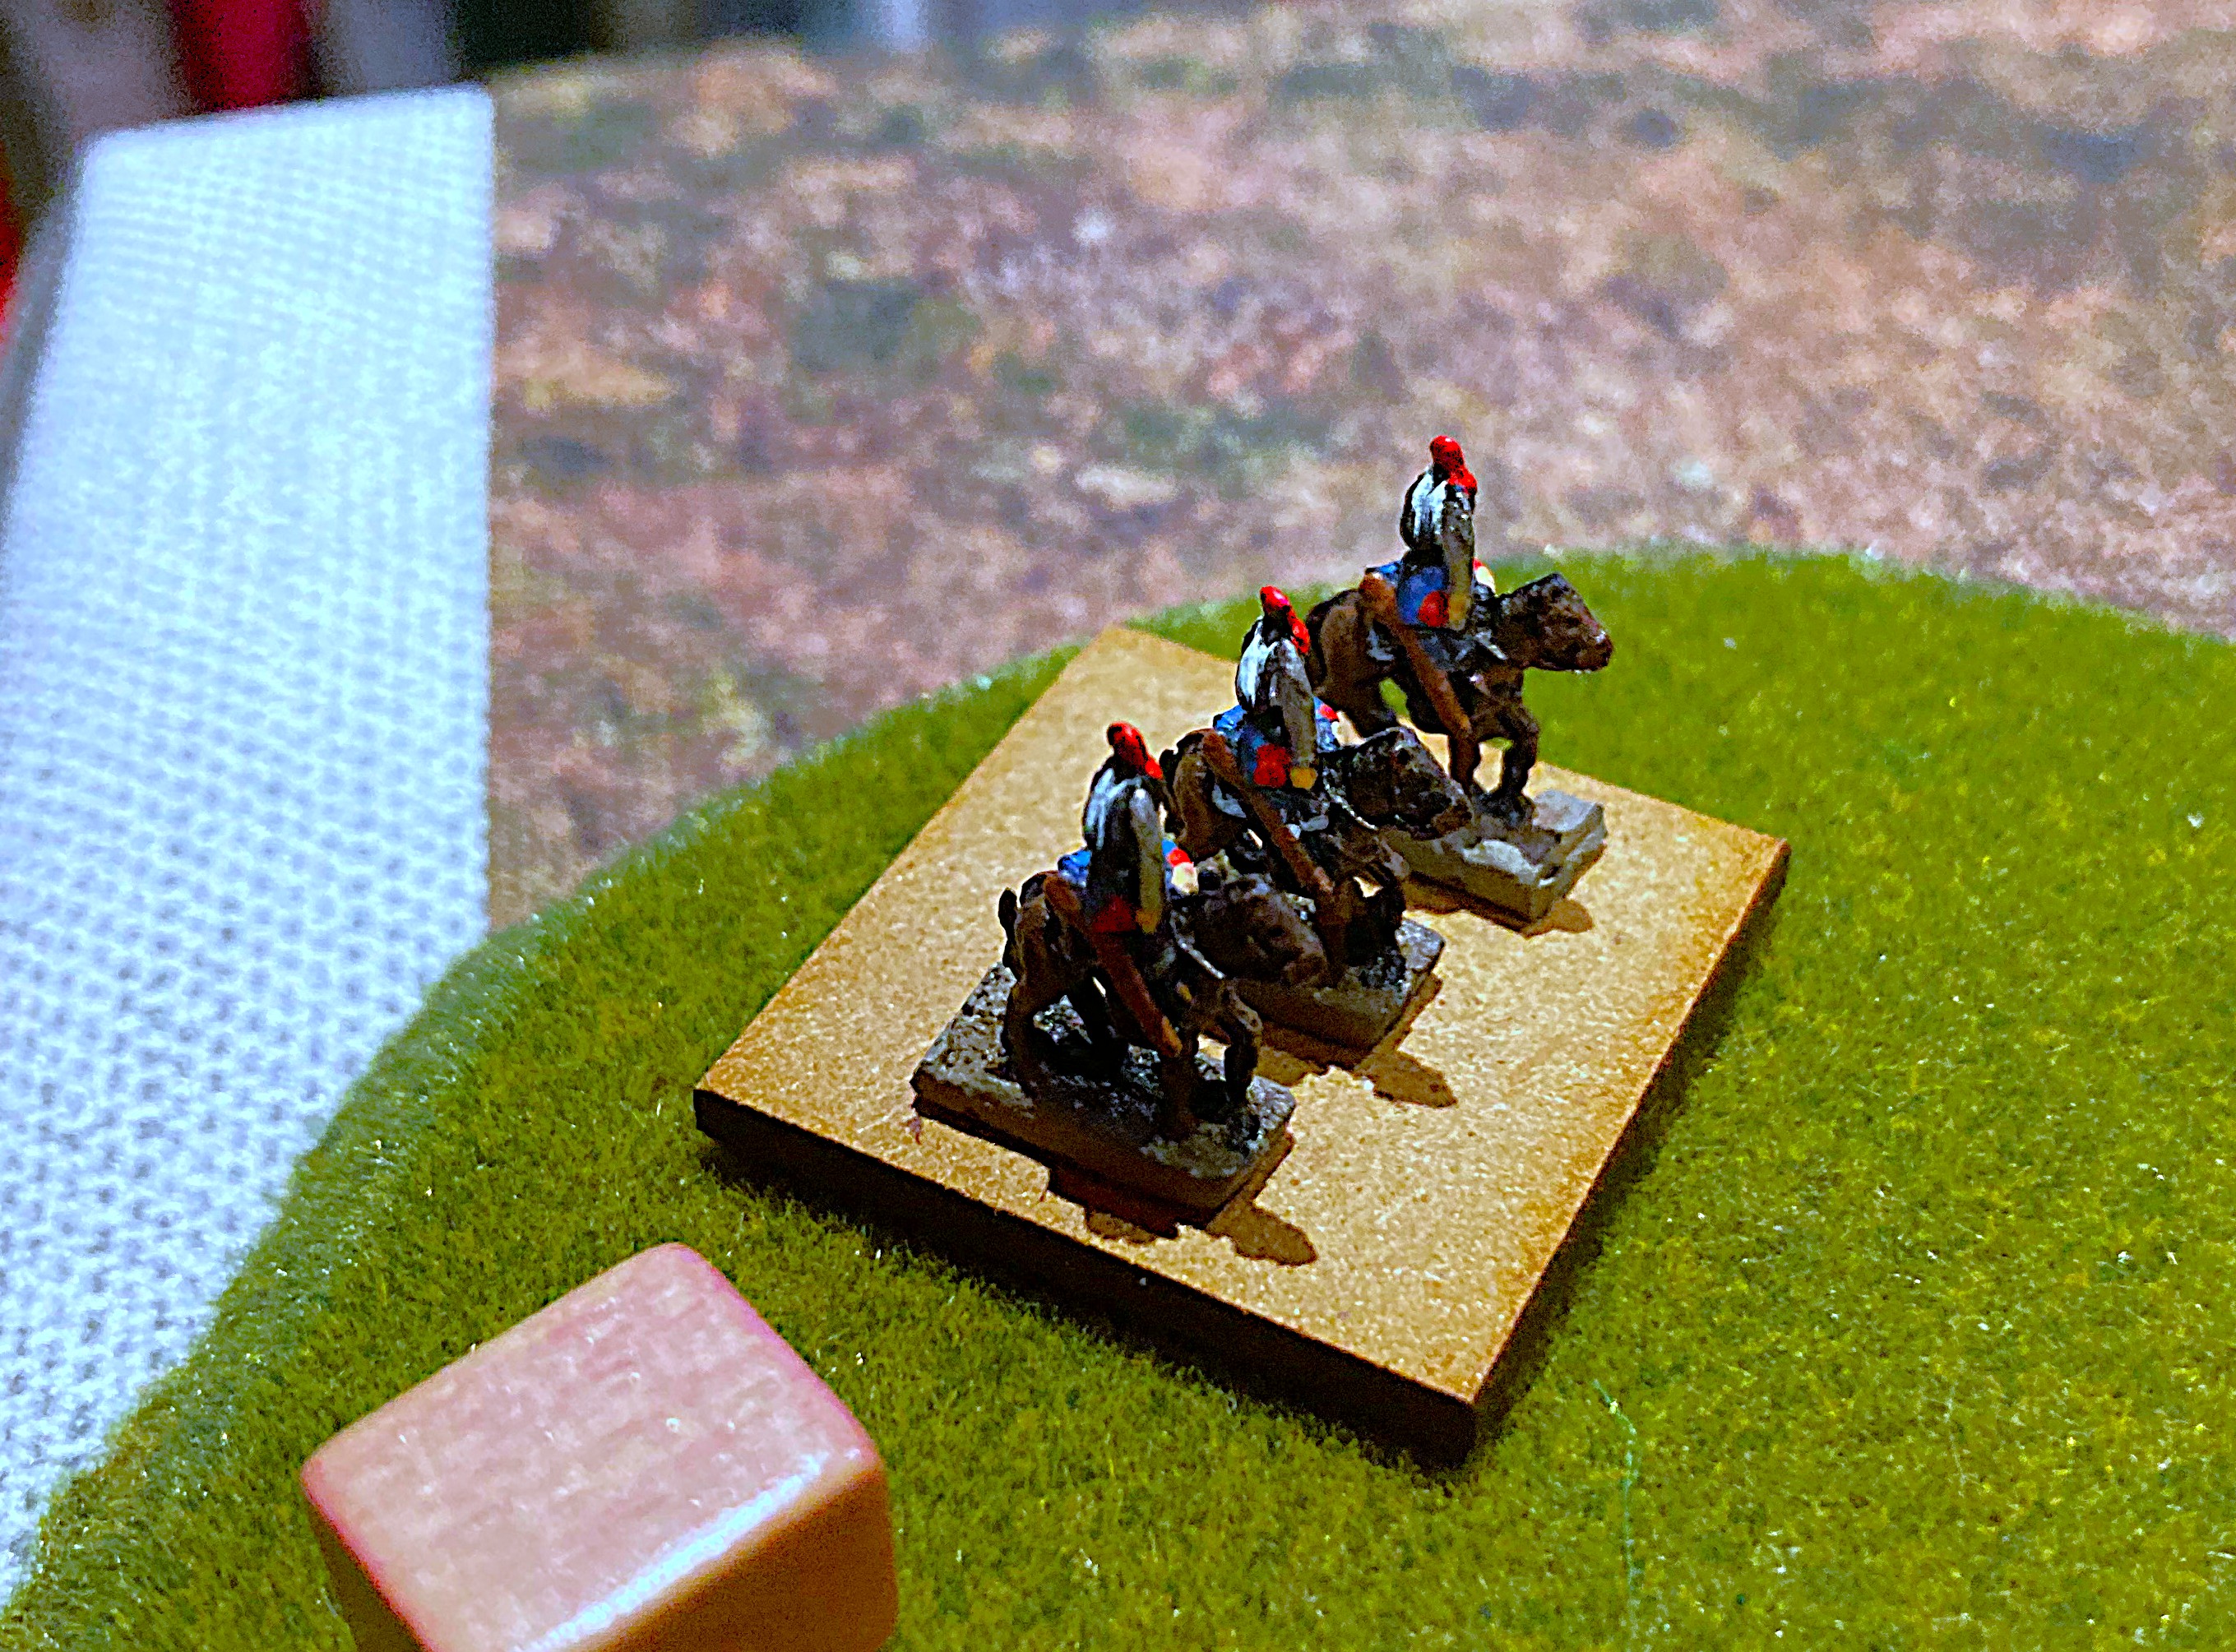
The Spanish centre around Uclés. Dave W commanded the Spanish left in Uclés and on the Sierra del Pavo. I took the right on Cerro de Uclés, including our cavalry, and the advance guard. All figures are Baccus 6mm from Mark's collection. The pink cubes denoting 'Fragile' troops betray the quality difference between the two armies. Our Spanish army has a few good units but is a very mixed bag.

By contrast, most of the French are veteran, some of them Aggressive (green cubes), and some of their cavalry rated as Shock (purple counters), seen here enveloping Tribaldos on Turn 2. (Note the scratchbuilt church from the talented hand of Colin the Wargamer.)

I did contemplate abandoning Tribaldos immediately but we decided it was better to force the French to deploy and fight for it, which would cost us troops but them time. I was facing Will, while Crispin took the French right against Dave. The first French assault hit Tribaldos on Turn 2, Latour-Maubourg's heavy cavalry descending on my left flank while Pacthod's tirailleurs harried my white-coated defenders (two 3-base regiments). My lefthand regiment was forced out. The righthand one held on but suffered losses to musketry.

Meanwhile, some important action was going on in the top left corner of the above pic. On Turn 1, I had pushed our advance guard cavalry around Pacthod's right flank to pin or divert one of his regiments. When this turned against my cavalry, they evaded across the Bidija bridge. That obliged Puthod to fight his way across, instead of being able to race along the road in march column - more precious time expended.

Now we see the other side of the Bidija a turn later. The AG cavalry rallied and charged Puthod - a good call as they had a 50/50 chance of driving him back across the bridge to have to fight for it all over again - but it didn't come off. Puthod's lead regiment rallied in turn and here advances to drive the blown cavalry from the field (which will take another turn). This lets the rest of Puthod's brigade, led by some of Latour's dragoons, march rapidly to the eastern end of the Sierra del Pavo to avoid its steep slope. At left of pic, Dave's leftmost regiment is about to head down the ridge to confront them.

The fall of Tribaldos. Will commits Pacthod to support Latour's renewed assault. This is too much for my gallant defenders. The depleted regiment in the village is swept aside; the flood pours onto my veterans behind; they are driven back, then routed as well. Have they bought enough time, or will their sacrifice have been in vain?

About Turn 3, Dave and I made a major strategic decision. Tribaldos had held out as long as we'd hoped, but my cavalry's subsequent screening skirmishes along the stream behind it had not gone so well, nor had our other cavalry's delaying action at the Bidija bridge. Under pressure on both wings, we decided to abandon the west bank (the foreground) entirely and pull my right wing force into Uclés, freeing all of Dave's troops to fight for the Sierra del Pavo. This picture shows that plan being implemented. All my troops made it across the river except that two-base cavalry unit lower left, of which more later.

A close-up of my beautifully choreographed mass flamenco into Uclés. White-coated infantry, yellow-jacketed dragoons, sombre brown militia, light blue light infantry - it's a very pretty army.

View from behind the now rather abbreviated Spanish line with just a couple of turns to go. Dave's troops on our left are making valiant efforts to keep the French right wing at arm's length from Uclés, while our right in the town presents a formidable front against any French assault across the bridge there.

While all our left wing is disrupted by its exertions, the French right musters all its strength for one massed coordinated assault (good movement rolls compensating for an earlier turn when it was briefly paralysed). This proves irresistible and all three Spanish regiments are swept away.

Dave is left with just one regiment (lower left of pic) to cover the rear of my town defence. Will's best troops move up and form assault column. Their first attempt will be rebuffed but will cover the deployment of his guns in cannister range.

Once deployed, the guns delivered a devastating salvo that rendered my foremost regiment Spent. It did not survive the ensuing French assault on the final turn and is no longer visible in this picture. The other key to the French success was an infantry regiment joining in from the other side of town. It was able to bypass the defenders on the Sierra because they were busy fending off the rest of the French right wing.

Although we still had two Spanish regiments in Uclés, these were not enough to expel both the French units that had broken in. The town ended up contested, worth one Objective each. That gave the French a total of five, enough for victory. However ...

... remember that tiny fragile 2-base cavalry regiment I told you to pay attention to earlier? Here it is on Turn 7, backed up against the Bidija, about to be trapped between the force preparing to assault Uclés (top left) and Ruffin's arriving division (top right). The solution? My caballeros made a mad dash through the gap in front of them - and headed for Tribaldos.

Fortune favours the Fragile - they got the rolls they needed on Turns 7, 8 and 9, and Will's artillery was unable to stop them - they had just enough movement to leap into Tribaldos, on the French line of communications, retaking an Objective and salvaging a draw. Viva el rey! Viva españa!


Reflections

Battlefield geometry. It's a truism I've quoted before: the terrain shapes the battle. In this case, the distinctive terrain - the river bisecting the ridge and dividing the battlefield - definitely made it a distinctive and interesting game.

Last-turn drama. Mark was unsure whether the victory conditions were pitched right, but they turned out perfect. The luck of the dice seemed reasonably evenly distributed. It could hardly have produced a tighter or more dramatic finish, so let's call it good. Classic BBB.

Labelled photos are hard work (well, not so much hard, just time-consuming) so somebody had better say nice things about them if you want me to keep doing them in future reports.

Four playtests to go? Not of this scenario, but of the remaining ones to be polished before the Peninsular War collection is complete and ready for publication. (On which note, I should mention that BBB and its scenario books are now available in pdf as well as print.) Hoping to get the book out before mid-year ...


Wednesday, 11 June 2025

Baggage to Catalonia: the battle of Valls (1809)

Mark treated us to another of his Brit-free Peninsular War battles: Valls (1809).

In synopsis: the French had invaded Spain in 1808. A corps under St Cyr had captured Barcelona in December, defeating the Spanish Army of Catalonia at Molins de Rei. The AoC was then put under the command of a Swiss general, Theodor von Reding. In early 1809 he deployed it as a 60-mile screen, enabling St Cyr to defeat part of it in detail and threaten its supply base at Tarragona. Reding was forced to concentrate what he could and undertake a risky march through Valls to cover Tarragona. He encountered a French division under Souham guarding the river Francoli, forced a crossing, and managed to get much of his baggage across it on the road to Valls. However, St Cyr arrived with Pino's Italian division to reinforce Souham. Reding therefore thought better of it and fell back across the Francoli again to defend the heights behind the river. After a long siesta, during which both sides reorganised, St Cyr duly assaulted and routed the Spanish army. Reding was mortally wounded in a last desperate cavalry charge.

Of course, others have wargamed this battle before us (e.g., see here and here), but seem to focus only on the second half of it, the simple French assault. Mark's scenario embraced the whole thing, with a 'Siesta Interval' punctuating it. This approach has the twin advantages of featuring a baggage train (always amusing) and making it one of those multi-phase battles that tend to be among the most interesting to wargame. (See my "Reflections" essay on "Changing Situations Mid-Game".)

Here are two photos to set the scene before the battle report:


Reding leads his first division onto the battlefield, a 2-base unit of white-coated guards at the head of the column, the three wagons of the baggage train bringing up the rear. Baccus 6mm figures from Mark's collection.


The whole battlefield. Spanish arrive from bottom left. (Including Castro's division, bottom right of pic. Mark had put them there in their box, which fooled me into thinking that's where they would turn up. That slightly coloured our plan, probably for the worse. Oh well, should have read the scenario brief better.) The bridge the wagons must use is the one with Souham's little vanguard regiment above it, facing Reding's advance guard. All the other French arrive through Valls.


I took quite a lot of photos this time. In case you don't want to look through all the other 14, the brief summary of the game is this:

- Dave and I as the Spanish decided to use our initial numerical superiority to stretch the French. The bulk of Dave's division focused on trying to get the wagons across the only viable bridge they could use; my division pushed up on his right; small flanking forces pushed round each end of the French line to threaten Valls and pin or distract French units.

- The flanking forces did their job and came within an ace of capturing Valls;

- Dave's repeated attempts at crossing the river briefly got one wagon across, but ultimately failed with heavy casualties;

- My division got across the river but then got battered after Dave had been repulsed;

- This meant that for part 2, after the siesta, we had very few troops left to face the overwhelming Franco-Italian onslaught;

- Nevertheless, we made a valiant stand and Crispin was only able to eject us from the crest and claim victory on the final turn.

Now you can look at the rest of the pics or skip to the Reflections at the end.


Between our first and second bloody repulses. Just visible at left edge is the blue 'Spent' marker inflicted by French musketry on one of Dave's units as it tried to storm across a bridge. In the centre, a Spanish regiment has crossed but is still in march column. My tiny cavalry unit is doing its best to pin the French column advancing from top right, but part of that column will fend off the cavalry and the rest will smash our column back behind the river.


On our extreme left, the Spanish guards executed a flank march through the village of Picamoxons (top of pic). The French cavalry (bottom right) prudently evade. Unfortunately, Dave's Spanish cavalry (left edge) decided to stop for a rest rather than press the advantage through La Plana.


More bloody river crossings ... a second Spanish unit is mauled failing to cross the lefthand bridge. Two French regiments storm across the main bridge to attack the wagon train but are driven back by a Spanish counterattack. I think that remaining French regiment south of the river got wiped out next turn.


Last turn before the siesta. Time was about to run out for getting wagons across. Dave managed to push one across the bridge, supported by an infantry regiment, but the infantry were wiped out by French fire and the wagons assaulted by French infantry. No victory points so far for Spain. (We could have earned one VP for each wagon north of the river by siesta time.)


And on the extreme right - oh, so close! After distracting the French left and easily evading the infantry that turned to face it, my cavalry regiment was close enough to capture Valls and had two moves to do it. Unfortunately, it failed its movement roll on the penultimate pre-siesta turn; then those faintheart French dragoons from the opposite flank got the full move they needed to ZOC us and thwart us. No Spanish VP for taking Valls either! Thus we reached the siesta on zero VPs.


To rub salt into the wound, Crispin outflanked and wiped out one of my regiments that had crossed the river on our right as well. On the opposite flank, I got some of my Catalan miquelet militia killed for no particular good purpose too.


Consequently, once we had redeployed during the siesta to defend the heights south of the river, this is all we had left - 18 bases in total: three infantry regiments in the front line, with a few guns; two spent units kept safely in the rear (though, inevitably, we would soon commit them forward). Out of shot to the right is my cavalry regiment that had almost captured Valls.


And here is most of what faced us (two cavalry units and another infantry regiment are out of shot to the right): more than twice our number and rather better quality. The infantry in white are Pino's Italians.


The full picture post-siesta. To win, the French need to exceed Spanish VPs. That would have been harder if we'd scored any in Part 1. As it stands, there are 4 VPs at stake: 1 VP for holding four of the five righthand bridges; another VP for holding all five; 1 VP for being last to have sole possession of the first level of the heights bottom left; and 1 VP for the crest. Thus, effectively, the French must clear us off one of the contour levels, and they have 4 turns to do it. (There were 6 turns pre-siesta.)


Turn 7: all but one of Crispin's units managed a full move. Neither of our batteries managed to prevent a unit crossing a bridge. How depressing. Maybe we should have committed everything to defending the bridges - except that there were more bridges than we had units left. On the bright side, surely our luck could only improve?


That black cube on the right shows it improved slightly: our battery there is temporarily low on ammo having wiped out the French shock cavalry. But our lefthand battery has been silenced by French artillery fire, just in time to be stormed by French infantry. It died and our guards were driven back up onto the crest. Meanwhile, massed French/Italian infantry form up to assault our other regiments.


Desperate times, desperate measures. Bring up the Spent rubbish! Determined to sell their little lead lives dearly, our conscripts on the left charge and wipe out a French regiment. On the right, the Spent and Fragile miquelets fill a gap in our line.


They think it's all over - it is now. Three small Spanish regiments, already variously Spent (blue cube), Low on Ammo (black), Fragile (pink) and/or Disrupted (yellow) are enveloped and assaulted by no fewer than nine French and Italian regiments, including Aggressive cavalry (green cube). Our heroes finally succumb to a hail of die roll modifiers.


All that's left of the Spanish army: my 1-base cavalry unit, hanging on in the corner of the table long enough to count as contesting the Level 1 hill (hurray - we retain a VP!) before cantering off to take the bad news to Madrid.


Reflections

Ifs, Buts and Maybes. Although our Spanish army was comprehensively crushed, in game terms it was still a close-run thing. There were several opportunities for us to claim one or two VPs pre-siesta. Had the dice been kinder there, or on Turn 7 when the French swarmed across the bridges, a draw or even a win could have been on the cards. At the same time, we can point at things we Spanish players should have done differently, while Crispin's performance as French C-in-C was hard to fault. Overall, a great scenario full of possibilities.

Wagon Trains are Fun. The standard BBB formula of designating half a dozen or so fixed locations as Objectives works very well. But including a baggage train as a mobile Objective adds another dimension that makes the tactical decisions even richer. And it's something different, and variety adds fun.

The Record's Stuck! (Or for younger readers who don't understand vinyl: the CD's glitching; or, for even younger readers: the MP3 is on permanent loop ...) Some of the same lessons come up time and again from our games. Asymmetry makes for good games; changing situations midway makes for good games; if both sides are obliged to maneuver and have room to do so, that makes for good games ... this was a good game.