Last month I enthused about our Trautenau game from the Austro-Prussian War. This week we fought the sequel, Soor (also known as Burkersdorf).
Soor was one of the battles fought along the Bohemian border in 1866. At Trautenau, the Austrian X Corps under Gablenz had repelled the Prussian 1st Corps. The next day, Gablenz discovered the Prussian Guard Corps had crossed the border further south and was threatening to outflank his right and cut off his line of retreat. A running battle developed as the Austrians tried to escape to the southwest through Soor. X Corps got away but was badly mauled, losing over 6,000 men vs about 1,000 Prussian casualties.
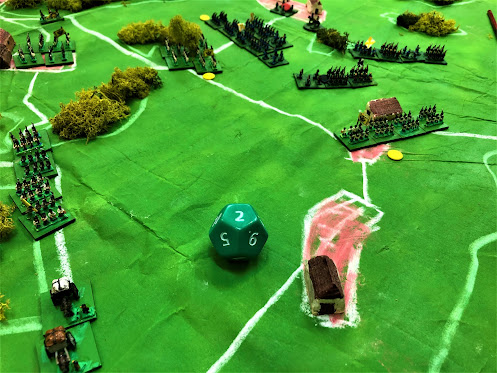
Our game therefore revolved around how many Austrian units could retreat off the designated exit. Or I should say, exits (plural), as there was about 75% chance that a second exit road would become available to them during the game. This was one possible result from a random events table which was rolled on every Prussian turn. The other possibilities included early release of the Austrian rear guard; arrival of help from Austrian IV Corps on the southern flank; Prussians stalled for a turn because of commanders' uncertainty; or a random Austrian unit obliged to halt or assault.

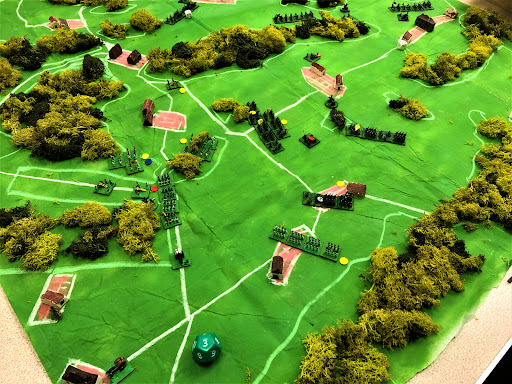
This all happened so quickly that we were able to reset and play through the whole game again. The second game was very different: the Prussians did a better job of closing off the primary exit early, so we only got three units off there; the second exit never opened up at all; Austrian Stosstaktik failed to break through the Prussian needleguns; we were quite thoroughly trapped and wiped out.
Reflections
Random events tables are fun but, well, random. The random roll each turn did inject unpredictability and therefore excitement, which is good. On the other hand, the two games' very different outcomes were affected quite strongly by the random events, perhaps more than by players' plans. That's OK sometimes - I've used random events tables a few times before, eg for Coulmiers (Franco-Prussian War) - and it was certainly good value on this occasion. But you wouldn't want every game to be like that.
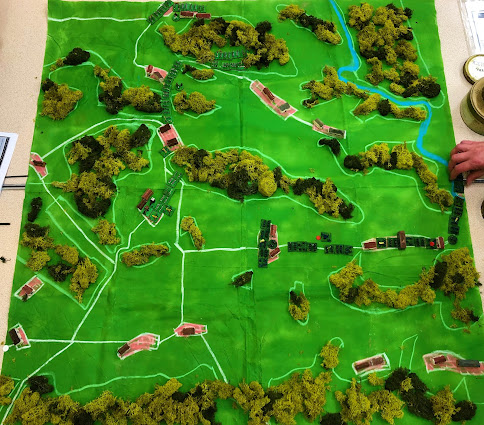
Fighting withdrawals make for good games. This was demonstrated by last month's Vác (1849) game too. At Soor, essentially you have two columns colliding at right angles, which is nice geometry for producing lots of manoeuvre and tactical choices for both sides.
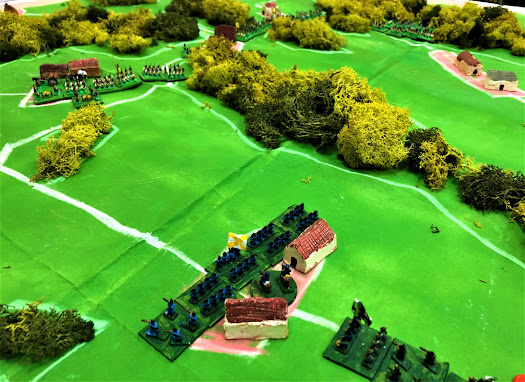
Stosstaktik vs Needlegun - give me that asymmmetry. In our Trautenau game, the needleguns were outranged and defeated. Here at Soor, those Prussian breechloaders were devastating.
Four players plus an umpire is a very good formula. Crispin laid on the game for us, arbitrated as required, and policed the scenario special rules etc. Two of us on each side meant we all had enough to do, we could play in parallel (Mark vs Dave on our left, me vs John on our right) and get through the turns quickly.
Playtesting: the two radically different results did make us review and revise the victory conditions a bit. Even so, for an untested scenario, it gave us two damn fine games and needed very little tweaking. The untweaked version is one of the 100 or so freely available from the BBB groups.io files. (Go on, join the group - it's easy, no hassle, and >900 members can't be wrong.)How fast and exciting was that! OK, so the first game was cut a bit short as the Austrians escaped on Turn 5 (out of 8). But we fought the second game to the bitter end. That's 13 turns of action, plus resetting the battlefield between games, yet the two games combined took just two and a quarter hours. It was intense!
Wow, two games in just over two hours? That is intense but sounded like a fun game for sure. Random events are always tricky to get right as you don't want them to have a disproportionate effect upon the game.
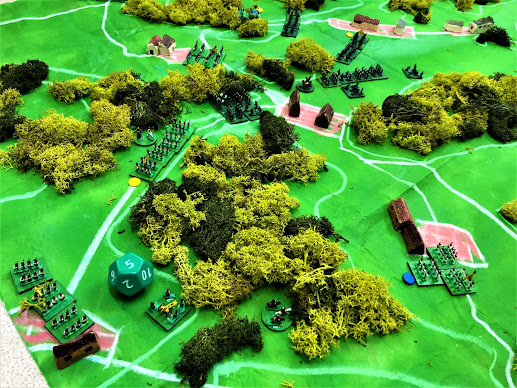
ReplyDeleteI certainly like the layout again with the chalked roads, woods etc and now that I have some spare cloth at home, I might try and dye it to give this a go.
Certainly worth trying to dye it if you're dying to try it! ;-)
DeleteWe must do something wrong, we've played a whole bunch of BBB games and have NEVER finished even one game in two hours or less. Let alone two.... granted like you said, random events were huge in this scenario.
ReplyDeleteOf course there wasn't as much combat to resolve in this one as in most battles: early on, most troops were out of contact and some static, so those early turns went pretty quickly; and even in the end-game, the Austrians would rather be moving than fighting. Still, even I was surprised by how swiftly these two games moved.
Delete