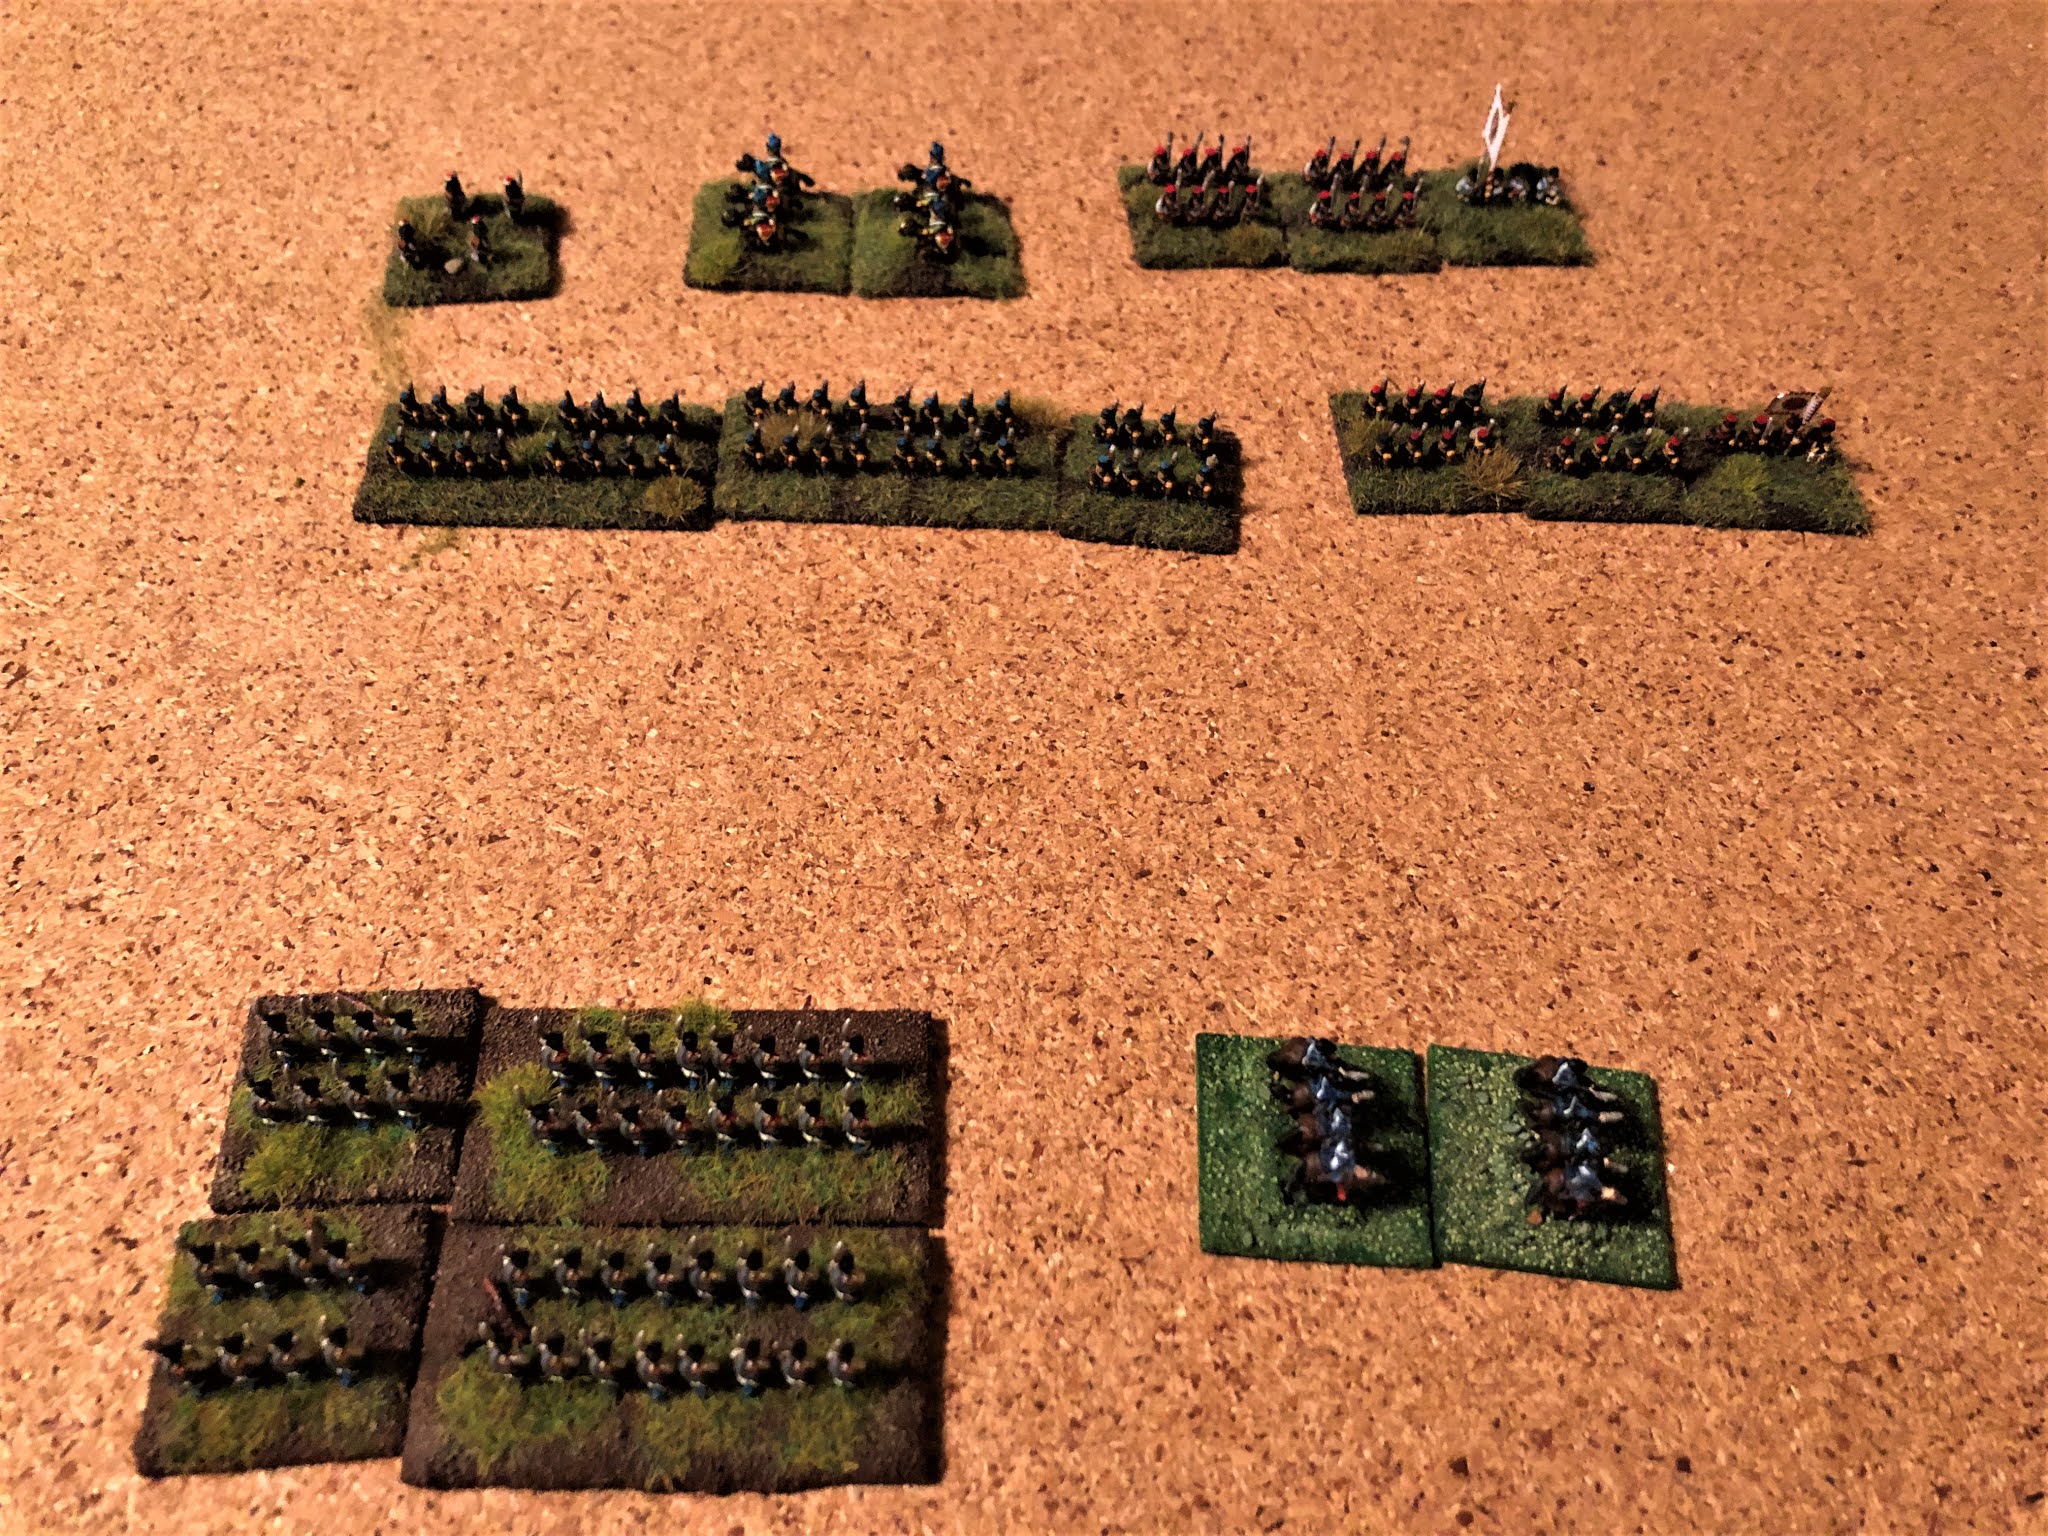
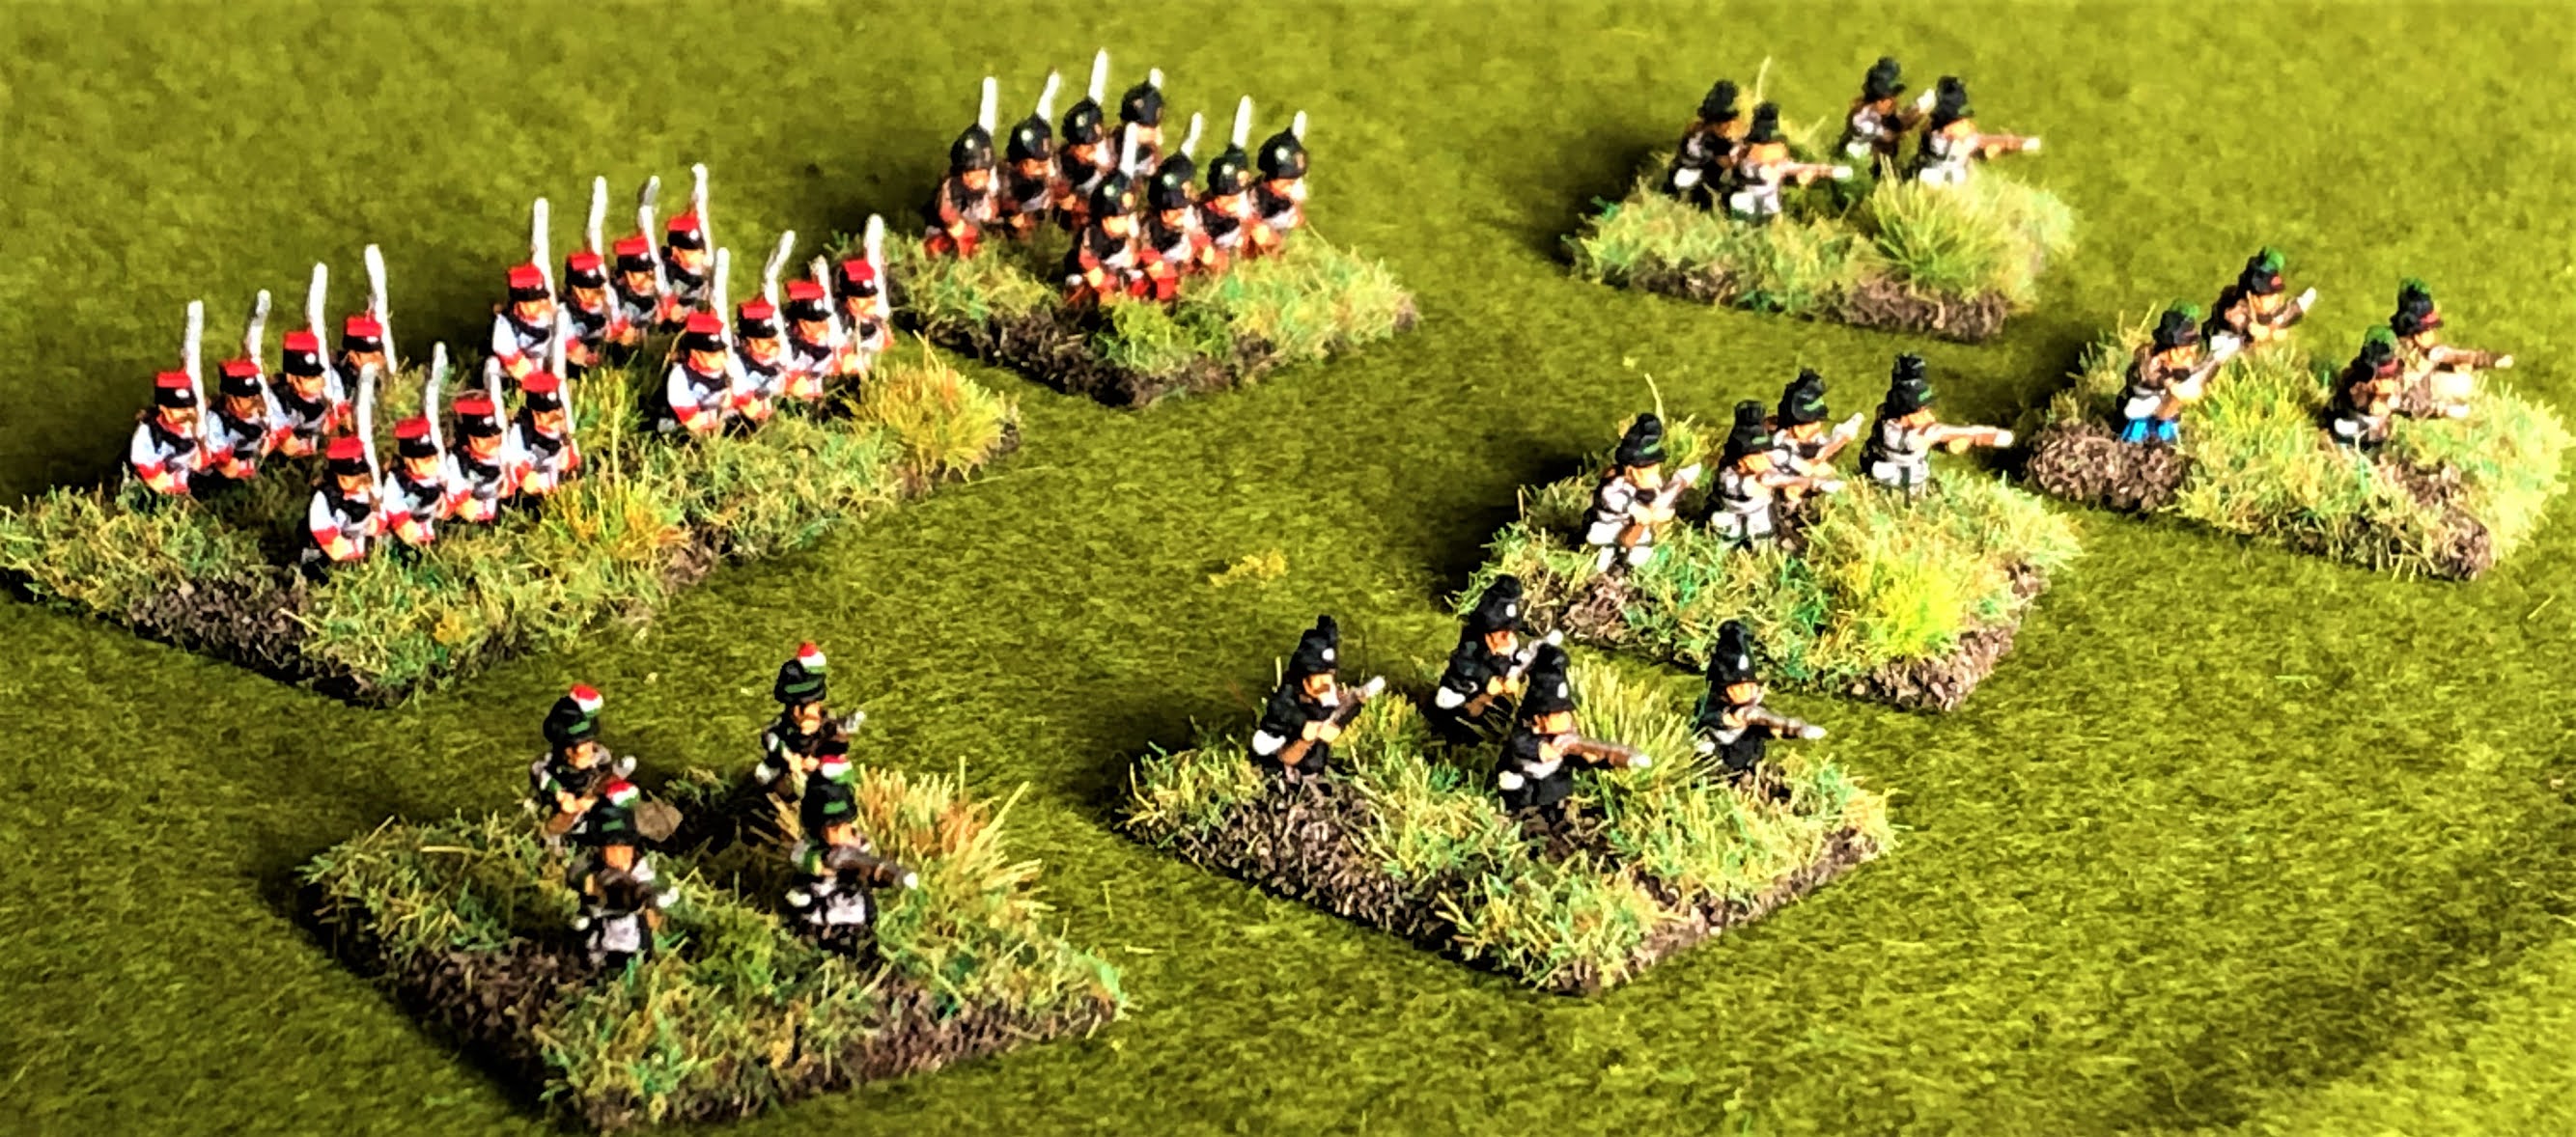
Tuesday, 27 April 2021

Multiple playtests, multiple objectives, multiple plans (Hungary 1848 #7: First Battle of Komárom)

In 1848, the largest fortress in Europe was Komárom (I believe). Its strategic significance came from its location at the confluence of two major rivers, the Váh and the Danube, between Vienna and Budapest. It therefore exerted a major influence on operations during the Hungarian War of Independence. Four large battles were fought outside its walls. Its garrison was the last Hungarian force to surrender.

Our Hungary 1848 campaign reached its halfway mark with the First Battle of Komárom (26 April 1849). Rather than recite the course of the game, I'll use this post to offer some more general observations.

In fact, we fought it three times this month. I had run the scenario a couple of times several years ago when I first wrote it. I therefore knew it was pretty solid, but it still needed more testing. First let me describe the general situation:

Scenario map for the First Battle of Komárom

The Hungarian army is breaking out of Komárom. The battle starts after the initial night assault that stormed the Austrian siege lines. It is now at the point where the Hungarians have reorganized and are ready to renew their attack. Meanwhile, the Austrian siege corps has received substantial reinforcements. There are five objectives at stake spread around the table. One is a wood in which huge quantities of Austrian supplies were parked. Two are manor farms that anchored the Austrian defensive line. Two village objectives represent the opposing sides' lines of communication.

1. The first playtest was with the core group of players that has fought the whole campaign so far. To avoid scenario-spoilers, I won't describe the plans or the action. In summary: the Hungarian attack inflicted such heavy losses on the Austrians that on Turn 6 the Austrian players were ready to concede. Yet the Hungarians ran out of time to take the now lightly-held objectives, and it ended up as an Austrian win. This provoked post-battle debate about scenario balance; whether it should be 9 turns long rather than 8; what part was played by luck or by good or bad plans. I should note that the Hungarians also suffered from a 'Campaign Consequence'. Having lost the previous battle, their best units were blunted by losing their 'Aggressive' rating. Anyway, it seemed clear that further playtesting would be helpful.

2. In the interlude between group gaming sessions, I ran a solo playtest. I omitted the 'Campaign Consequence'. I deliberately replicated the Austrian initial plan (though it later mutated) but implemented an alternative Hungarian plan. This was touch and go. On Turn 6, Austrian counterattacks had succeeded to the point that they held all five objectives. However, the Hungarians managed to retake all of them, including three on Turn 8, for an emphatic Hungarian victory.

3. For the third playtest I recruited different players. I was really pleased that both C-in-Cs voluntarily wrote full appreciations. These were thoughtful analyses of the situation together with their resulting plans. Furthermore, both sides' plans were different from those in either of the previous playtests. The result was an absolute ding-dong battle. Both armies marshalled their attacks really well. Three of the objectives changed hands no fewer than eight times - taken, retaken, re-retaken ... inevitably, although either side could have won it in the last turn, it resulted in a draw. This was fitting, as neither side deserved to lose.

The Hungarian left starts massed in the captured Austrian trenches, ready to break out and complete the rout of the Austrian siege corps's thin white line.

The Hungarian right about to collide with Austrians who have regrouped and are trying to retake the wood that holds all their ammunition, supplies, engineer equipment and tentage ...

Reflections;

From my point of view as ref and playtester, this third game was a thoroughly successful evening to cap a successful series of playtests:

  • The game itself was a terrific fight, attack and counter-attack, several objectives changing hands several times, a tense finish, and it seemed fair that it ended with honours even. 
  • Both CinCs did an excellent job pre-game of submitting proper appreciations, analysing the situation and working out good plans accordingly. It was great to see the wheels going round in the generals' brains.
  • Including my solo effort, we’ve run this three times, with three different sets of plans, and got three close games with three different results. Thus it is winnable by either side. Also there are multiple viable options available to both sides. That’s as good a playtest result as I could ask for.
  • The variety of objectives (all of which had historical justification, they weren't just arbitrary) generates a variety of ways to win, hence variety of possible plans. This is good for making it an interesting challenge and for providing replay value.
  • Our multi-player format (two players a side) proved its value and resilience. Late arrivals, early departures and interruptions meant that none of the players was there for the whole time. Despite this, the game was able to continue uninterrupted. We finished the whole battle in under four hours.
  • Dave T remarked on a virtue of the remote format versus a club night at the village hall. Normally he'd not really have bothered to read the scenario beforehand but would just turn up, see the troops on the table and push them around accordingly. For this game, he liked having to use the scenario map and briefing to make his plan ahead of time and said it felt more like being a general.
  • The scenario has just enough variety of troop types to add nuance to the tactics: where to use the best troops (grenadiers, cuirassiers, etc.) to best effect; where to hide the fragile ones.
  • The campaign format helps, as players are getting to know the characterful units as old friends: the Polish Legion, the 'red kepis', etc.
A near-final draft of the scenario is available in the BBB groups.io files as usual.

Our next battle in the campaign will be another epic: Pered.


Wednesday, 14 April 2021

Newly published: "Hungary 1848: The Winter Campaign"

I am delighted to record that my book "Hungary 1848: The Winter Campaign" was published today.

I believe this fills an important gap in the English-language literature on a major conflict that deserves to be better known. I hope readers will judge my efforts kindly.

As an indication of what the book's 371 pages contain, here is a sample map (no, the red panels aren't part of it, I've added them to highlight its key features) followed by the table of contents:

Map 3a: Hunting Görgei, hunting Schlick, December 1848 to late January 1849


Contents
 
List of Maps
Introduction
Acknowledgements
A Note on Wargaming Hungary, 1848-1849
Table of Place Names
The Austrian and Hungarian Armies
Prologue: Events Leading Up to the Winter Campaign
Preface by Feldmarschall Fürst Windisch-Grätz
Foreword by Feldmarschall-Lieutenant Johann Nobili
 
Chapter 1: The army’s deployment. Events from the start of operations until the imperial troops’ entry into Ofen-Pesth [Budapest]. The period from 1 November 1848 to 5 January 1849
The situation at the start of the campaign, 1 November 1848
Forces available, December 1848
Preliminary moves, 10 November to early December
Plan of operations
The advance on Pressburg, 16-23 December
Simunich takes Tyrnau, 14-22 December
The advance on Raab, 23-28 December
The plan for the advance on Ofen-Pesth
The flanking detachments’ actions during December
The action at Moór, 30 December 1848
The investment of Komorn, 29-31 December
The march to Ofen, 1-4 January 1849
The occupation of Ofen-Pesth, 5 January 1849
Schlick’s corps musters in Galicia, 5 November to 1 December 1848
Schlick crosses the Carpathians and occupies Kaschau, 5-11 January 1849
From the occupation of Kaschau to the battle of Kaschau, 11 December 1848 to 7 January 1849
 
Chapter 2: Events from the occupation of Ofen-Pesth until after the battle of Kápolna. The period from 6 January to the beginning of March 1849
The situation after the occupation of Ofen-Pesth, 6 January 1849
Wrbna takes Waitzen, 7 January
Ottinger takes Szolnok, 13 January
Rear security and the Mining Towns, 30 December 1848 to 10 January 1849
Csorich hunts Görgei in vain, 10-15 January
Concern for Simunich and Neustädter, 13-14 January
The Feldmarschall orchestrates Simunich, Neustädter and Csorich and reinforces Schlick, 16-21 January
Görgei eludes Csorich, 17-22 January
Events in the rear and on the Theiss, 13 January to 1 February
Csorich takes Schemnitz and returns to Pesth, 20-29 January
Miscellaneous troop movements, 25-30 January
The general situation at the end of January 1849
Schlick’s operation against Tokay, 19 January to 1 February
Events around Leopoldstadt, Komorn, and rear areas, 31 January to 9 February
Events in the south, 30 January to 20 February
Events on the middle Theiss, 1-12 February
Upper Hungary: Görgei escapes the trap; Schlick eludes Görgei, 29 January to 29 February
The lead-up to Kápolna: co-ordinating with Schlick, 15-24 February
The lead-up to Kápolna: covering the right flank, 15-24 February
Final prelude to Kápolna, 25 February
The battle of Kápolna: the first day, 26 February 1849
The battle of Kápolna: The second day, 27 February 1849
Aftermath of Kápolna: pursuit to Mezö-Kövesd, 28 February to 1 March
The Hungarian army escapes through Poroszló, 1-2 March
The imperial army shifts back to the middle Theiss, 3-7 March
 
Chapter 3: From the start of the army’s concentration on the middle Theiss between Szolnok and Pesth until the recall of Feldmarschall Fürst zu Windisch-Grätz from the army high command. The period from the beginning of March to 14 April 1849
I. Armeekorps is driven out of Szolnok, 5 March
The Hungarians avoid being counter-attacked at Szolnok, 6-10 March
The imperial army shifts southward and reorganizes, 10-12 March
Abortive preparations for a reconnaissance in force across the Theiss, 14-17 March
The brief Hungarian foray from Czibakháza, 17-19 March
The new Hungarian plan to debouch through Poroszló
The Feldmarschall prepares to receive the new Hungarian attack, 19-25 March
Events on other fronts, 10-25 March
Hungarian plans and order of battle, 25 March
Schlick’s reconnaissance in force: The action at Hatvan, 2 April 1849
The Feldmarschall concentrates around Gödöllő, 2-4 April
The Feldmarschall’s reconnaissance toward Hatvan and the deployment at Gödöllő, 5 April
The battle of Isaszeg, 6 April 1849
The retreat to Pesth, 7 April
Hungarian forces and movements leading up to the battle of Isaszeg, 25 March to 6 April
The siege of Komorn progresses; reinforcements arrive; and events on the southern front, 29 March to 10 April
Screening Pesth 8-11 January and the action at Waitzen on 10 January
The Feldmarschall’s last plans are thwarted by his subordinates and then he is removed from command, 12-15 January
Hungarian dispositions, 7-18 April
Concluding remarks
The Feldmarschall’s farewell messages
 
Epilogue: Events on the Main Front from 15 April to the Beginning of May 1849
 
Appendices:
Appendix I: The Transylvanian Front
Appendix II: The Southern Front
Appendix III: Notes on Orders of Battle
 
Bibliography
Index


I am pleased to say that my excellent publisher has been sufficiently impressed (or at least, advance sales have been strong enough) to sign me up for the sequel: "Hungary 1849: The Summer Campaign". I have already finished the translation but still have to tackle the substantial task of creating the maps. I expect to deliver the final manuscript to Helion later this year for publication in 2022.

Finally, just a reminder of my three recently published Clausewitz translations in collaboration with Professor Murray of the US Naval War College:

Napoleon's 1796 Italian Campaign

Napoleon Absent, Coalition Ascendant: The 1799 Campaign in Italy and Switzerland, Volume 1

The Coalition Crumbles, Napoleon Returns: The 1799 Campaign in Italy and Switzerland, Volume 2


Thursday, 8 April 2021

Hungary 1848 #6: Nagysalló

Back in 2017 I wrote an article for Miniature Wargames, published in issue 411, about the process of researching and designing a historical scenario. The battle I used for this case study was Nagysalló, 19 April 1849. It's a promising situation for a wargame because it starts small - a few Austrians clash with a Hungarian party gathering rations in the village of Nagysalló - then escalates as both sides feed more troops into the fray until there are over 20,000 men a side. This means there is room for manoeuvre and both sides need to do so.

Situation at game end, looking north from the Austrian end of the pitch. The prevalence of black smoke marking spent units indicates how bitter the fighting was. Austrians hang on in Nagysalló in the centre; Hungarians are surrounding it on north and east, and in the wood to the west, but unable to break in.
 

The scenario has a special rule that works very well and could be adapted for other battles in many other periods. In this action there was a lot of fog of war and uncertainty about enemy strength and dispositions. Therefore, rather than have reinforcements arriving on a set schedule, they only turn up on a high die roll. Nothing innovative about dicing for reinforcements, of course; the distinctive rule is that whoever holds the focal point, Nagysalló, gets a plus on their dice. This reflects the commanders' willingness to reinforce success or, conversely, reluctance to get too heavily engaged if things seem to be going badly: "Good news, sir - Klapka has driven the enemy out of the village!" "Excellent: send VII. Corps cavalry forward to exploit his success!"

We had so much fun with this scenario when I first wrote it that Dave W commissioned a battlemat for it. He has run it as a convention game at the Warfare show. It was therefore a simple task to set up my table to fight Nagysalló as the next instalment of our ongoing Hungary 1848 campaign.

The battle picture is that an Austrian corps is spread out a little way behind the River Garam trying to screen the Austrian siege of Komarom (at that time, I think, the biggest fortress in Europe). Three corps of the main Hungarian army are crossing the Garam to relieve Komarom. The game begins with just a few brigades in contact. The Hungarians need to storm Nagysalló and two of the three objectives beyond it, while retaining control of another in their rear. These objectives represent the Hungarians' progress towards the besieged fortress and both sides' need to protect their own lines of communication.

In our game, the Hungarians' chances were soon holed below the waterline. Almost every Austrian shot on Turns 1 and 2 rolled the 10+ or 11+ needed for a kill (as opposed to merely disrupting), thus damaging or crippling all four of the initial Hungarian formations in short order.

However, the reinforcement rule came to the rescue and two further Hungarian infantry divisions were committed to battle, accompanied by their artillery and later followed by some cavalry. The Austrians likewise received reinforcements. The Hungarians renewed their repeated assaults on Nagysalló from both north and east. The Austrians' best brigades were spent, their cavalry was routed. But their formidable fortune with the dice continued, the Magyar assault was repelled, the Tyrolean Jaegers wiped out.

The Hungarians had failed to take a single objective. To add insult to injury, on the last turn an Austrian brigade that had arrived from the Hungarian flank raced up a road in march column to seize a village in the Hungarians' rear; a Hungarian battery was covering it and had a chance to rake the column, prevent it capturing the village, and preserve some dignity, but rolled snake eyes. That pretty much summed up the Hungarians' luck for the whole game.

Despite that, the whitewash 5-0 scoreline belied what had still been a tough and absorbing contest. It was not until the end of Turn 6 (out of 8) that it was clear the Hungarians would lose. Nick, who hadn't played this scenario before, said it was an excellent game even though he was on the losing side, and is keen to play it again.

The butcher's bill: Austrian casualties in the foreground (most of Jablonowsky's division, plus the corps cavalry); Hungarian losses in the background rather heavier (half of Klapka's corps, most of Leiningen's, including the Polish Legion and the 'red kepis').
 

Reflections:

- As I've observed before, it is in the nature of small games with few units that extreme dice early on can have a disproportionate impact and skew the outcome, as it proved here;

- Variable reinforcements add unpredictability and excitement, which worked really well here (though see the previous point about the impact the dice can have);

- Rewarding possession of the key objective with improved reinforcement rolls is a nice mechanism;

- As Nick said, although the Austrians had outrageously kind dice, they still had to put their troops in the right place, and in this game they did just that with a sound plan, well executed;

- Before the game, the Hungarian plan of assaulting Nagysalló immediately on Turn 1 seemed the right one to me. With hindsight, an alternative approach could have been to use Turn 1 to manoeuvre around the village's open eastern flank in order to assault it from two directions on Turn 2 with better odds. The Hungarians might also have tried sending a brigade over the hills to threaten the Austrian rear. This is one of those games where there are several options and no obvious right answer - there are different possible routes to success, which is always good for replay value.

- The campaign is keeping everyone engaged. You'd think people might get tired of a constant diet of Hungary 1848 BBB with the same ruleset and the same armies every week, but so far not. I have offered to pause the campaign for a week or two, either so someone else can run something different, or even just to give everyone a break and a chance to return with renewed appetite, but no - the guys are up for more of the same next Monday. Time to fight the First Battle of Komarom!


If you've enjoyed this and you are interested in other resources related to this conflict or to BBB, I encourage you to visit:

- the Hungarian Revolution 1848-1849 Facebook page;

- the BBB Facebook page;

- the BBB group on groups.io - this has masses of resources in the group files, especially scenarios.


Monday, 29 March 2021

6mm Hungary 1848 army on parade

This post is to showcase my beautiful new 1/300 scale (6mm) Hungarian army for wargaming the Hungarian War of Independence of 1848-1849. The figures are from Baccus (mostly adapted from their American Civil War range), painted and based by the talented Richard Morrill, flags by Maverick Models. My camerawork can't really do these little works of art justice, but still, here they are in all their glory:

The generals: Poeltenberg in green, Gorgei in red arguing with Dembinski in the red hat, etc. 
Figures from the ACW generals pack. The broken cannon wheel is a nice touch.
 
A rabble of rowdy rebels! Militia armed with scythes and pitchforks. These featured in the battles of Schwechat and Temesvar in particular. You have to admire Richard's work on the red-white-green polearms and the embroidered waistcoats. Figures are English Civil War peasants. 
 
Artillery! Some gun carriages in red-white-green, others just red-green on wood, others plain wood.
Sadly the photo doesn't really show you Richard's exquisitely delicate scratch-built rocket launcher (the crew at top left). Guns and gunners Prussian Napoleonic, I think.
 
No Hungarian army would be complete without hussars. Four different regiments are represented here: 4th Sandor, 5th Radetzky, 6th Wurttemberg, 1st Csaszar (I think).
Austrian Risorgimento hussar figures, I believe.
 
Former imperial regiments raised in Hungary provided a core for the new Hungarian army. They kept their white tunics initially but changed the flags, braid and badges. Oh, and Richard painted the red-white-green sashes around the officers' waists! Austrian infantry from the Risorgimento range. Not quite the right shako for the 1840s, I know, but in 6mm you can get away with a lot.

Hungary's own new army was the honved (roughly 'home defence'). The standard uniform was blue kepi, brown tunic and blue trousers, but there were quite a few variations, as shown here: red or white kepis, black shakos, grey tunics ... Check out the red braid on the officers' chests, more fine brushwork by Richard. There are also a few conversions: these are ACW Union figures who came with more standard-bearers than I needed, so Richard converted the surplus ones into sword-wielding officers.
 
Not the best troops in the army, but some of the prettiest: national guard units in bright blue, green and grey varieties. Figures are ACW Union troops in frock coat. Amazing paintwork on these tiny characters - Richard has used shading and highlighting!
 
Last but not least, some 'exotics'. The Polish Legion are ACW Union in frock coat, with tiny squares of cardboard to turn their kepis into red czapkas. Next to them, ACW infantry converted into grenadiers. Those greenstuff bearskins are textured and have had recognisable grenade badges painted on them!
Front row left to right: Tyrol Jaegers with their distinctive red-white-green feather; German 'Death's Head' Legion; and honved jaegers in grey and brown varieties.

The army is based for use with the "Bloody Big BATTLES!" rules. You will find reports of many Hungary 1848 BBB games on this blog (use the label "1848" to find these).

For uniform references I relied on Zoltan Barcy & Gyozo Somogyi, "A Szabadsagharc Hadserege", and Ralph Weaver, "The Hungarian Army 1848-1849".

Richard's talents are in high demand, so if you want him to paint an army for you, you might have to queue for a few months (I did). However, he tells me it does depend on the size and nature of the order, and the best advice is to get in touch and he'll see what he can do. His website at Monty's Wargaming World has his contact details, as well as loads of info and links to photos.

I hope you've enjoyed this parade of an unusual and colourful army. If you want to learn about the actual historical army's exploits, let me modestly steer you towards my book, Hungary 1848: The Winter Campaign.


Friday, 26 March 2021

Clausewitz 1799 Vol.2 is published

Closely following the appearance of Vol.1 in December, last month saw the publication of our latest Clausewitz translation: 'The Coalition Crumbles, Napoleon Returns: The 1799 Campaign in Italy and Switzerland, Volume 2'. It has been slow to arrive on Amazon - logistics perhaps impeded by pandemic? - but it did so yesterday, only to promptly go out of stock (sold out, presumably). Anyway, for a brief glorious moment last night, both the 1799 volumes and the 1796 book were all in Amazon's Top 100 best-selling books on the history of the Napoleonic Wars:


 As for Vol.2 itself, highlights include the Second Battle of Zurich and Suvorov's remarkable march over the Alps. A favourite episode of mine is Archduke Charles's farcical attempt at a river crossing, in which his 30,000 or so men are repelled by just 200 Swiss jaegers. The accounts of these and many other fascinating actions are all accompanied by Clausewitz's incisive analysis, in turn supported by Professor Murray's erudite commentary.

The previous books are here:

'Napoleon Absent, Coalition Ascendant: The 1799 Campaign in Italy and Switzerland, Volume 1'

'Napoleon's 1796 Italian Campaign'

Books being like buses - you wait ages, then two or three all arrive at once - my next one should appear soon. It's a change of scene but similar format, a translated history with extensive commentary added:

'Hungary 1848: The Winter Campaign'

Wednesday, 24 March 2021

Hungary 1848 #5: Isaszeg

Our Hungary 1848 campaign progresses. Isaszeg (6 April 1849) was one of the largest and most important battles of the war. It drove the Austrian army back into Budapest, leaving the Hungarian army free to relieve the vital besieged fortress of Komarom. The Austrian C-in-C paid for his failure by being recalled and replaced.

This scenario has been well tested before. We rolled out the battlemat and it delivered again. It took one and a half evening sessions to fight (about four and a half hours).

The Hungarian attackers chose not to drive straight toward the objectives in the centre. Instead, they opted for sweeping left and right hooks to minimise their exposure to the Austrian gun line on the dominating high ground. They were hindered by terrain as well as their own tentativeness. Thus their advance was slower than it might have been. They did crush a couple of Austrian outpost brigades, but the situation makes that almost inevitable. They managed to replicate history in exposing their centre to a devastating counterattack in the King's Wood.

The situation at the end of Turn 6 (three turns to go). Looking east from behind the Austrian line.
Hungarian units outlined in red, Austrians in yellow.

At that point (Turn 6), things looked bleak for the Hungarians. Both their outflanking manoeuvres were bogging down in marshes or among steep wooded hills. In the north, they had succeeded in bringing VII Cps reinforcements onto the table, but the Austrians had summoned a tough grenadier brigade to counter them. In the south, Klapka's flank march looked unlikely to arrive in time. In the centre, Liechtenstein seemed about to overrun their gun line.


Aftermath of Liechtenstein's assault into the King's Wood. Disordered Austrians consider exploiting their success to roll over the remnants of Szekulics's division and the Hungarian batteries.

But by counterattacking, the Austrians exposed themselves to a counterblow in return. While they milled around in the woods, the 9th honved battalion (the 'red kepis') led a thrust against Liechtenstein's flank and rear, kicking a rocket battery out of the pivotal position in the vineyards. Similarly at Isaszeg, the Polish Legion led the charge across the bridge and could not be driven back again. In the north, Kmety's lead battalion emerged from the hills to capture Godollo, which the Austrians had carelessly left unguarded.


Isaszeg bridge: Polish Legion and Austrian cuirassiers eye each other across the Rakos.

At the start of the last turn, then, (Austrian Turn 9), the Hungarians held four objectives, their victory target. Windisch-Graetz still had his potent cuirassiers and grenadiers available to counterattack. The cuirassiers crossed the marshy Rakos and charged, hoping to retake the vineyards - but were repulsed. All eyes on the grenadiers: and yes, they ejected Kmety from Godollo, retrieving the situation to achieve a draw.


Situation at game end. Hungarians hold three objectives: Isaszeg, the Isaszeg bridge (no Austrians within 3" of it), and the vineyards in the centre. Austrians hold the other three: the Lower Mill bridge, the Besnyo monastery and - newly recaptured - Godollo, for a a draw by the skin of their teeth.

Reflections:

- The variable reinforcements in the north added unpredictability without skewing the game unduly;

- Four objectives all being contested on Turn 9 made it anyone's game and an exciting finish;

- At one point the two Austrian players were exchanging secret messages via WhatsApp, but these were taking several minutes to go through, thus accurately reproducing the arthritic Austrian orders process;

- As one Hungarian player (Mark) commented afterwards, trying to go against the grain of the terrain can be costly. Games like this do show how terrain channels the action and shapes a battle;

- Although Hartlieb's outpost brigades were eventually wiped out, they did not die in vain: their sacrifice caused significant delay and disruption to the Hungarian advance. (And of course, very few of them really 'died', they just routed across the Rakos);

- Players again remarked on how helpful the battlemat is for ease of visibility via webcam;

- Great game, robust scenario, no changes needed.


Draft scenario is in the BBB group files as usual.

Thursday, 11 March 2021

Punch-up in chapel! Kápolna (1849)

This week we went to chapel. No, we didn’t really - all the chapels are shut. However, ‘Kápolna’ is the Hungarian word for ‘chapel’. It is also the name of a small village on the main highway that runs east from Budapest. Two 30,000-man armies collided here in February 1849, providing #4 in our series of refights from the Hungarian War of Independence. (The others have been reported here too; the most recent one was Hermannstadt.)


The monument at Kápolna depicts the Hungarian army's chaplain 
leading the counterattack in full ecclesiastical garb.
 

The battle of Kápolna was preceded by some remarkable strategic manoeuvres. When the Austrians invaded Hungary, Görgei’s corps defending the frontier refused battle. Instead, Görgei conducted a skilful retreat through what is now Slovakia, fighting the occasional rearguard action. The Austrians hoped to trap him between the pursuing forces and Schlick’s division invading from Galicia. However, Görgei not only eluded the pursuers but turned the tables and almost pinned Schlick against Klapka’s Hungarian corps approaching from the southeast. Schlick narrowly escaped to the west.

When Görgei and Klapka combined, they were subordinated to the hopeless Pole, Henryk Dembinsky, chosen for political reasons rather than competence. Dembinsky advanced toward Budapest to eject the Austrians from the capital, which they had occupied in January. The fact that he refused to tell his subordinates his plan suggests that he did not have one. On the eve of the battle, not expecting an attack, he had mixed up his different corps and dispersed their divisions across a wide area (probably so they could find shelter against the bitter February weather).

The Austrian commander-in-chief, Feldmarschall Windisch-Grätz, was generally very cautious. However, on this occasion he had acted decisively. Realising the Hungarian army was concentrated east of Budapest, he marched out to pounce on it with most of his army. He also liaised with Schlick to arrange for the latter to descend from the mountains against the Hungarians' right flank while W-G attacked their front.

A two-day battle resulted. On the first day, the Austrians drove the forward Hungarian divisions back behind a small river. On day two, Hungarian reinforcements arrived, but so did Schlick. The Hungarians were defeated, but the Austrians were too exhausted to pursue and exploit their victory. The Hungarian army retreated, regrouped, and returned a month later to defeat the Austrians at Isaszeg.

In game terms, this produces a very entertaining scenario. It is an L-shaped battle, with varied terrain and low enough troop density to allow - indeed, oblige - manoeuvre. Both sides get to bring on reinforcements, both sides have choices to make about where to move, and both sides have to do their share of attacking.

The battlemat in action. Game end: Ilka Top (left of picture) 
and Kapolna (right centre) heavily contested.

It is also colourful, in that it features many of the units that devotees of this war particularly love: the Polish Legion, the German Legion, the Viennese Legion, the Tyrolean Jaegers, rockets, honveds and national guards; Austrian jaegers and Croat grenzers; formidable cuirassiers and dashing hussars.

We fought this battle four years ago, as reported here. The same battlemat was rolled out again for this week's remote game. Csorich's Austrian division was commanded by Colin, whose dice are usually dire. Not so this time. Devastating cannonades and musketry blew away battalion after battalion of hapless honveds. Day 1 belonged entirely to Austria, so the Hungarians fell back behind the Tarna, though they still occupied Kápolna  itself.

Honveds, Polish Legion, national guards, Tyrol Jaegers and German Legion
try to drive Schlick's Austrians off Ilka Top

Day 2 started badly for them as well, as Schlick's grenzers, fresh from massacring prisoners at Petervasara, arrived on the northern end of the battle and overwhelmed Dessewffy at Verpelet. Schlick's cuirassiers rode ahead to sit on the commanding hill of Ilka Top. Meanwhile, Wrbna's gun line pummelled the defenders of Kápolna.

Hungarian reinforcements rushed up to try to turn the tide. Some bolstered the line around Kápolna. Others raced toward Ilka Top. It all shaped up to climactic collisions on the last turn. In the south, the Austrians were poised for a mass assault on Kápolna; in the north, Hungarians (and Poles and Germans) mustered to counterattack on Ilka Top. Crunch! Against the odds, both assaults were repelled - a slightly anticlimactic end, but nevertheless it had been a tense finish to an exciting game.


 Austrians poised for their mass assault on Kápolna.
Apologies for shaky camera work - it must have been the excitement.
 

Reflections:

- Our campaign is rocking along: 6 games since the end of December (including 2 replays). I seem to be benefiting from having a captive audience.

- Giving the players short briefings about the campaign context and events linking the battles helps  to bring them to life. (The battles, not the players.) So too do character sketches of the generals' personalities. "OK, Puchner is old and ill - anyone feel like playing him?" "Wrbna has been soured by 30 years of peacetime garrison, his subordinates can't stand him, after the war he shoots himself ..."

- The snowy battlemat was a boon, super-easy to set up, and easy for the players to see the troops against it.

- The scenario is a very good one, plenty of choices and movement for both sides, full of replay value.

- The scenario includes a special rule to reflect the historical dislocation of the Hungarian defence by moving a random division to the wrong side of the river after deployment. This is similar to the dislocated defensive deployments at Gettysburg and Koniggratz. Starting dislocated compels the defender to move - a good thing in a game.

- The draft victory conditions provided 'double jeopardy' for the Hungarians: if the Austrians reached certain locations on Day 1, their good fortune in doing so would be doubly rewarded by giving them a victory point as well as forcing the Hungarians back. Bad idea, now amended.

- My players seem to have absorbed the doctrine of the time, commencing battles with an artillery duel between massed batteries.

- Extra photos this time as demanded by 1,000s of eager readers of this blog (thanks, Al).

- Wise words from Dave W: "My test is always, would I play that again? If the answer is yes, the scenario is good enough." Kápolna is good enough.


PS The long-awaited book 'Hungary 1848: The Winter Campaign' which includes a very detailed account of this battle should be going to print imminently - page proofs approved, index finished this week.