Mark treated us to another of his Brit-free Peninsular War battles: Valls (1809).
In synopsis: the French had invaded Spain in 1808. A corps under St Cyr had captured Barcelona in December, defeating the Spanish Army of Catalonia at Molins de Rei. The AoC was then put under the command of a Swiss general, Theodor von Reding. In early 1809 he deployed it as a 60-mile screen, enabling St Cyr to defeat part of it in detail and threaten its supply base at Tarragona. Reding was forced to concentrate what he could and undertake a risky march through Valls to cover Tarragona. He encountered a French division under Souham guarding the river Francoli, forced a crossing, and managed to get much of his baggage across it on the road to Valls. However, St Cyr arrived with Pino's Italian division to reinforce Souham. Reding therefore thought better of it and fell back across the Francoli again to defend the heights behind the river. After a long siesta, during which both sides reorganised, St Cyr duly assaulted and routed the Spanish army. Reding was mortally wounded in a last desperate cavalry charge.
Of course, others have wargamed this battle before us (e.g., see here and here), but seem to focus only on the second half of it, the simple French assault. Mark's scenario embraced the whole thing, with a 'Siesta Interval' punctuating it. This approach has the twin advantages of featuring a baggage train (always amusing) and making it one of those multi-phase battles that tend to be among the most interesting to wargame. (See my "Reflections" essay on "Changing Situations Mid-Game".)
Here are two photos to set the scene before the battle report:

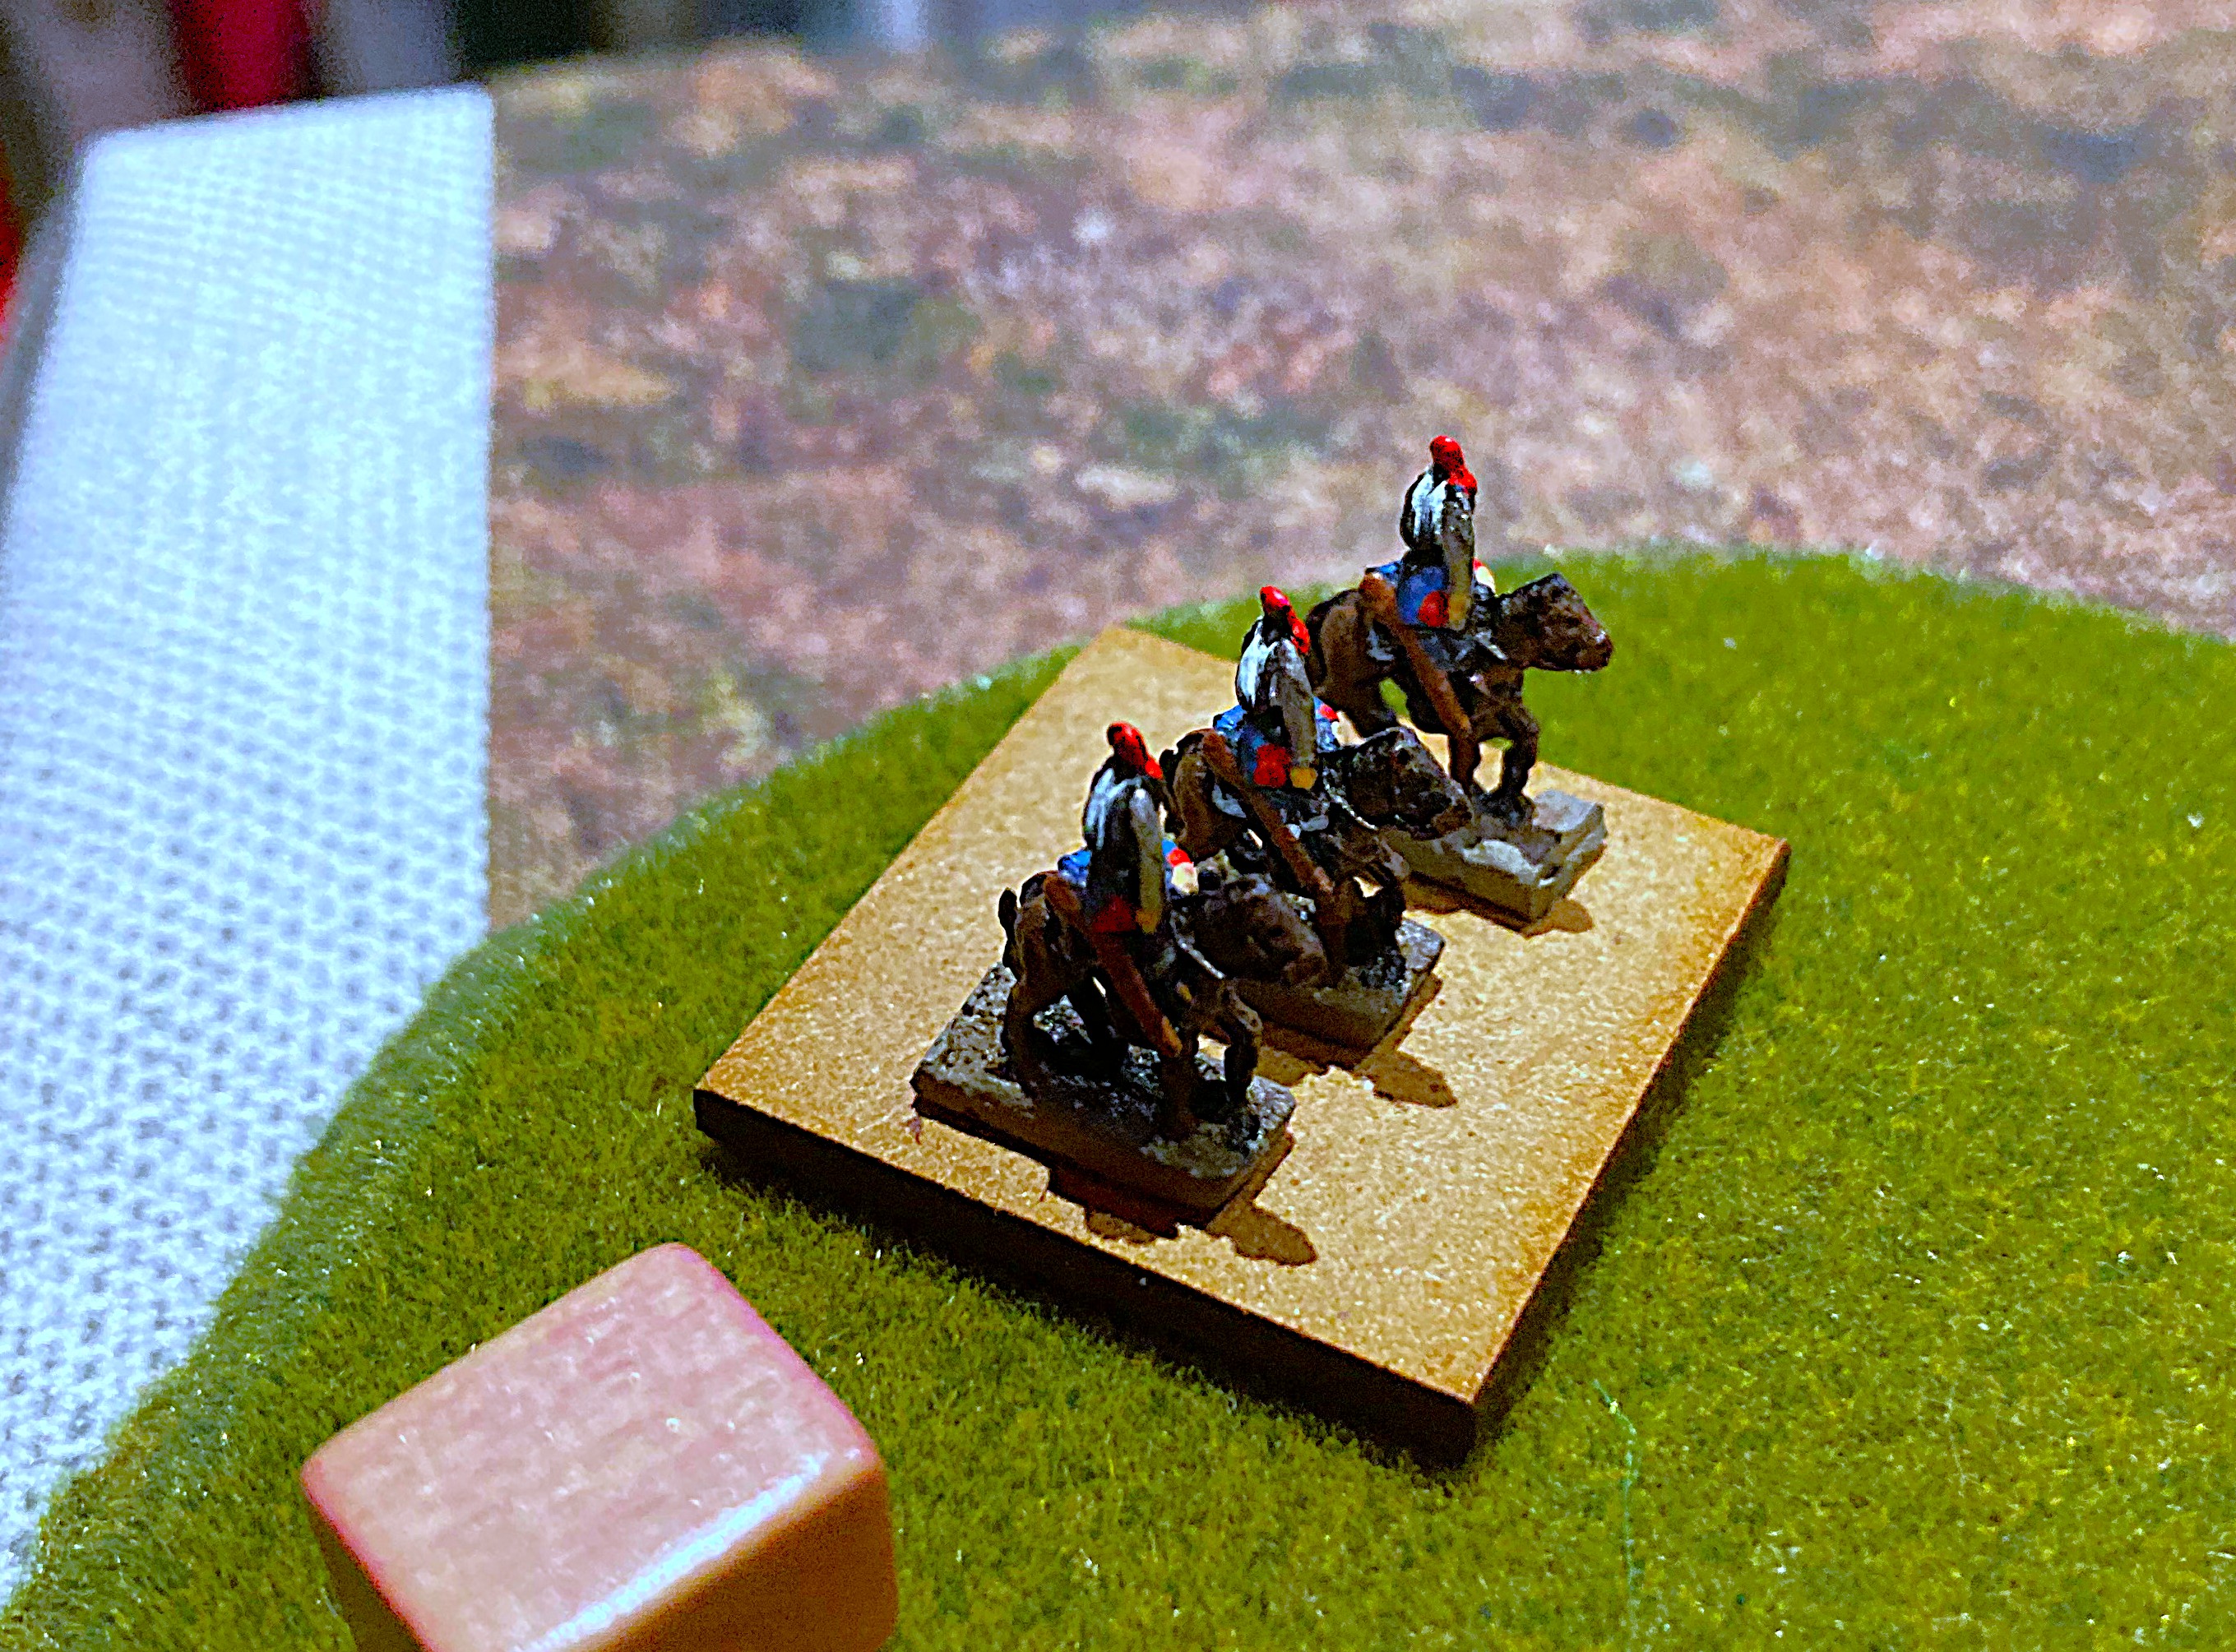
Reding leads his first division onto the battlefield, a 2-base unit of white-coated guards at the head of the column, the three wagons of the baggage train bringing up the rear. Baccus 6mm figures from Mark's collection.

The whole battlefield. Spanish arrive from bottom left. (Including Castro's division, bottom right of pic. Mark had put them there in their box, which fooled me into thinking that's where they would turn up. That slightly coloured our plan, probably for the worse. Oh well, should have read the scenario brief better.) The bridge the wagons must use is the one with Souham's little vanguard regiment above it, facing Reding's advance guard. All the other French arrive through Valls.
I took quite a lot of photos this time. In case you don't want to look through all the other 14, the brief summary of the game is this:
- Dave and I as the Spanish decided to use our initial numerical superiority to stretch the French. The bulk of Dave's division focused on trying to get the wagons across the only viable bridge they could use; my division pushed up on his right; small flanking forces pushed round each end of the French line to threaten Valls and pin or distract French units.
- The flanking forces did their job and came within an ace of capturing Valls;
- Dave's repeated attempts at crossing the river briefly got one wagon across, but ultimately failed with heavy casualties;
- My division got across the river but then got battered after Dave had been repulsed;
- This meant that for part 2, after the siesta, we had very few troops left to face the overwhelming Franco-Italian onslaught;
- Nevertheless, we made a valiant stand and Crispin was only able to eject us from the crest and claim victory on the final turn.
Now you can look at the rest of the pics or skip to the Reflections at the end.

Between our first and second bloody repulses. Just visible at left edge is the blue 'Spent' marker inflicted by French musketry on one of Dave's units as it tried to storm across a bridge. In the centre, a Spanish regiment has crossed but is still in march column. My tiny cavalry unit is doing its best to pin the French column advancing from top right, but part of that column will fend off the cavalry and the rest will smash our column back behind the river.

On our extreme left, the Spanish guards executed a flank march through the village of Picamoxons (top of pic). The French cavalry (bottom right) prudently evade. Unfortunately, Dave's Spanish cavalry (left edge) decided to stop for a rest rather than press the advantage through La Plana.

More bloody river crossings ... a second Spanish unit is mauled failing to cross the lefthand bridge. Two French regiments storm across the main bridge to attack the wagon train but are driven back by a Spanish counterattack. I think that remaining French regiment south of the river got wiped out next turn.

Last turn before the siesta. Time was about to run out for getting wagons across. Dave managed to push one across the bridge, supported by an infantry regiment, but the infantry were wiped out by French fire and the wagons assaulted by French infantry. No victory points so far for Spain. (We could have earned one VP for each wagon north of the river by siesta time.)

And on the extreme right - oh, so close! After distracting the French left and easily evading the infantry that turned to face it, my cavalry regiment was close enough to capture Valls and had two moves to do it. Unfortunately, it failed its movement roll on the penultimate pre-siesta turn; then those faintheart French dragoons from the opposite flank got the full move they needed to ZOC us and thwart us. No Spanish VP for taking Valls either! Thus we reached the siesta on zero VPs.

To rub salt into the wound, Crispin outflanked and wiped out one of my regiments that had crossed the river on our right as well. On the opposite flank, I got some of my Catalan miquelet militia killed for no particular good purpose too.

Consequently, once we had redeployed during the siesta to defend the heights south of the river, this is all we had left - 18 bases in total: three infantry regiments in the front line, with a few guns; two spent units kept safely in the rear (though, inevitably, we would soon commit them forward). Out of shot to the right is my cavalry regiment that had almost captured Valls.

And here is most of what faced us (two cavalry units and another infantry regiment are out of shot to the right): more than twice our number and rather better quality. The infantry in white are Pino's Italians.

The full picture post-siesta. To win, the French need to exceed Spanish VPs. That would have been harder if we'd scored any in Part 1. As it stands, there are 4 VPs at stake: 1 VP for holding four of the five righthand bridges; another VP for holding all five; 1 VP for being last to have sole possession of the first level of the heights bottom left; and 1 VP for the crest. Thus, effectively, the French must clear us off one of the contour levels, and they have 4 turns to do it. (There were 6 turns pre-siesta.)

Turn 7: all but one of Crispin's units managed a full move. Neither of our batteries managed to prevent a unit crossing a bridge. How depressing. Maybe we should have committed everything to defending the bridges - except that there were more bridges than we had units left. On the bright side, surely our luck could only improve?

That black cube on the right shows it improved slightly: our battery there is temporarily low on ammo having wiped out the French shock cavalry. But our lefthand battery has been silenced by French artillery fire, just in time to be stormed by French infantry. It died and our guards were driven back up onto the crest. Meanwhile, massed French/Italian infantry form up to assault our other regiments.

Desperate times, desperate measures. Bring up the Spent rubbish! Determined to sell their little lead lives dearly, our conscripts on the left charge and wipe out a French regiment. On the right, the Spent and Fragile miquelets fill a gap in our line.

They think it's all over - it is now. Three small Spanish regiments, already variously Spent (blue cube), Low on Ammo (black), Fragile (pink) and/or Disrupted (yellow) are enveloped and assaulted by no fewer than nine French and Italian regiments, including Aggressive cavalry (green cube). Our heroes finally succumb to a hail of die roll modifiers.
All that's left of the Spanish army: my 1-base cavalry unit, hanging on in the corner of the table long enough to count as contesting the Level 1 hill (hurray - we retain a VP!) before cantering off to take the bad news to Madrid.
Reflections
Ifs, Buts and Maybes. Although our Spanish army was comprehensively crushed, in game terms it was still a close-run thing. There were several opportunities for us to claim one or two VPs pre-siesta. Had the dice been kinder there, or on Turn 7 when the French swarmed across the bridges, a draw or even a win could have been on the cards. At the same time, we can point at things we Spanish players should have done differently, while Crispin's performance as French C-in-C was hard to fault. Overall, a great scenario full of possibilities.
Wagon Trains are Fun. The standard BBB formula of designating half a dozen or so fixed locations as Objectives works very well. But including a baggage train as a mobile Objective adds another dimension that makes the tactical decisions even richer. And it's something different, and variety adds fun.
The Record's Stuck! (Or for younger readers who don't understand vinyl: the CD's glitching; or, for even younger readers: the MP3 is on permanent loop ...) Some of the same lessons come up time and again from our games. Asymmetry makes for good games; changing situations midway makes for good games; if both sides are obliged to maneuver and have room to do so, that makes for good games ... this was a good game.
Nice write up. Really enjoyed that !!
ReplyDeleteDe nada!
DeleteGreat report on this battle, thanks!
ReplyDeleteCheers, Mark!
Delete