So often, my AARs finish by saying something like, "so after a nailbiting climax that could have gone either way, with multiple objectives contested on the final turn until the last throw of the dice, it ended as a classic BBB draw". Not so this week!
Crispin offered us one of the Franco-Prussian War scenarios from the BBB rulebook: Beaumont. This is a fighting withdrawal, one of the more interesting situations to wargame and one that doesn't find its way onto our tables often enough, but a tricky one to pitch the victory conditions just right. At Beaumont, a French corps gets caught and mauled by the advancing Germans as it is about to try to move away from them across the Meuse. The BBB scenario actually makes the situation more interesting by including additional forces further west, where another French corps ended up being forced apart from the others.
Dave and I took the part of Failly (French 5th Corps) and Douay (7th Corps) respectively, while Matt took the Bavarians and German V Korps, leaving John with IV Korps and the Saxons.
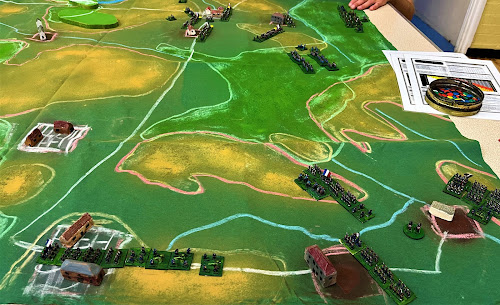
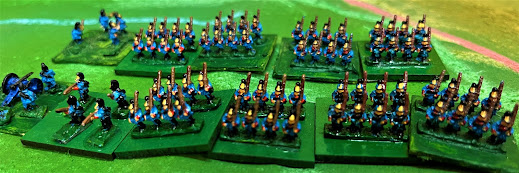
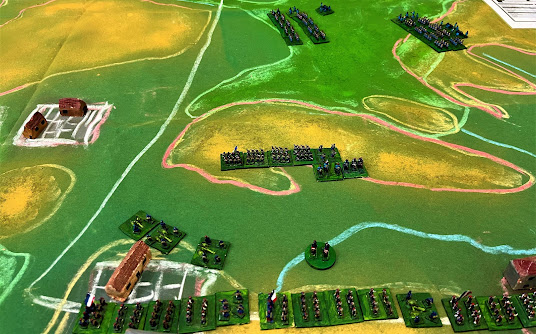
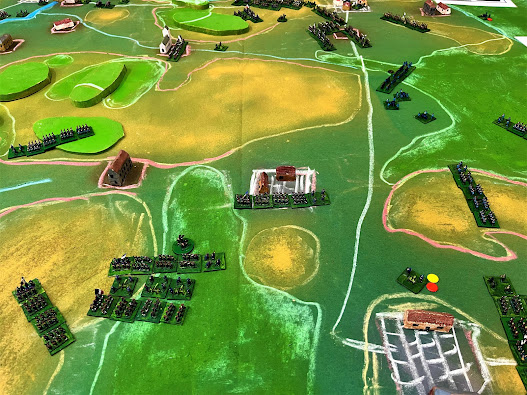
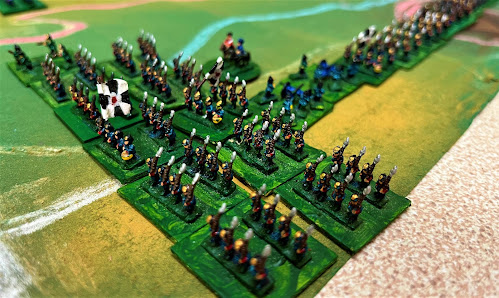
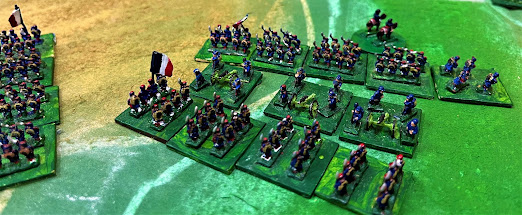
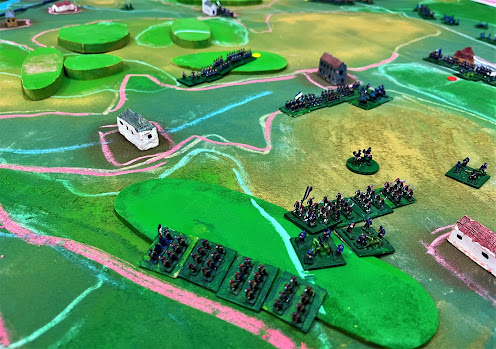
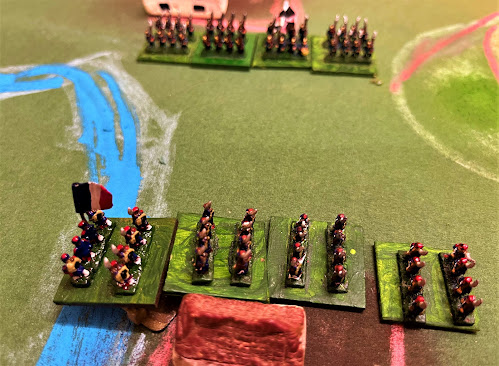
The French deploy first. They have one important decision to make immediately: whether to deploy part of 5 Cps forward in Beausejour (forcing IV Kps to start further back) or hold it all further north in and behind Beaumont. We opted for the forward deployment. As it turned out, that may have been an error. The captioned pictures below illustrate why. (Skip past them if you can't wait to read my perceptive, witty and erudite reflections and resulting profound insights arising from the game. If they disappoint you, you can ask for your money back.)
Reflections:
Is the Scenario Balanced? When you lose a game as badly as we did, you can't help wondering whether the scenario is skewed against you. The French have 10 infantry units south of the Meuse, of which five or six have to escape, so they can only afford to lose/leave four or five at most. They are also handicapped by being Passive. Did we have an impossible task?
Well, maybe not. From looking at the report in the BBB group files of our epic campaign in which we fought all 9 battles in a 3-day weekend, I see that although Beaumont was a German victory then too, it was a lot closer - the French actually got enough infantry off the table and were unlucky not to get the guns away too.
In this week's game, a few things all went wrong straight away. In some game situations, a run of bad dice early on can be made up for by good ones later. In a fighting withdrawal like Beaumont, it can harder for the withdrawing side to recover from initial setbacks - once you're caught, you really have to stop and fight; if someone gets in your way to start with, getting through or past them becomes so much more difficult.
In our case, (a) we committed troops forward instead of sitting back to exploit the longer range of our massed chassepots; (b) all the crucial units at the head of my column failed to get enough movement to cover the rest; and (c) Matt's Bavarians then got the good rolls they needed to get in my way. From there it just cascaded bad to worse. I think it fair to say that, on my side of the pitch at least, it was compounded by Matt rolling plenty of deadly high firing dice, while mine were consistently ordinary.
Regardless, the boys are keen to roll this one out again in the near future, so maybe we'll find that it can go very differently with a few different dice (and better French plans).
Does Scenario Balance Matter? Even if the scenario is skewed and we were doomed from the start - how much does it matter? We all had fun and kept smiling (even if the smiles were wry ones as Matt rolled another 11 to kill off my chasseurs, or as one of my columns yet again refused to demonstrate any sense of urgency and stopped for coffee and croissants in the woods). We're not tournament gamers, so it's about the journey, not the destination.
All true, but still, the journey is more exciting when it's not so obvious where you're going to end up. I enjoyed the game but I'm sure I'd have enjoyed it more if we'd still had a chance of getting enough troops away towards the end. That makes it a qualified 'yes', in that a balanced scenario where both sides have a decent chance of winning isn't essential but does add to the game. (Though I note again - I'm not saying Beaumont definitely isn't balanced.)
Possible tweaks. Historically, the French ended up divided on both sides of the Meuse and headed downriver to Sedan. Perhaps rather than just having to try to cross the Meuse, 7 Cps should be allowed an alternate (nearer, historical) escape route, say anywhere within 6"-12" of the NW corner of the board. Units getting off there might count half as much as if they cross the Meuse. It's always good to have more than one way of winning. Another simple tweak would be just to remove the French 'Passive' rating.

When I ran the Konigratz BBB game (albeit on a kriegspiel map, so a bit modified, I suppose), we had a similar discussion about balance. When playing 1866, the Austrian players seem almost pre-demoralized by the disparity in the firepower of the needlegunned Prussians. However, given the severe time constraints on the Prussians to achieve objectives in that scenario, the balance is actually very good (I think). However, that does not keep the Austrian from feeling rather shell shocked at the experience. There are some wargame situations where you may have won, but the game experience itself may feel like a loss.
ReplyDeleteIt's a good point, Ed. Player morale matters! Shell-shocked is the right word sometimes, and needlegun Schnellfeuer plus Krupp can do that. Fighting the Austro-Prussian frontier battles (Trautenau, Skalitz, etc) I have found that even if the Austrians do claim a victory it is generally a pyrrhic one (as Trautenau was historically). There are games where you seem to reel from calamity to disaster as division after division evaporates. In this one there were moments where I had to laugh, but the laughter had a touch of hysteria ...
DeleteAs always I enjoyed the post-game thoughts Chris. For this scenario it seems a combination of things early on put pay to any chance of a French 'victory'. However I don't mind playing games like this as it is not only a challenge, but flags up the issues that both sides faced during the campaign. I agree that a tweak towards the NW corner of the board might help the French feel they have an outside chance of a winf.
ReplyDeleteCheers, Steve. The French certainly faced some issues in 1870. Napoleon III's soldiers were veterans of the 1859 campaign in Italy, the Crimean War, even Algeria in the 1840s. Unfortunately, a subsequent decade or more of drinking wine in barracks and living off past glories wasn't the best preparation for taking on a load of fit German farmboys in their 20s. No wonder my French couldn't outmarch them.
Delete