Matt's current work-in-progress, both physically and intellectually, is the ACW Battle of 2nd Bull Run (aka 2nd Manassas). He rolled out his half-finished battlemat for us to playtest his scenario. Nick O and I took the part of the Rebs; Matt teamed up with Mark to save the Union.
The History: Having defeated McClellan on the Peninsula in his Seven Days campaign (which we played in January - report here), Lee launched his Confederate Army of Northern Virginia north towards Washington, hoping to destroy Pope's Union Army of Virginia before McClellan's redeployed Army of the Potomac could intervene.
Lee's Left Wing led the way, commanded by Jackson. On 28 August, Jackson set upon a US column at Brawner's Farm, just west of Groveton. This attracted the attention of Pope, who thought he had a chance to destroy Jackson's force, so launched a full attack on the 29th. In his strong position on Stony Ridge, with an unfinished railroad cutting providing an earthwork to cover his front, Jackson fended off Pope until the Right Wing under Longstreet arrived on his right around noon. Pope continued to launch a series of attacks on Jackson through the afternoon, all of which were repelled; his intended main blow by Porter against Jackson's right resulted only in an inconclusive clash with one of Longstreet's divisions. So ended the 29th.
On the 30th, having overestimated his success and Confederate losses, misinterpreted Confederate tactical withdrawals, and therefore underestimated Confederate strength and determination, Pope unwisely resolved to attack again. After a morning spent in reconnaissance and redeployment, around noon he attacked Jackson's right - effectively the Confederate centre - with his own left wing. This attack was bloodily repulsed. The Union army's left was then exposed to Longstreet's ensuing counterattack. As the Union forces reeled, Jackson too went on the attack. However, he was slow to do so, giving Pope enough time to form a line across Henry House Hill and cover an eventual orderly withdrawal.
Hmm, that was a longer exposition than I intended. To describe how the game went, let's plunge straight into the 10 captioned photos that illustrate it. (Some Reflections follow.)
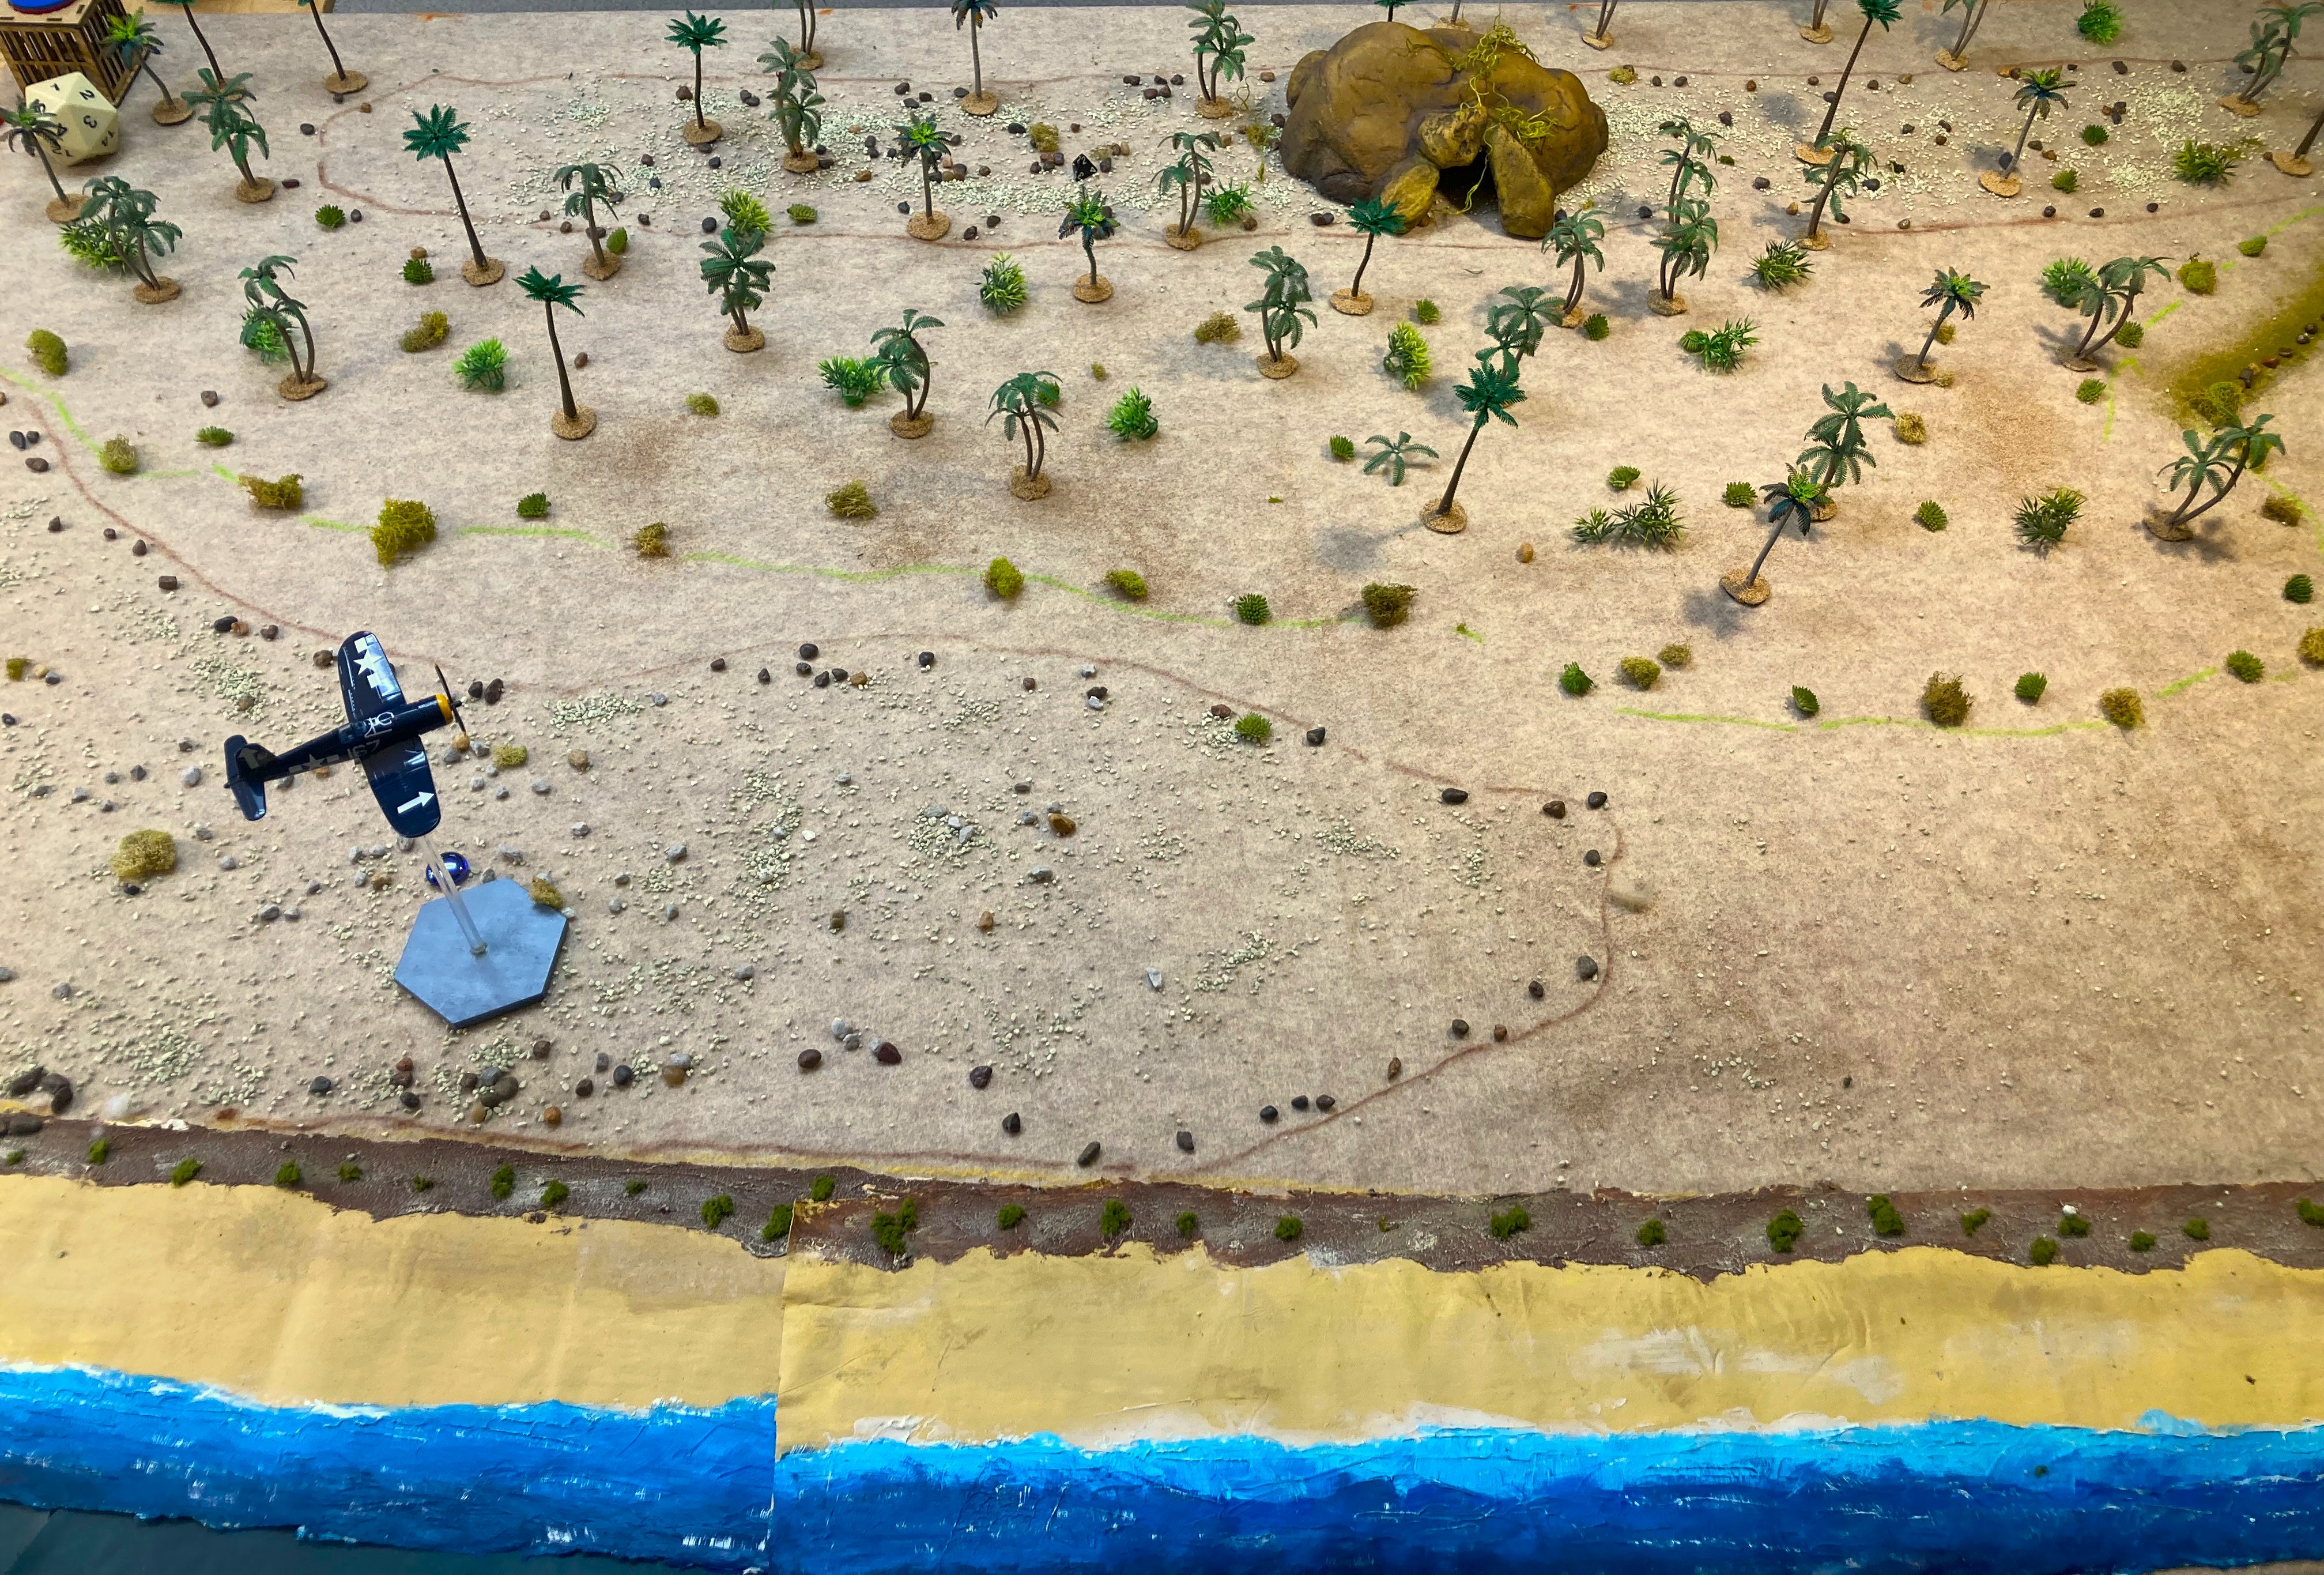
My cameraphone doesn't do justice to Matt's artwork. What I'm trying to show you here is the striped trousers he's painted on these 6mm "Wheat's Tigers" Lousiana zouaves!
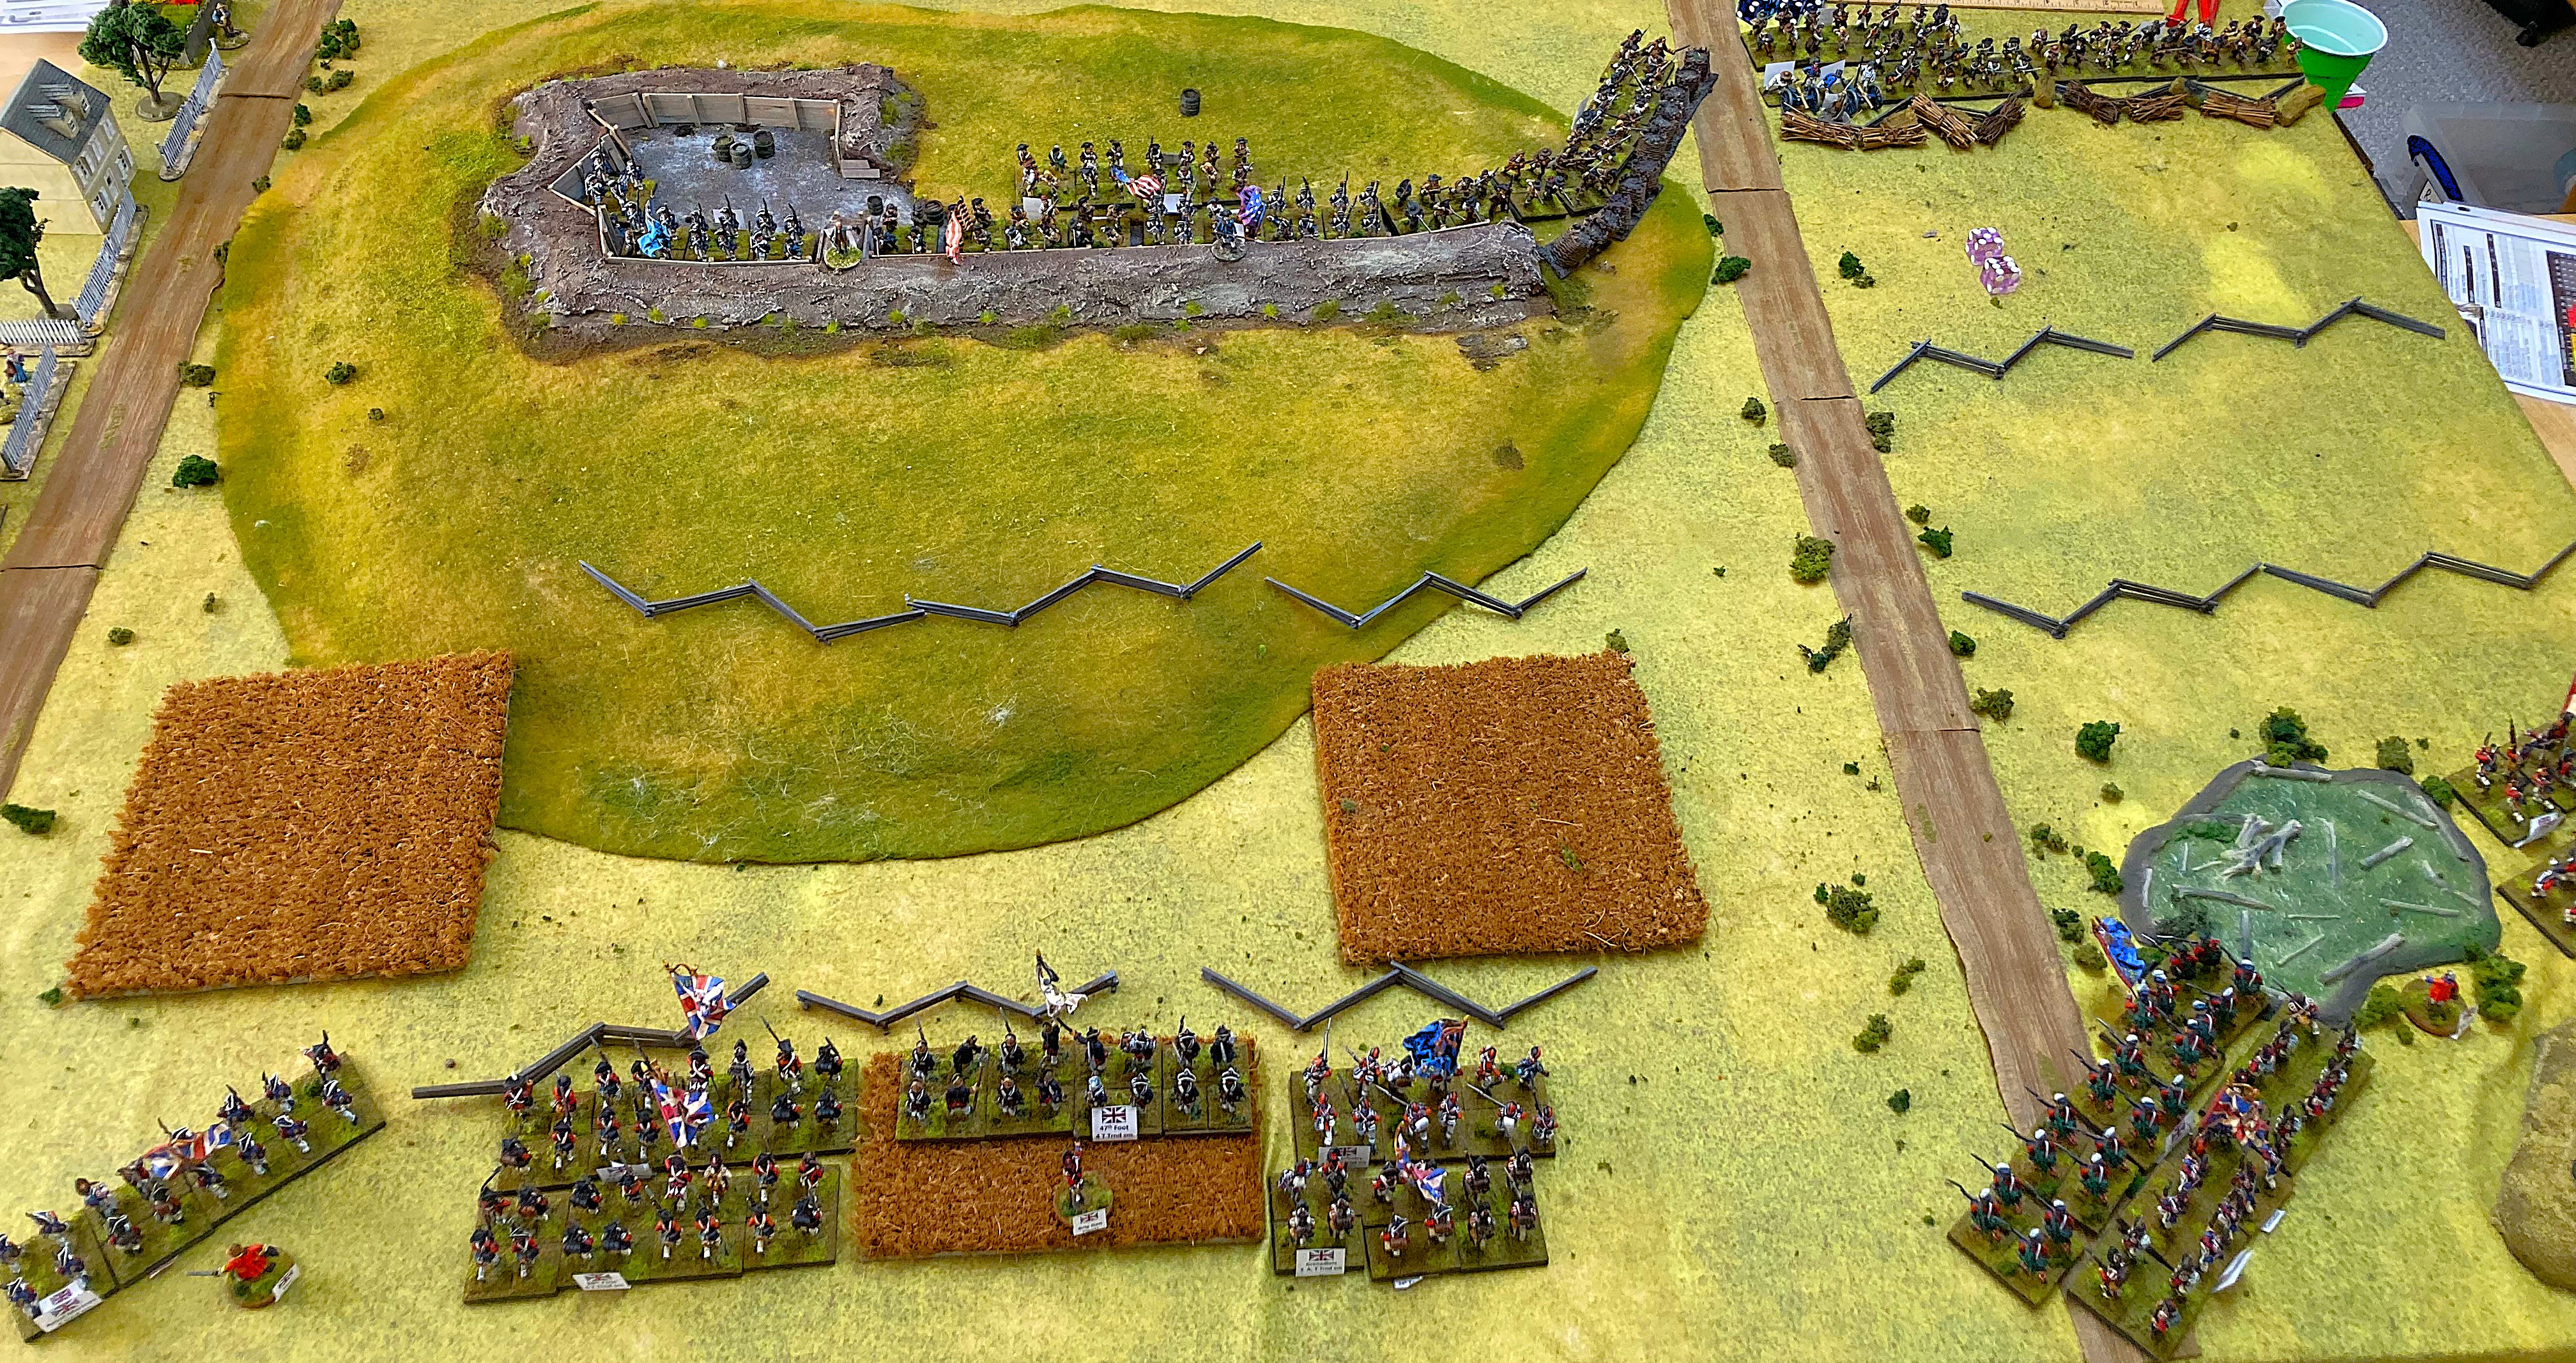
The battlefield. The mottled paper cutouts are hills, not woods. Woods are the green outlines with trees on them. (As I said, this is a work in progress. The finished product will look like the other lovely layouts on Matt's '
Pushing Tin' blog.) The big hill on the left is Stony Ridge, with the railway cutting in front of it. Groveton is the small town in the centre. US will deploy in the top half of the photo; Confederates in the bottom half.

I commanded the Confederate left, shown here lining the railroad cutting. You can see I have already pushed two divisions forward into the woods on the left, seeking to hit the flank of the Union line top of pic. This is because my assessment of the situation was that, rather than waiting for the Union to make suicidal attacks, we Rebs needed to attack immediately to smash the outnumbered Union forces on-table initially before their substantial reinforcements could arrive to rescue them. Unfortunately, Mark had reached the same conclusion and took advantage of the very free deployment allowed by the scenario to form a solid defensive line near the back of the table to buy time. This entailed him sacrificing the Grovetown objective temporarily, but of course (a) he didn't need it to win and (b) there would be plenty of time to retake it once he had all his army available.

Meanwhile, on our right, Nick brought up most of Longstreet's corps. Nick doesn't play BBB very often, so didn't take full advantage of the roads and our advance here wasn't as swift as it might have been.
A couple of turns later on our left. I have pushed a third division forward but my left hook has been slow to emerge from the woods. Matt has responded by extending his right somewhat (top left of pic), while sending a couple of divisions of his own, including Berdan's sharpshooters, to test my position in the cutting. At least I have managed to seize Groveton (right edge) and flank them.
On the next turn, Matt tried to storm the cutting but was repulsed. I launched a counter-assault of my own to take advantage of his temporary discomfiture, plus two more assaults (finally) with Jackson's and Ewell's divisions top left. Matt blithely dismissed all these with firing rolls of 9, 10 and 11. Was that the highwater mark of the Confederacy for this game? Read on ...
Meanwhile, Mark chose to march up his reinforcements swiftly on the Union left, obliging JEB Stuart's cavalry to scamper back and aborting Nick's intended right hook. See the blue-labelled unit top left? That furthest-forward Union division presented Nick with an opportunity to isolate and smash it before its friends could help. He duly charged - and Mark duly rolled 11, managing not only to repel Nick's charge with heavy loss but also to leave the chargers hanging, awaiting the Union left's onslaught. The Union then wiped out one of Nick's divisions.
That pretty much sums up the action on Day 1 (29 Aug), apart from a couple more Union divisions showing up late in the day to seize Sudley's Ford on our extreme left and threaten Stony Ridge, where we deployed Anderson's division when it arrived during the ensuing night.
Now we're about halfway through Day 2, still looking at the Confederate right. Nick managed to form a thin grey line in front of Stuart Hill (objective flag on bottom edge of pic), but he was facing a fat blue one that was getting round his right flank (see the bad guys in the woods upper right). He put up a valiant fight but by now the arithmetic was already inexorable. He was steadily driven back and back until Stuart Hill fell on the last turn.
We could still deny the Union victory if we held Groveton and took Henry Hill, in their right rear. We were in with a chance of doing so. How did that go?
Here's my own thin grey line in the centre of the battlefield around Groveton: good troops, in some cover, but too few of them. The diminished 3-base unit in the woods to the left of Groveton was overrun by two Union divisions upper left; our guns were driven off by fire; then the two divisions upper right stormed Groveton itself.
This is a view from a different angle, from the top of Henry House Hill. The main battle lines are off the lefthand edge. The three units top of pic are from Jackson's and Ewell's divisions, the troops I'd sent on my initial left hook. These had finally smashed the US right-flank guard division. The Henry House Hill objective lay before them, naked save for one battery that we could surely drive off with rifle fire. Onward!
Unfortunately, on the next US move, the three nearest US units all rolled the full-move results they needed to execute a smart about-face, cross the streams or woods in their way, and form up with the battery. My gallant men tried three times to storm the hill but the odds were too great. Maybe that was our highwater mark here. It was certainly every bit as bloody, desperate, and ultimately futile as Pickett's charge.
Happily, only little lead men perished (and will be resurrected on Sunday when we present Gettysburg at the
Overlord show in Abingdon). Many thanks to Matt for creating the scenario and laying on the game; congratulations to him and Mark on a sound plan well executed and a deserved victory; and medal of honor to my comrade Nick for being indomitable in the face of adversity - I could see the writing on the wall and was ready to surrender by Turn 7, but Nick gamely said we should carry on for the full 10. Bravo!
Reflections
Players and Plans Matter. This was the third time Matt had run this scenario. He said the other games had produced crushing Confederate victories. His report on his previous playtest, with different players, is here. In that one, the US commander basically followed Pope's script, deploying forward and bashing his head repeatedly against the Confederate defences until he lost. In our game, Mark made no such mistake and had a much better plan, which worked. As for how it played out on-table, the mismatch of experience and expertise between Mark (our canniest player) and Nick (who only plays occasionally) didn't help the Confederate cause.
Victory Conditions Matter. This is a tricky battle to recreate, because it is difficult to replicate Pope's misapprehensions about his supposed numerical superiority and therefore to encourage the Union side to attack as they did historically. On the one hand, you don't want to force players to repeat dumb actions; on the other, if the Union can just sit back and wait to mass superior force, is it really Second Bull Run? Maybe we need to build in some incentive for the Union to try to hurt Jackson early on, be it objectives that only count on Day 1, or some more variability in Confederate deployment (maybe Longstreet gets to turn up at X distance from the Union, rather than having to arrive from the table edge?). This needs further thought.
Dice Matter. It's too easy to blame the dice when the truth is we were beaten primarily because of a good Union plan. I'm sure they evened out over the course of the game (I enjoyed an unlikely victory in Matt's first assault when I rolled a 6 to his 1; he did exactly the same to me later). But those four big US shooting rolls on Turn 3 or so absolutely stymied any initial advantage we had and had significant ramifications. Fortunes of war.
Player Morale. I don't care about winning - it's just losing I can't stand. I could see from quite early on that it was unlikely to go well for us; from halfway, it was obviously a case of fighting to salvage a draw, rather than any chance of victory; and a couple of turns later, I felt we were just going through the motions, performing the last rites. My morale definitely dipped and I was ready to throw in the towel. But even though Nick was in an even worse situation on his wing than I was on mine, he was determined to fight on, put up a spirited defence to the last, and almost managed to hang on. Never say die!