Thursday 26 January 2023

Seven Years War action at Kolin

John treated us to a bout of Seven Years War tricornes: Frederick the Great's Prussians attacking Field Marshal von Daun's Austrians at Kolin, near Prague, in 1757. Historically this was a Prussian defeat: FtG's attempt at outflanking the Austrian position failed as the Austrians detected it in time to simply shift to their right. The Prussians ended up assaulting a solid line of Austrians with formidable batteries on high ground, protected by villages and crops teeming with Grenzer light infantry in front of the main line.

The ruleset was our friend Keith Flint's Honours of War (not Die Kriegskunst as I wrongly advertised in my previous post). Last time I tried HoW was in 2018 and I think that may have been the last time John ran a game too: Spittelwitz. Consequently there was a certain amount of fumbling through rulebook and charts, plus John had set the armies up a bit far apart, so it was a while before we even got to grips. Also, HoW uses a system of alternating brigade activation. As there were six of us and we'd had a slow start, we soon binned that and just went by alternate sides, which worked perfectly well and was three times as fast.

On the Austrian right, our horse got the worst of a cavalry melee but usefully delayed the Prussian left's advance. My Grenzers also fought a successful delaying action, diverting the Prussian centre, which never came fully into action. On the Prussian right, Dave finally got impatient and marched into the teeth of the Austrian guns just to demonstrate the combat rules, which he did, with predictable result.

Part of my Austrian command. General Wied surveys his grenadiers, backed up by some line infantry and a cannon. 10mm Pendraken figures from John's collection, I believe, but I could be wrong.

And here's what happens when 10mm figures fight on a 28mm battlefield - they're very spread out and have to march a long way before the fighting starts! Dave's Prussian brigade marches towards Nick's Austrians comfortably ensconced on defensible heights in superior numbers. What do we think's going to happen?

Reflections

Well, this was just a bit of fun and variety, really. Even though we didn't exactly know what we were doing, we all had a good time and it was nice to do something different. I don't have anything more profound than that to say this week.


Monday 23 January 2023

A wargaming buffet

Readers of this blog and other fora where I post regularly could be forgiven for thinking I only ever play BBB. Actually that's not the case at all, I regularly sample different wargames across different periods and scales. January has been particularly rich in this respect. In the course of a four-day holiday gaming weekend I got to play:

As a rules author myself, I try to steer clear of commenting on others' rulesets, so let me limit myself here to saying that all the games were good fun and justified their inclusion in the weekend's agenda.

No profound reflections this time, just a selection of photos to give a taste of the range of games and a look at my friends' nice figures.

Classic wargamer fare: d'Erlon's attack on the Allied left at Waterloo, played with General d'Armee. The British line waits as the French I Corps rolls forward past La Haye Sainte. Old Nosey himself right of pic close to his elm tree (out of shot).
 
The Dutchmen of Bylandt's brigade about to take their customary pounding before our French right hook inside Papelotte rolled up the Allied line. 15mm figures from Rob's collection.

Wars of the Roses action using Test of Resolve. Mark F's 28s. I took the role of the Duke of Somerset at the battle of Hexham, with his stirring warcry of "orroight moy luverr" (with apologies to our West Country readers).

The two destroyers I commanded in scenario 1 of Mark's 2-scenario Narvik mini-campaign using Fire at Sea. Our British team managed to change history - oops. Maybe I should stick to land battles.

Our O Group game was an in-person edition of the Tai'erzhuang remote game I reported on a year ago. This gave me the chance to admire CB's beautiful armies up close. Here we see some of his Chinese with their eclectic assortment of equipment from various obliging arms dealers ...

... and their foes, the sons of Nippon.

Had to dedicate a pic to this exotic beast, the Japanese SS-Ki flamethrower tank, behind its more conventional friend, the Type 89 I-Go.

Not to be outdone, the Chinese fielded these gorgeous little amphibious tanks. $50 a model, CB said. For some reason he was not impressed by my suggestion that he should get duplicates and cut them down for when the tanks are swimming.

A splendid red line of British regulars at Saratoga. Scott's 28s.

Upstart rebels preparing to live free or die.

The battle of Freeman's Farm (Saratoga) kicks off.

Professor Murray's map game used two maps covering the two theatres of operations in Italy and Germany. He uses this to train US staff officers. It highlights problems such as cooperation with allies, the importance of the changing political context, logistics, sieges, weather, and other aspects that don't often make it onto wargames tables. Here we see matters come to a head in the Po valley as the massed French field armies give the Austrians a bloody nose, while a small French force upper right menaces allied supply lines, dragging big Allied stacks away from the main action. BBB players may guess at the genesis of the combat results table at bottom left.

And this is the Germany map. The green stripe down the left part is the Rhine valley; the white patch along the bottom of it is the mountains of northern Switzerland. Little discs are fortress garrisons, big stacks are field armies (blue = French, grey = Austrian, green = Russian.) Not sure what happened here as I was fighting in Italy, but I think the French have repelled an aggressive Austrian incursion and wiped out an Austrian army.

Tonight's entertainment will be something different again: Seven Years War, the battle of Kolin, using the Kriegskunst rules. More on that in due course, no doubt.


Saturday 21 January 2023

Newly published: "Hungary 1849: The Summer Campaign"

I am delighted to report that my latest book was published this week. "Hungary 1849: The Summer Campaign" is the sequel to "Hungary 1848: The Winter Campaign". Together, these two volumes provide a complete and very detailed military history of this epic year-long struggle.


The previous volume has had some very kind reviews, e.g.:

- by "Balkan Dave" Watson

- by Colin "Carryings on up the dale" Ashton

- by Mike Huston on "Hamsterwrangler"

and others. I hope "Hungary 1849" will be equally well received.

As this blog is mainly aimed at wargamers, let me remind you that, if you want to wargame the battles described in these books, scenarios for 16 of the most important ones are to be found in my BBB campaign supplement for this war, "Bloody Big Hungary '48 Battles!".


Thursday 19 January 2023

Bigger than Gettysburg: Chancellorsville (1863)

Gettysburg receives plenty of attention from us wargamers - deservedly so, as it was such a large battle and a turning point in the American Civil War. But an even bigger ACW battle took place just a couple of months earlier at Chancellorsville and is relatively neglected. Let's compare them.

Gettysburg: ~180,000 men (105k US vs 75k CSA) fought for three days on about 5 miles of front.

Chancellorsville: ~195,000 men (134k US vs 60k CSA) fought for four days on about 15 miles of front.

Perhaps the sheer scale of Chancellorsville is the reason why we so rarely see it on wargamers' tables. This makes it an obvious challenge for "Bloody Big BATTLES!" to take on. Consequently I wrote a scenario for it in December (the only one I'd written all year) and we got to fight it twice last weekend.

Chancellorsville was remarkable for its repeated dramatic manoeuvre by both sides: Hooker on the US side taking advantage of the screen provided by the Rappahannock and Rapidan rivers, while Lee's Confederates exploited their interior lines. To provide space for these manoeuvres, I therefore had to break my usual rule of fitting everything onto 6'x4' and go for an extended 8'x4' table - still achievable for most gamers, I imagine. I also had to add a scenario special rule for strategic redeployment during the night intervals. I limited the scenario to three days for playability, as historically the fourth was just minor skirmishing after the issue had been decided.

The number of units is not huge, so the scenario would be perfectly playable with just two to four players. We were blessed with eight, which meant each side could have the luxury of a C-in-C player directing operations. It also meant frequent noisy command conferences - the sweeping manoeuvres created lots of dramatic changes of situation, which generated heated debates by one side or the other every couple of turns as the players argued about how to un-FUBAR a FUBARed position ... (see my essay on "Changing situations mid-game".)

The Chancellorsville game was scheduled as the Saturday night game for a four-day holiday weekend of gaming. It went down so well that we changed the agenda so we could refight it on Sunday morning, with some orbat tweaks from the previous day. The first game saw the US try to replicate Hooker's heavily weighted right hook; this was stymied by vigorous CSA response aided by some very effective work by JEB Stuart's cavalry in the Union rear, while the US left smashed itself against the CSA entrenchments above Fredericksburg. Result: an emphatic Confederate victory.

Game 2 was very different. Both sides chose to emphasise the eastern end of the battlefield more: the CSA electing to attempt a pre-emptive push across Banks's Ford and US Ford, where the US had also kept more of their troops. This time JEB's dice let him down badly so the US was able to force him eastwards, while taking advantage of the CSA's eastern push to form a solid line east of Chancellorsville itself. The CSA's initial attack never really got started before they realised they had to counter-attack the US right. Bad dice cost them two precious turns in launching that, by which time it was too late. Thus the Union claimed victory and revenge.

This was a terrific game in all sorts of ways and I am sure this scenario will be rolled out again regularly.

A few annotated photos show the battlefield and some of the action. Scroll past these if you just want to read my reflections.


View of the whole battlefield, looking south across the Rappahannock. Fredericksburg on the left with Marye's Heights behind it. Two US observation balloons lower left at Falmouth and above Banks's Ford. Confederate forces clustered around Tabernacle Church in the centre, while Hooker's right hook has arrived around Chancellorsville right of pic. This shot shows how heavily wooded the battlefield is, which makes the road network vitally important. 15mm figures from Scott's collection.

Close-up of the Union left in front of Fredericksburg. In game 1, the two US corps here destroyed themselves in poorly coordinated frontal attacks on the Confederate entrenchments.

Banks's Ford, left/centre. The half-strength Confederate artillery unit withstood all attacks in game 1 but was outflanked and overwhelmed in game 2.

The US right around Chancellorsville. Stuart's cavalry (top right) made a serious nuisance of themselves in game 1, badly damaging the righthand US corps and threatening the Union line of communications. Game 2 was a different story as the Confederates chose not to contest this half of the field while they attacked in the east.

Reflections

Battlemats: we didn't have one for this game, but it is definitely worth making one. The terrain is pretty complex, lots of woods and an extensive and important road network, so it took an hour or so to set it up. A roll-out battlemat would save a lot of time, and the scenario has so much replay value that it would be a good investment.

Contrasting armies: the blue and the grey have a lot in common (similar uniforms, the same limited variety of weapons, fighting from the same drill book) which can make lower-level tactical ACW games a bit dull. But at the army level, this Chancellorsville game really brought out the differences between US (hamstrung by command and control problems, full of raw and fragile units of near-mutinous short-timers or unhappy Germans) and Confederate (agile and audacious command, confident and aggressive troops).

Multi-player games can be tremendous fun. This scenario was ideal for our large group. Nobody was stuck in a corner with nothing to do; nobody had to wait half the game for their command to enter the table; there was action everywhere from Turn 1 and decisions to make in every sector.

The virtue of space: the large table and low troop density allowed for lots of movement. The strategic redeployment in the night turns made this even more dramatic. The resulting changes in the game situation each turn made for a really exciting game. 

Strategic options add replay value. The extensive front line and the ability to shift pressure to different points along it allow multiple plans for both sides, so there are multiple ways to win (or to lose).

"Benny Hill-ery". Mark wasn't happy with how Stuart's cavalry acted as a combat unit that could dance around and required a whole US division to chase and fend it off, rather than just a brigade parked to protect the fords in the US rear. He described this chase as a "Benny Hill" moment that spoiled the narrative of the game for him. In the revised scenario I'll make the cavalry less potent in combat but I'll still keep them as a unit rather than an area effect.

Balloons! The US had two observation balloons operating near Fredericksburg. These didn't have any game effect (they were as much a hindrance as a help, as the Confederates gave them plenty of fake campfires and fake campsites to observe) but made for a nice table ornament.

Bourbon: the essential ingredient for any ACW game!

Tuesday 3 January 2023

Borodino = majestic

What Napoleonic wargamer worth his salt doesn't aspire to refight Borodino? The emblematic battle of Napoleon's doomed invasion of Russia is as grand and glorious as Napoleonics gets. (And as grim and horrible: some 70,000 of the 250,000 on the field were killed or wounded in this sanguinary contest.)

We last tried it in 2018. After that playtest, Mark revised his scenario. As if his Tyrol game were not enough fun for one Christmas holiday, he then rolled out Borodino for us last week. (Having also played it with Colin in the interim, per Colin's blog post here.) "Us" was just 2.5 players: Mark as the Russians, me as the French, with Crispin commanding the French left for the first half of the game. Despite being short-handed, we rattled through and finished in about four hours of play - and most excellent play it was.

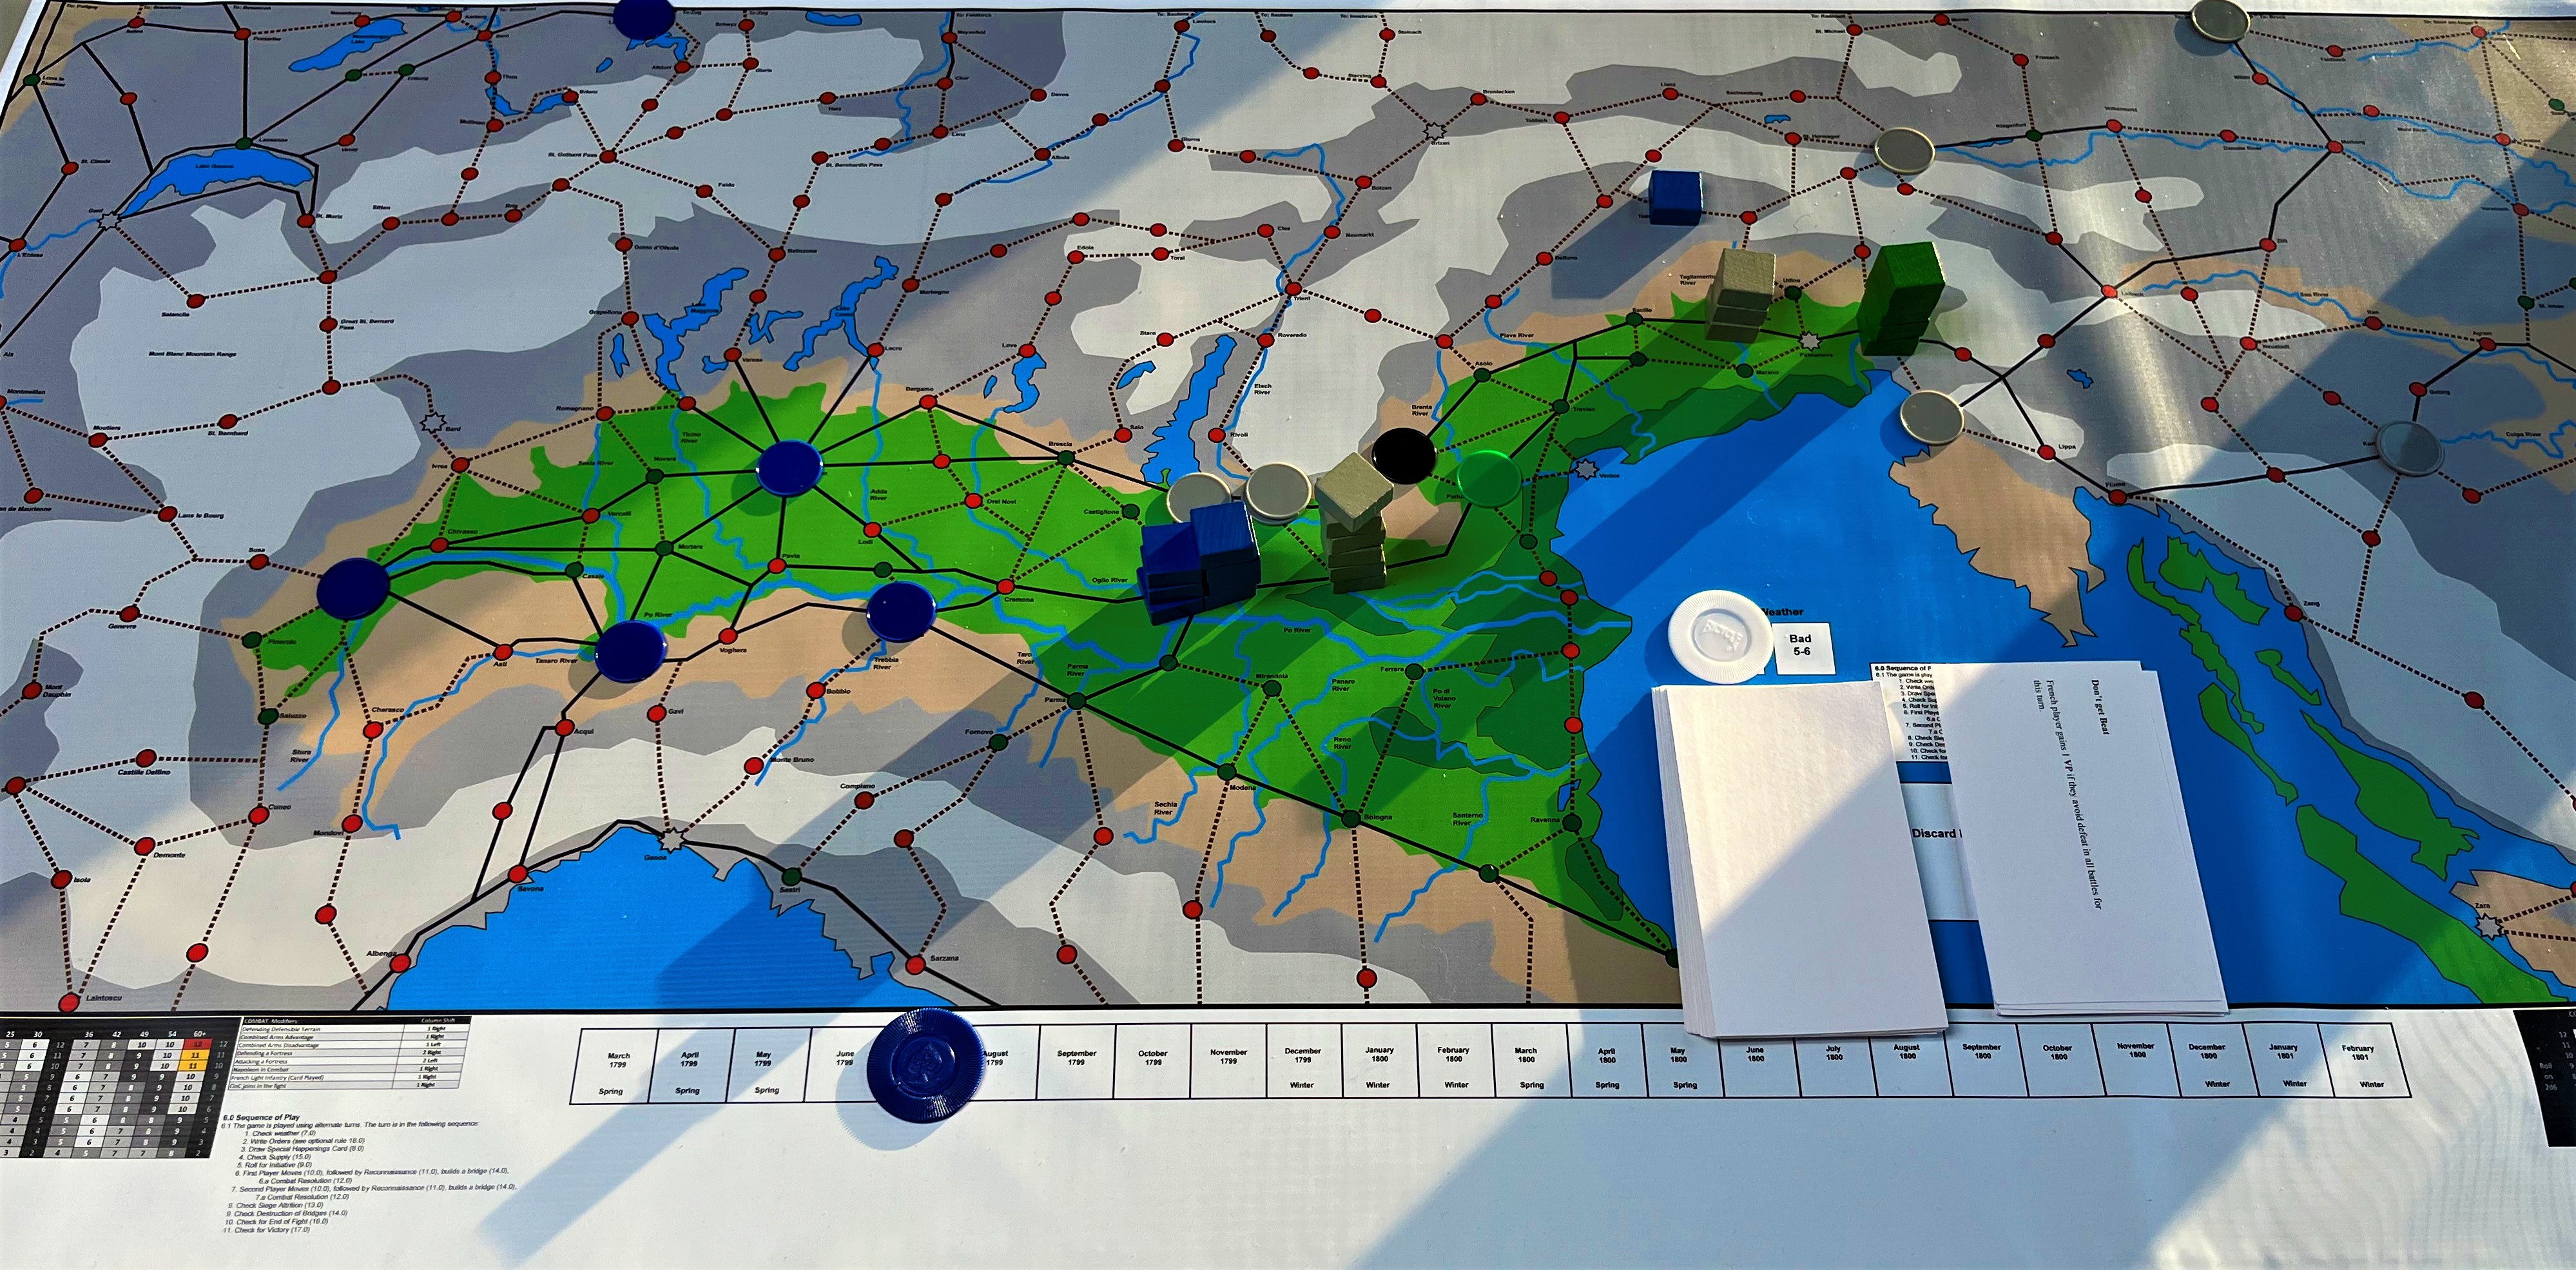
The short summary is this. We started with a big right hook around the fleches and a pinning attack on the Raevsky redoubt. We shifted pressure to the centre to distract Russian reserves, then stormed the fleches from the south. Poniatowski and Murat got far enough round on the right to threaten the Russian line of communications, but endless Russian reserves eventually stalled them, while more Russians menaced our own LOC on our left. The climax saw the Garde Impériale committed to counter that and attempt to storm Borodino for the one more objective needed for a French win. They came within a moustache whisker of getting in, but Russian artillery made the difference. Result: an epic, tense, gripping, see-sawing, honourable draw.

The following photos give a bit more detail. Skip past them if you want to get straight to my reflections at the end.

La Grande Armée: Davout's corps contemplates the Rajevski redoubt and the fleches.
Figures are 6mm Baccus from Mark's collection.

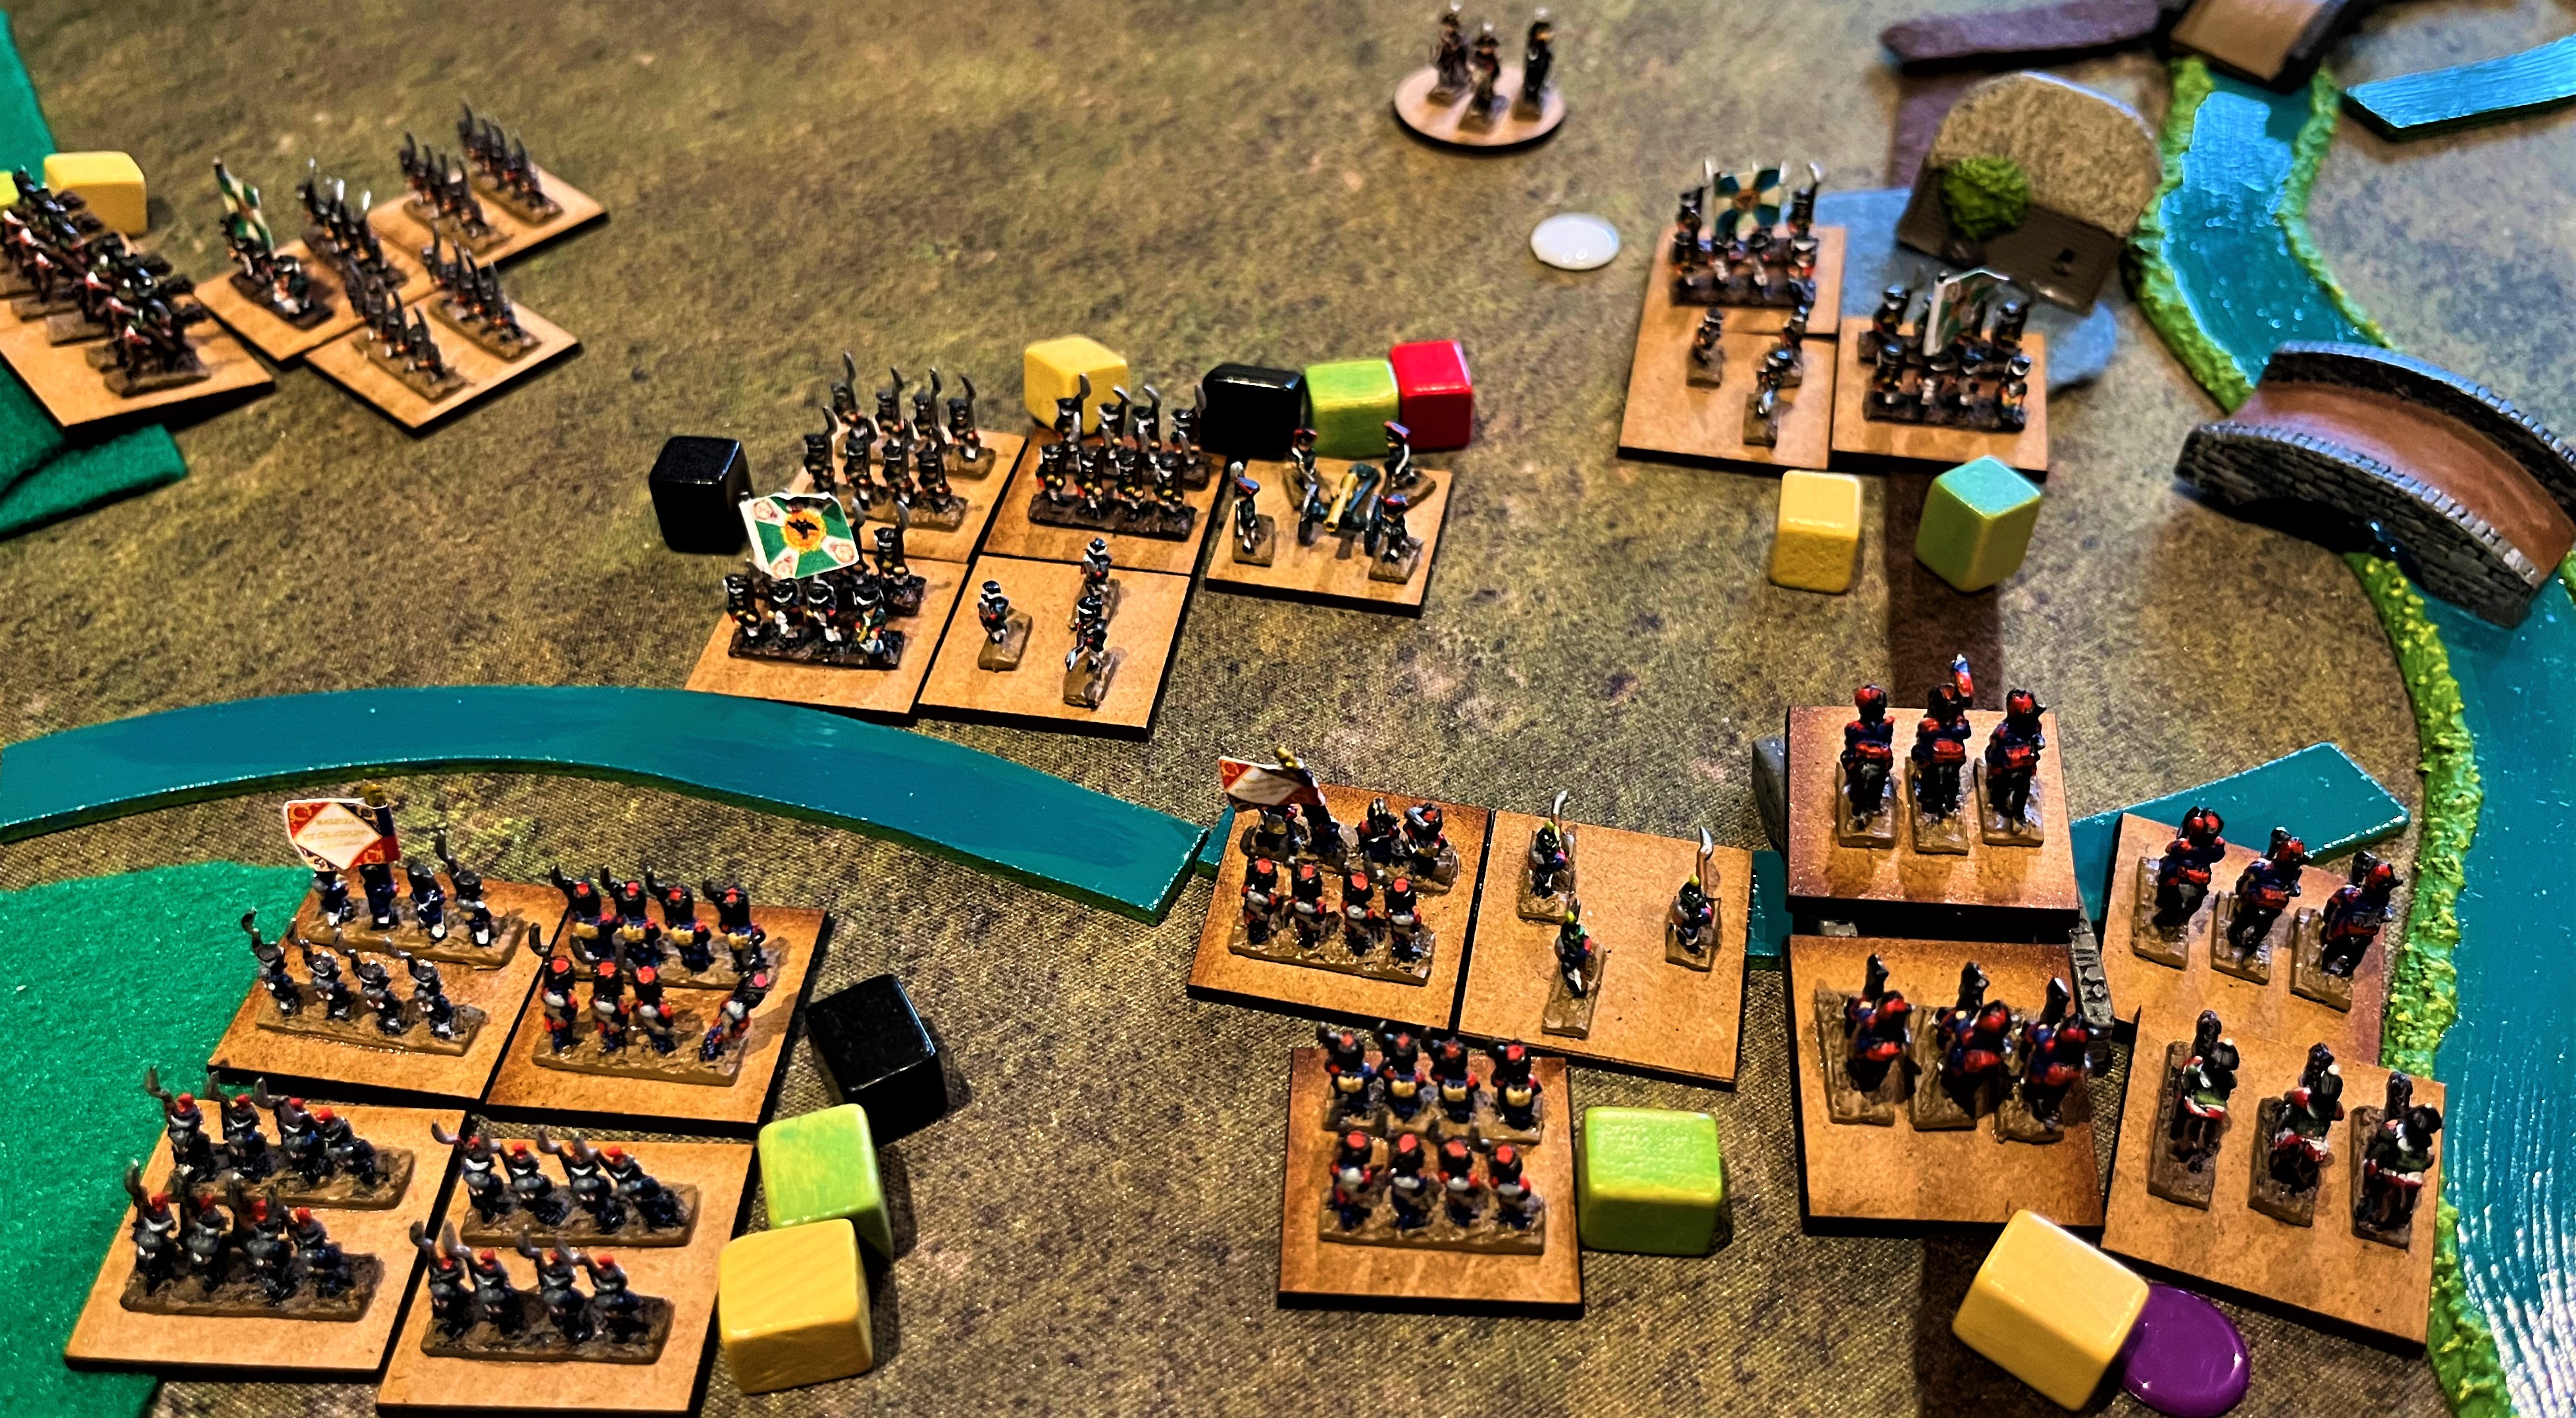
The battlefield is dominated by the high ground crowned by the Raevsky redoubt (left centre) and fleches (right centre), flanked by the villages of Borodino (across the river to the left) and Utitsa (in front of the woods to the right). Russian opolchenie militia hold the woods, while massed reserves are on the high ground to the rear and lining the river top left. French in the lower half of pic, L to R: Eugene, Ney, Davout, Poniatowski, backed up by Murat's cavalry and with Junot about to arrive. From these starting positions, we broadly advanced everything at 45 degrees to the right, leaving just one division facing Borodino, so that we could weight our right hook through the woods on the south.

Attacker's view of the fleches. That gun on the left looks worryingly like an 1870 Krupp, manned by Bavarians! (This big game stretched Mark's collection a bit.)

The garrison of the Raevsky redoubt. We had three or four goes but never managed to take this.

Opening clash on the right. We clattered unceremoniously into the Russians, ejected them from Utitsa, and smashed the militia back. This set us up nicely to wheel left and outflank the fleches.

Less success in front of the Raevsky redoubt, where Crispin's pinning attacks took painful casualties from murderous Russian cannon fire.

Our right hook progresses. On the far right, the militia are being pursued through the woods. Top right of picture, the two units nearest the road are Poniatowski's and Murat's men taking the line of communications objective (white counter on the road). Left of pic, that big solid line on the hill is Davout's and Junot's corps, about to storm the fleches. Top left corner, the units with yellow cubes are French as well, in post-assault disorder having punched into the Russian centre. Looking good for Napoleon!

Same turn as the previous pic: Eugene and Ney balked in front of the Raevvsky redoubt. Top left are the first waves of Russian reserves approaching to spoil our fun. By the stream confluence lower right: Napoleon himself overseeing our punch in the centre.

And now we skip forward a few turns to see the climactic assault by the Imperial Guard. The division on the left has been repelled with loss; that on the right, supported by the guard cavalry, has fought its way across the stream but not quite had enough impetus to get into Borodino (top right).

Reflections:

Majestic! This was a larger game than normal. Our typical BBB scenarios have maybe 15 units a side. This was more like 25 a side (plus artillery). That meant the whole game felt grander. When you need to shift a corps from the centre to the flank, moving two units rather than one somehow makes it a more momentous decision. Similarly when multiple Russian reserve units were released, it was more daunting than if it had just been one or two. The ebb and flow of the battle happened in great waves of units. It really captured the magnificent, epic, majestic feel you want for such a major battle. I wrote a brief essay on granularity in wargames. Borodino is evidently a case where extra granularity enhances the flavour. Hard to believe that 6mm figures on 6'x4' could provide such a sense of grandeur, but just ... wow.

Reserves. This is something I covered in a recent "Reflections on Wargaming" essay. They were an important feature in this game. Half the Russian force was not allowed to move for the first few turns, representing Russian uncertainty over where the hammer was going to fall, while the French received reinforcements most turns as troops arrived on the battlefield, culminating with the Old Guard. This helped to give the battle a definite shape and ebb and flow and tell a story.

Have a plan! Crispin and I conferred at the start, formulated a plan and stuck to it. Having a clear concept of operations made the decisions each turn easier. It worked well enough to give us a shot at victory on the last turn.

Lulls in the battle. In real C19 battles, it was very rare for every formation to be moving at once. Either because of fatigue considerations, or because of limited information, or command focus and command and control issues, in C19 'impulse warfare' some formations would sit passively while others were attacking, etc. Some rulesets try to represent this with mechanisms such as command points, initiative systems, cards, etc. By comparison, you could criticise BBB in this respect, in that theoretically you could move every unit every turn. However, in this Borodino game at least, it was notable that a major lull arose entirely naturally. There was a point in the second half of the battle where the French right had extended as far as it could, had taken some objectives, and had established itself in a line along high ground. The Russians there had been driven back behind a stream, where they too established a line, brought up reserves, and recovered lost bases. Although each side could have attacked to gain or regain further objectives on that flank, neither was inclined to do so. This felt very real (and looked good on the table).

Shot And Shield Supercast OK, I just had to smuggle this in. Scott Van Roekel, Grand Duke of Florida and creator of the Shot And Shield podcast on imperial-era wargaming, kindly invited me back, this time to talk about BBB and how it makes epic games like our Borodino one feasible and enjoyable. Scott is a great host and I like the style of his show, so I encourage you to have a listen yourselves and tell your friends if you enjoy it.


Before you ask: no, the scenario isn't in the BBB group files, but you might be able to get it soon. Mark has compiled a set of all Napoleon's biggest battles, which we plan to publish as another BBB scenario book.